Home > Tour creator tab (Edit mode)
The Tour Creator is the tab that opens automatically upon startup. It has a Browse and an Edit mode.
Edit mote: The Edit mode allows you to create and edit tours.
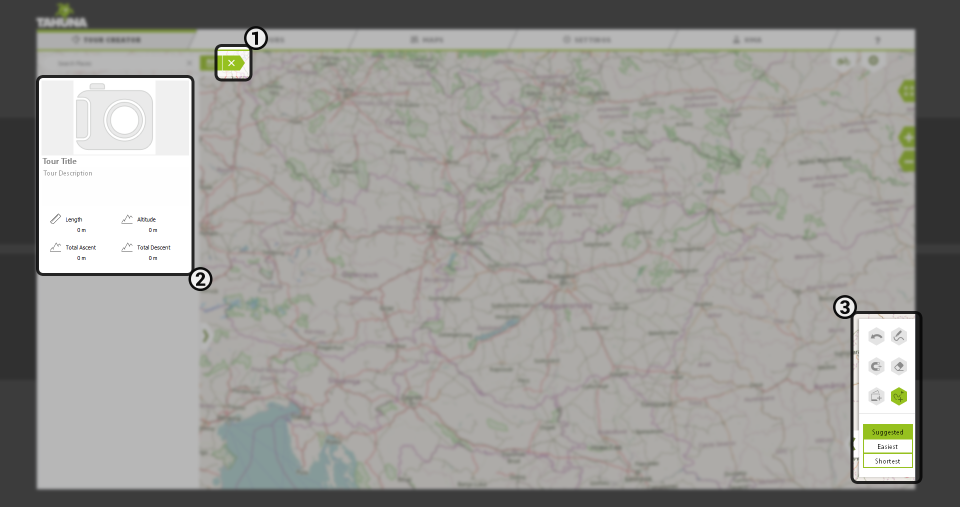
This mode opens a pane on the left of the screen and a toolbox at the bottom right (see the picture above). These enable you to change the title/description/picture of a tour and check its distance/altitude data. To exit, simply click the green button () at the right end of the search bar.
Left pane (tour details): it contains the details of the tour being edited. It lets you enter a title and a description, attach a picture and check the details such as total ascent/descent, the altitude and the overall length.
Toolbox: it contains the basic tools for creating a tour, such as:
– Undo: made a mistake? Take a step back and continue from the last stage you liked.
– Redo: changed your mind? No worries, this button has your back. Redo undone action.
– Draw: draw your route freehand and let the Tool worry about placing it on roads.
– Magnet: snap your recorded routes to the road network.
– Eraser: erase sections so you can have another go at planning them.
– Photo POIs: add photo POIs to your recorded routes.
– Add another tour: combine multiple tours – browse from your library and create complex plans.
The toolbox has a selector at the bottom that lets you choose between the Suggested/Easiest/Shortestroutes. You have to select your preference before adding the starting and destination point.
RELATED EXAMPLES:
Creating a tour - Point-by-point planning
Let’s say you would like to travel from Vienna, Austria, to Budapest, Hungary. First of all, you will have to make sure both countries’ maps are downloaded, so you can perform the searches needed.
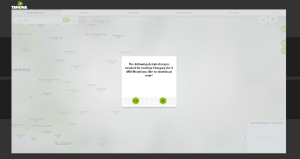
To download a map, pan it to the country you are interested in and click anywhere within the borders. The tool will automatically prompt the download of the selected area (see the picture above) – click ‘OK‘ and wait for the data to be transferred to your computer.
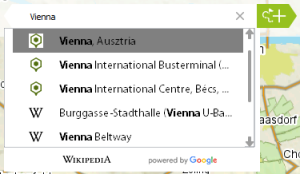
When the maps are installed, perform a search using the Search box (see the picture above). For the software to find a certain location, you have to pan the map to the country it is in – in this case, you will have to move the map over Austria and start typing ‘Vienna’ into the search box. Select the matching result to move the map to the POI and open a search result popup. Click the ‘GO‘ button to start editing your tour. This will also set the selected place as your starting point. You will see a blue flag placed on the selected location.
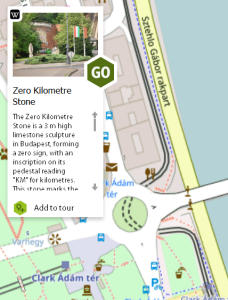
Next up, perform a search to find your destination. Move the map over Hungary and start typing ‘Budapest’. Select the matching result to open the result window. Click the ‘GO‘ button to make the selected location your destination point. The software will place a checkered flag on the map to mark the end point of the tour.
You can add POIs to your trip by clicking them and then selecting the ‘Add to tour‘ option in the POI‘s popup window (see the picture above). To create a custom POI click and hold the map until the POI popup window appears (Edit mode only). Once a POI has been added, you can edit its details. You can also add photos to your POIs, and geotag them, so they appear at the right location of the tour – please see the page titled Photo POIs.
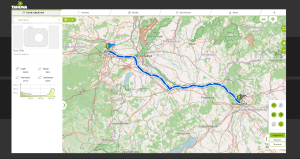
Once you start the route editing mode, you can add a title, a description and even a picture to it at the left pane of the editor (see the left picture above). To do so, simply click the fields you would like to edit or the camera pictogram to add a picture.
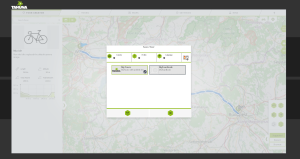
If you are satisfied with all the parameters, add a title and save the tour by clicking the Save button at the right of the search box. Select the tourbook you want to add it to (or create a new one with the ‘Create tourbook‘ button at the top right of the Save window) and click the Save button (see the right picture above).
For further management of the saved tour, please refer to the article titled Tours tab.
You want to select your route but don’t want to specify points along the way? Click the Draw and start sketching your route. The application will calculate the route based on the line you drew. If you are not satisfied with the outcome, redraw any part or select the eraser and simply delete the sections you don’t like.
Let’s say you would like to complete the same route as in our previous example (Vienna-Budapest), but this time you don’t want to take the direct route and you have some cities in mind you’d like to visit along the way. The more points you have, the more searches you’ll have to perform, so this could help you ease up the planning process.
Start by entering Edit mode on the Tour creator tab (click the green ‘+‘ button to the right of the search bar). On the bottom right of the screen a drawer appears – select the Draw tool.
Once you clicked it, you can start drawing your desired route. If the button is greyed out, you have to zoom in closer so roads become visible.
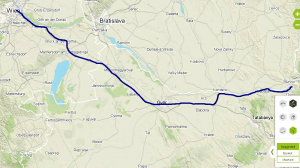
The search-based planning process would most likely take you along the northern Hungarian border as it is the fastest route between the two capitals. However, you can easily override the programs algorythm and draw a line towards Bruck an der Leitha, then continue towards Bratislava and draw along the danube to reach Budapest from the northern side of the Danube, through Vác.
When you release the mouse button, the Tool will start planning and once done, it will present you with a route that is as close as possible (as roads allow it) to what you drew.
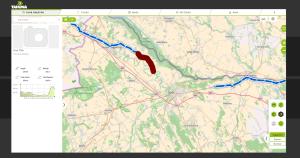
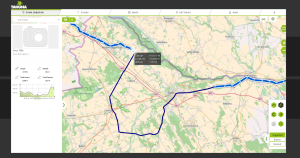
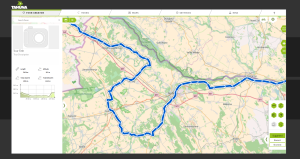
If you don’t like the outcome or changed your mind about something, click the Eraser (eraser icon right under the draw tool) and delete the section you want gone (see the left picture above). You can then click the Draw tool again and redraw (see the center picture above) the section to connect the two previously separated halves (see the right picture above). This can also be done by clicking one of the end points and then clicking the next one (just as you would lay points without using drawing mode). Please note that it is not necessary to delete a section before redrawing. You can simply modify an existing part by redrawing it.
You can add POIs to your trip by clicking them and then selecting the ‘Add to tour‘ option in the POI’s popup window (see the picture above). To create a custom POI click and hold the map until the POI popup window appears (Edit mode only). Once a POI has been added, you can edit its details. You can also add photos to your POIs, and geotag them, so they appear at the right location of the tour – please see the page titled Photo POIs.
Once you start the route editing mode, you can add a title, a description and even a picture to it at the left pane of the editor. To do so, simply click the fields you would like to edit or the camera pictogram to add a picture.
If you are satisfied with all the parameters, add a title and save the tour by clicking the Save button at the right of the search box. Select the tourbook you want to add it to (or create a new one with the ‘Create tourbook’ button at the top right of the Save window) and click the Save button (see the picture above).
For further management of the saved tour, please refer to the articles in the appropriate sections.

