
Home > Tour creator tab (Edit mode) > Photo POIs
The Tour Creator is the tab that opens automatically upon startup. It has a Browse and an Edit mode.
This feature lets you add pictures to your tours. Open a recorded route and begin editing it. Click the Photo POIs button at the bottom left of the toolbox and add pictures (even multiple at once) to link them to the recorded route the following ways:
Geotagged pictures:
This is the most straightforward way of associating pictures to a recorded tour. If the image data contains location info, the Tool will automatically place the pictures on the correct point of the tour. These will appear as regular POIs that you can manage as discussed in the page titled Tour creator (Edit mode).
Timestamp association:
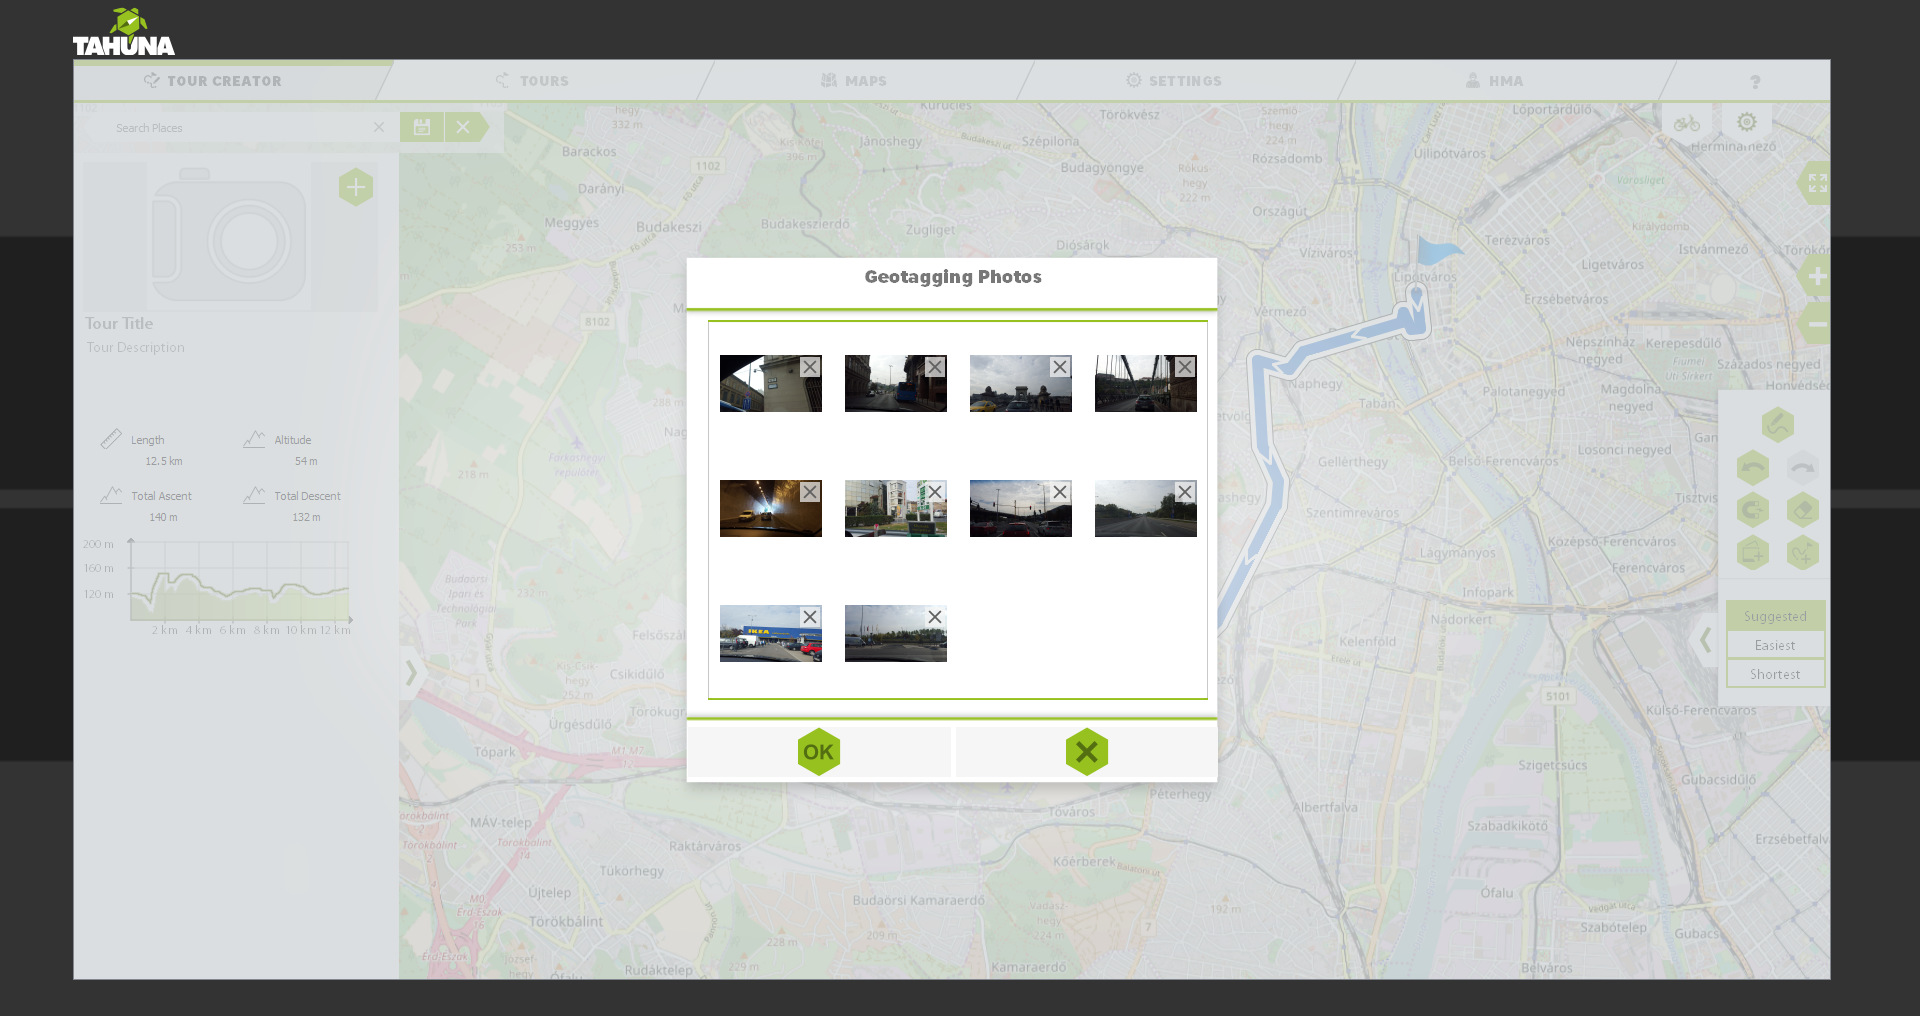

If the picture data doesn’t contain location info, the added pictures will be placed on the route. Before being converted into POIs, a popup window will appear to remove the pictures you might have changed your mind about. After clicking ‘OK‘, another window appears, showing a slider. You can move the pictures using the slider to associate them to the correct locations – they will all move together, as the timestamps tell the Tool how far apart they were taken in relation to each other.
If you are adding pictures with a different timestamp from the time the route was recorded, the Tool will prompt you with the question “Photo and tour timestamps do not match! Retime images?”. If you click ‘OK‘, the procedure above is started.
Click Save to save the changes you made.
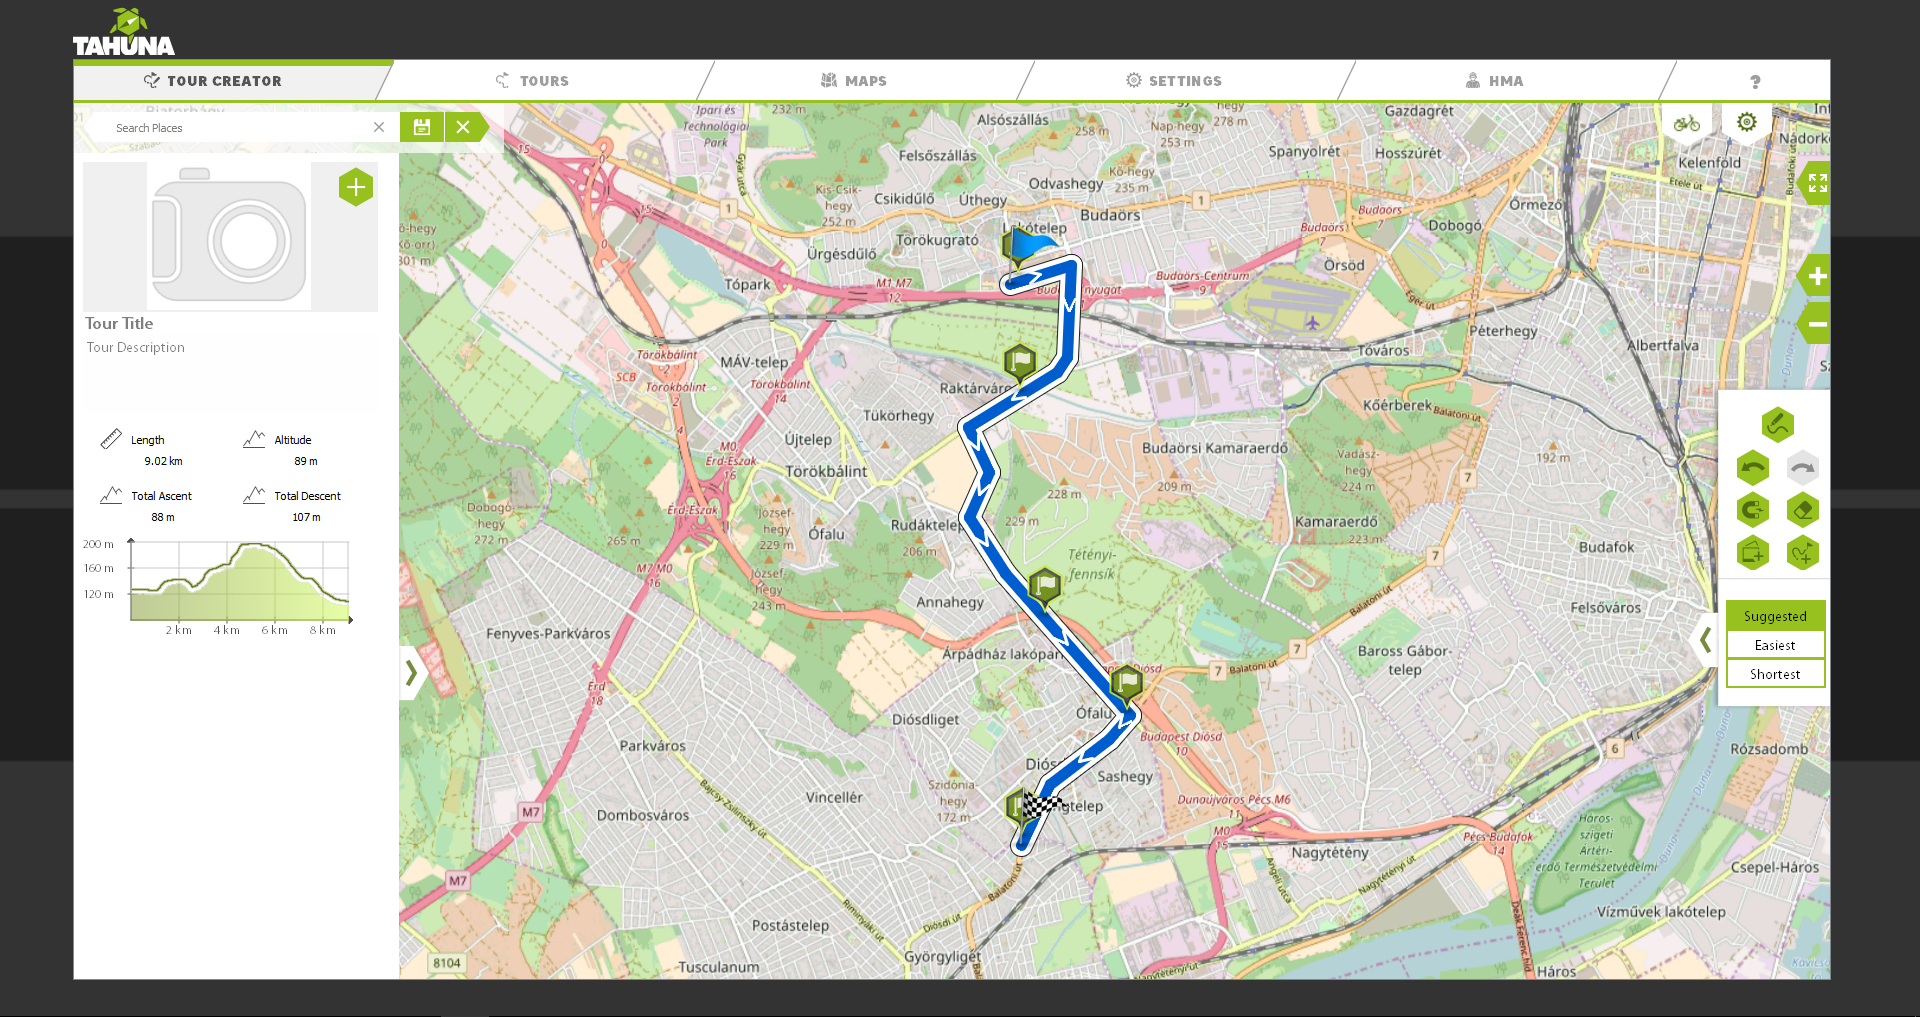
Left pane (tour details): it contains the details of the tour being edited. It lets you enter a title and a description, attach a picture and check the details such as total ascent/descent, the altitude and the overall length.