Welcome to the TAHUNA Tool desktop software’s documentation.
Download and installation
You can download the Tahuna Tool from https://tahuna.com/en/tool/
It is available for Microsoft Windows (Vista or newer) and MacOS (10.6 Snow Leopard or newer).
Click the Download button on the URL above, select your operating system and wait for the browser to transfer the data. Once the download is complete, you can open the installer and follow the onscreen instructions.
If you are using Windows, you can associate .gpx files to the Tool.
Installation is only needed once, as the Tool is capable of updating itself to the latest version. You will need 340 MB of free disk space for the Tool and some more for the offline maps.
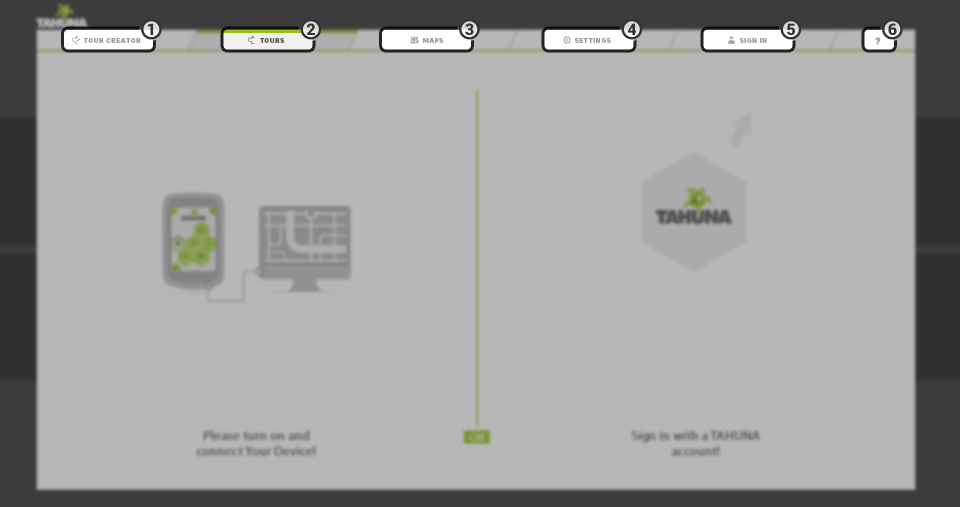
Tour creator tab. This is the tab that is automatically opened upon startup. It lets you create and edit tours.
Tours tab. This tab enables you to manage your tours and tourbooks on your computer and Teasi devices.
Maps tab. This tab lets you manage the maps on your computer and Teasi devices.
Settings tab. This tab controls the Tool’s settings and lets you manage/back up/restore your device(s).
Account tab. It lets you sign in/out and manage your account settings.
Help button. This button opens up the online documentation.
The Tool has a single main window in which all content is displayed.
To continue using the Tool past the loading process, you will have to (create an account and) sign in / connect a device / select one from the list (if you have connected one before).
During each startup, the Tool performs a check for updates. If a newer version is found, a popup is displayed, pausing the startup process, with the text “There is a new version of Tahuna Tool available. Please wait while the updated version is downloaded on your PC.” Press ‘OK’ to start the update process – a popup saying “Downloading updated version…” will display the download status. When the download is complete, the Tool is closed, and the installer starts automatically.


