Home > Memory
Use the tabs to navigate the page – just as you would within the app!
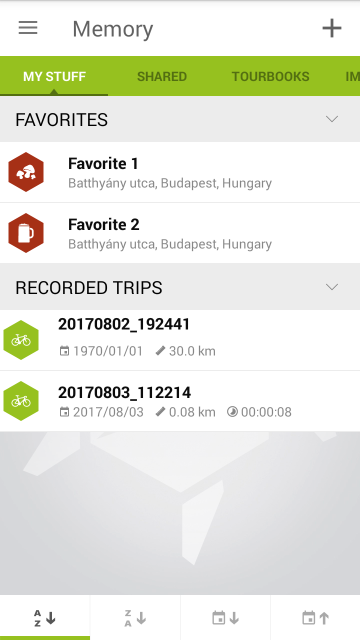
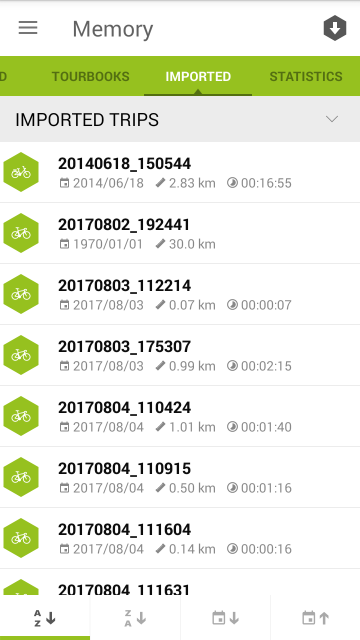
The application can store all your routes and the trips you recorded. You can order them alphabetically and by time using the buttons on the bottom of the screen (/ or /).
Opening a certain track shows you its details and lets you perform actions using the Further options button.
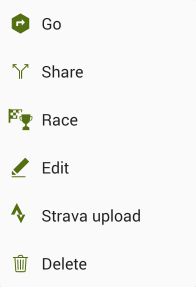
You can navigate to the track ( Go), share it ( Share), send it to another smartphone via Bluetooth, race against your previous effort ( Race), edit its details (see below – Edit), upload it to Strava ( Strava upload) or simply delete it ( Delete).
If you agreed to share your personal data during registration, your location will be recorded in the background while the app is running. This allows you to look up your movement and save it as a tour in case you forgot to actively record it at the time.
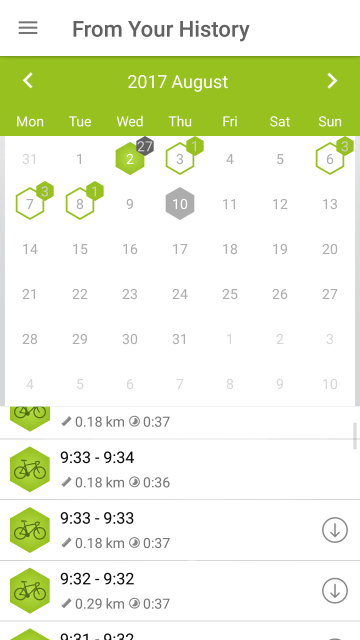
To do so, tap the + Add new activity button on the top right shows your activity in Calendar view (for further information, please see the section below).
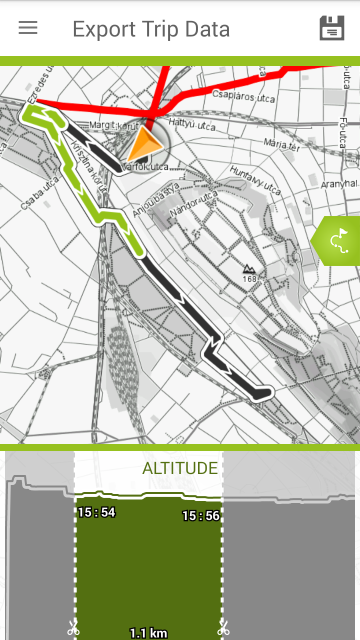
Tapping a recorded activity in calendar view opens it for exporting data. You can crop the desired section by moving the Scissors on the altitude graph (see the picture above). The selected section will be highlighted on the map (green).
To export the selected section, tap the Save button at the top right of the screen.
You can also save your favourite places as POIs (Point of Interest). To do this, tap and hold the map at the spot you want to save and tap ‘Add to favorite‘. You can also mark existing POIs.
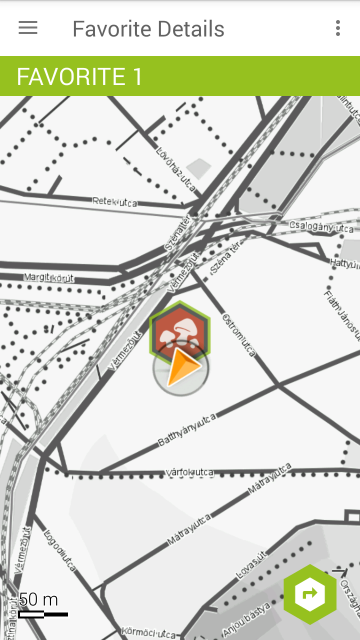
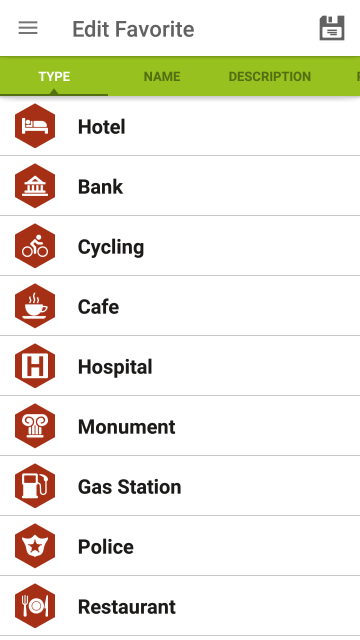
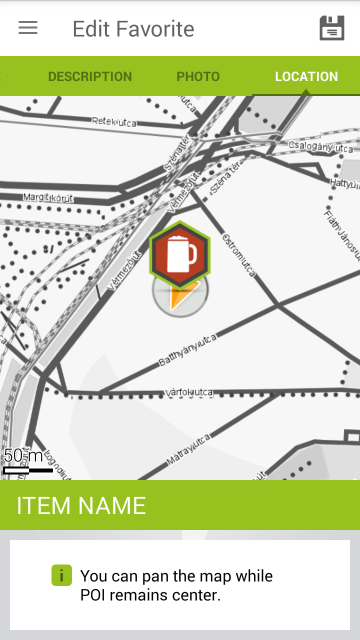
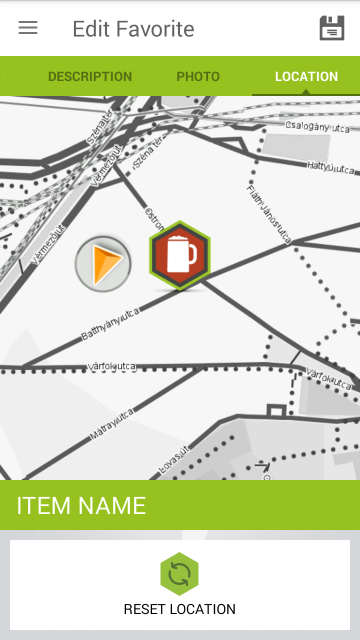
Tapping a Favorite will open it and place it on the map (). You can then edit its details by tapping the Further options button at the top right of the screen and select a category from the list.
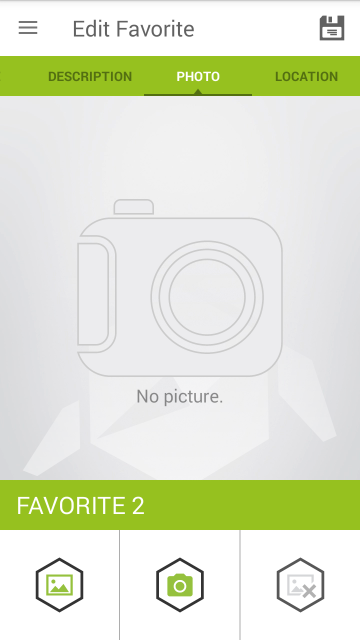
Add a picture to your tour – to choose an existing picture, use the left button, to take a new one, use the center button, to delete the set picture, use the right button at the bottom of the screen.
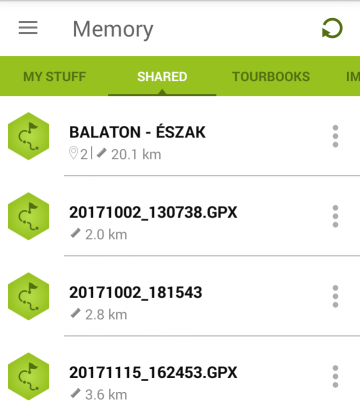
This screen shows the tours/routes/tracks you previously shared (from any platform). These are uploaded to the TAHUNA Sharing site and can be accessed from anywhere using the corresponding link. Please see ‘Memory/Imported’ screen for information about sharing tours.
This screen also provides a link between the TAHUNA Desktop Tool and the TAHUNA App, as the tours shared from within the Tool will show up here and vice versa (the account you used to log in must match on both platforms).
You can use this method to transfer single/multiple tours between devices, e.g.:
– upload recorded ones from your Teasi device and then transfer them to your smartphone via the TAHUNA Tool, or the other way around,
– download GPX files from third party providers and transfer them to your smartphone,
– transfer the tours you recorded on your smartphone to your computer for further editing or archiving
– etc.
Please see an example below (this method actually covers all of the above, you just have to modify the steps/actions accordingly):
1. Download the Tahuna Desktop Tool from https://tahuna.com/en/tool/
2. Open it and log in with your Tahuna account (the one that you registered when you downloaded the App to your smartphone) (if you have a Teasi device, you don’t have to log in in this step).
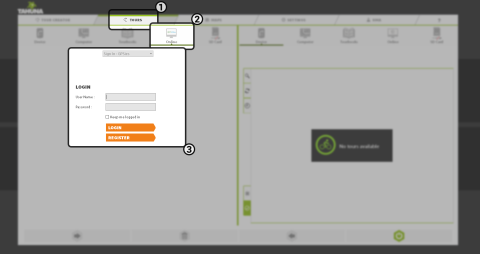
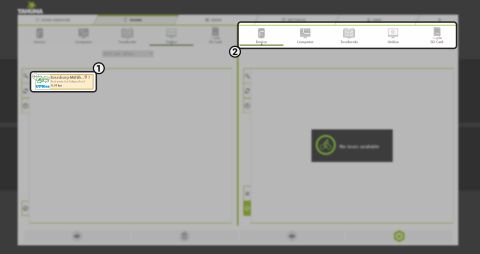
3. Click the ‘Tours’ tab (the 2nd one).
4. Within the ‘Tours’ tab, set the left pane to ‘Online’ and select your preferred route planner from the drop-down menu.
5. Within the ‘Tours’ tab, set the right pane to ‘Computer’.
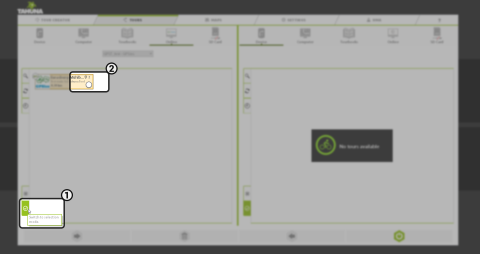
6. Select the desired tours from the 3rd party route planner (long click one of the tours and then proceed to tick the ones you would like to copy).
7. Drag and drop the tours to the other pane .
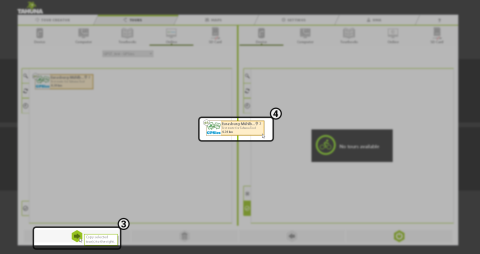
8. Change the left pane from the 3rd party route planner to Tahuna using the drop-down menu (if you have a Teasi device, you might have to log in to your Tahuna account in this step).
9. Drag the tours that you recently copied to your computer onto the ‘Online’ (Tahuna) pane.
10. When you open the app on your phone, the newly copied tours should be visible in the ‘Memory/Shared’ tab.
For further information regarding the TAHUNA Desktop Tool and its use, please click here.
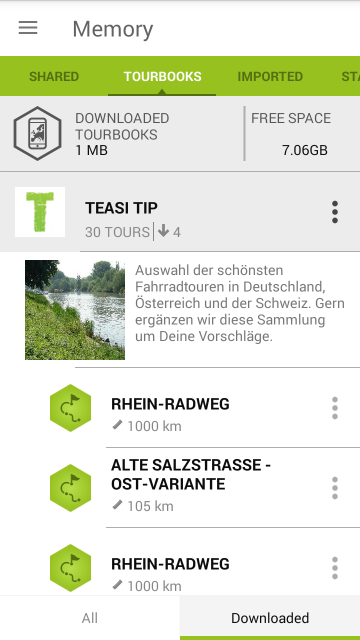
This function gives you the ability to download premade guidebooks and plan your trips accordingly. The database contains various books that can be found grouped by region or simply by the editor’s choices.
You can either get the full Tourbook or just certain routes and add them to your phone’s memory. These then function similarly to the recorded/saved routes with the addition of a brief description by the publisher.
To view a Tourbook, simply tap on it. This will expand the list and show the contained routes. To download it, tap the Further options button to the right of the title and select Download tourbook.
If you only want to download a specific route within the book, tap the Download button to the right of the tour’s name. You will see a progress bar showing the download state. Once finished, the download pictogram will be replaced with a Further options button.
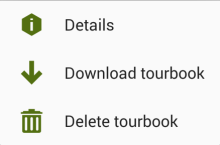
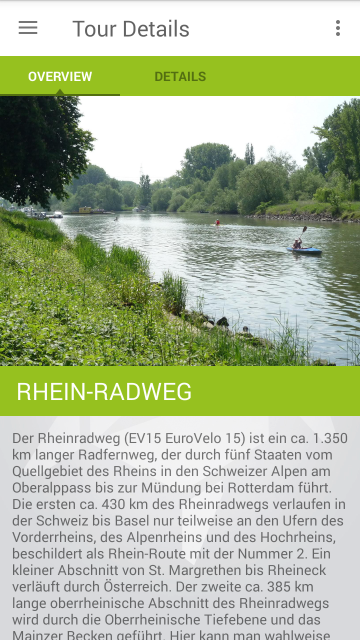
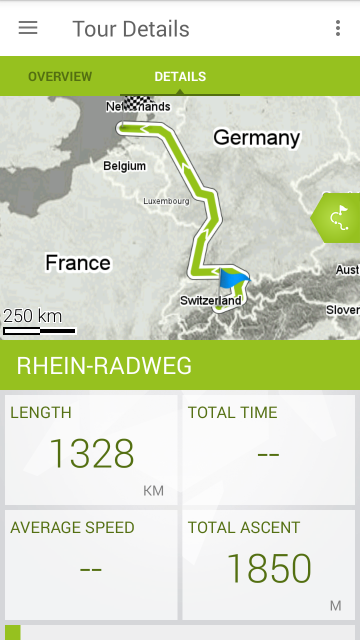
Tapping this will open a popup with options. The Details button shows you an Overview and the detailed data of the route including a picture and a brief description. The ‘Details’ tab shows the data related to the route. To start navigating to/on the route, tap the Go button. In the dropdown list of the tourbook, you can also delete a specified route by tapping the Further options button and selecting Delete.
On this screen, you have the possibility to import trips/routes/POIs. These can either be the ones shared by others or files downloaded from the internet.
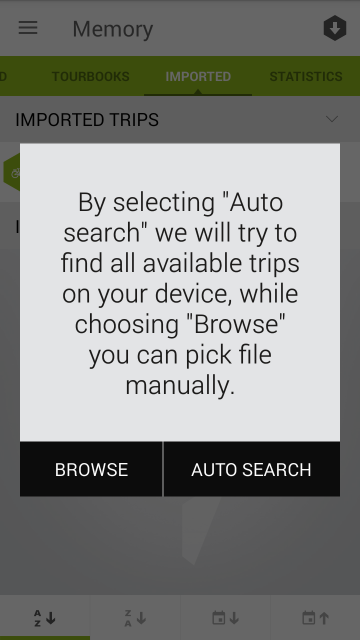
Tap the Import button at the top right of the screen to manually or automatically import files into the application.
If you don’t know the specific location of the file, tap ’Auto search’ and let the application look it up. You can also browse manually and locate the desired map data in your phone’s storage.
Once imported, the items will be shown in ’Memory/Imported” and can be sorted alphabetically or by date (either ascending or descending) by selecting your preferred method at the bottom of the screen (/ or /). The trips and POIs can be seen in separate lists.
The POIs can be searched within ’Destination/POI’ according to the set criteria.
For further actions, open an item by tapping on it. Tap the Further options button at the top right of the screen and choose from the pop-up menu.
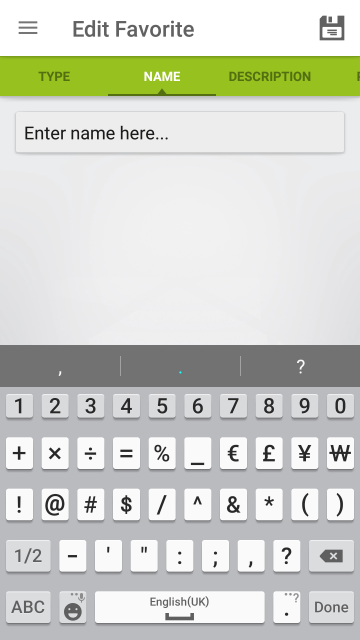
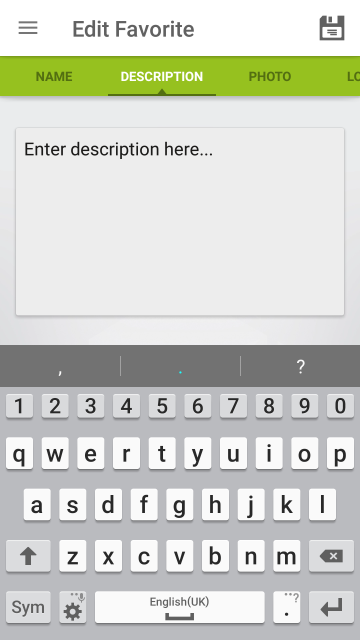
You can navigate (to) the route by tapping Go. Select Edit to rename it, add a description or attach a photo. Tap Race to try and beat your best time (please refer to Fitness/Race for further instructions). Delete the selected route by tapping Delete.
If you have a Strava account, you can pair it to your Tahuna account and upload your workouts. You can either do this in Settings, or by tapping the Strava button in the Further options dropdown menu and following the instructions. If you have already paired your accounts, the upload will start automatically. You can further manage your uploads within the Strava mobile application or the website.
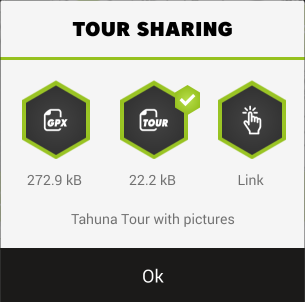
The selected item can also be shared by tapping the Share button. The application will prompt you to choose the sharing method. You can export a GPX file, a Tour file with the attached pictures contained or upload it to the cloud and share the link for people to view online. Whichever method you chose, the OS will then prompt you with the options for saving the file/sharing the link – please proceed accordingly. If you chose ‘Link‘, the app will generate a link and upload your track to the TAHUNA Sharing Site. This way, anyone who has the link, can open the site and either view the track online, or download it in .gpx format. The tracks shared with the ‘Link’ option will be shown on the ‘Memory/Shared‘ tab.
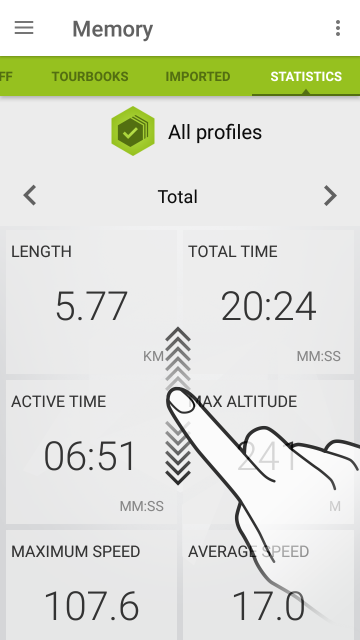
On this screen you can overview the gathered information of your rides, including sensor data. Please scroll down to access all information.
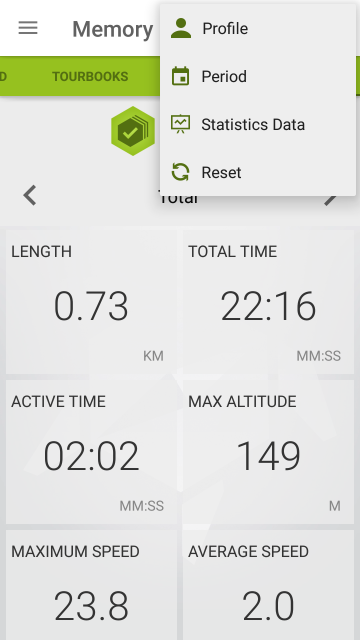
Tap the Further options button at the top right of the screen to access further options:
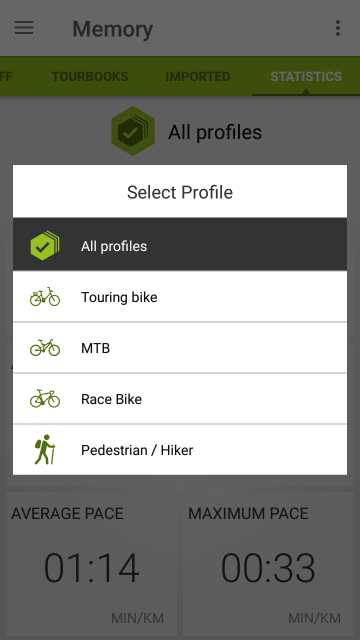
Profile: Choose the profile for which you want information to be filtered. You can also do this by tapping the ‘All profiles‘ button at the center of the screen.
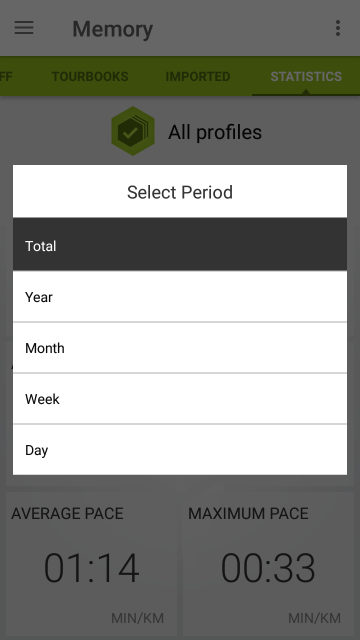
Period: Filter statistics for specific time periods. Use the arrows (/) at the center of the screen to move between the selected time units.
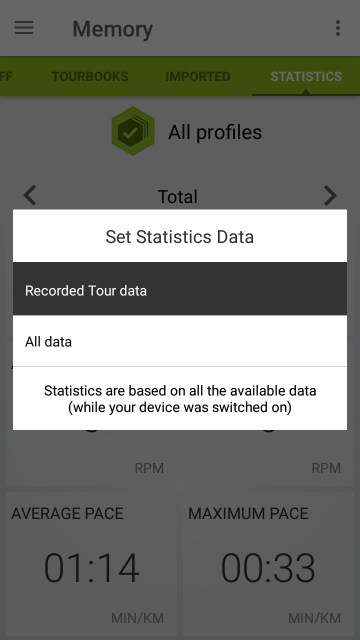
Statistics Data: Shows all data that has been gathered while the device was active with the application running.
Reset: Reset all collected statistics data.
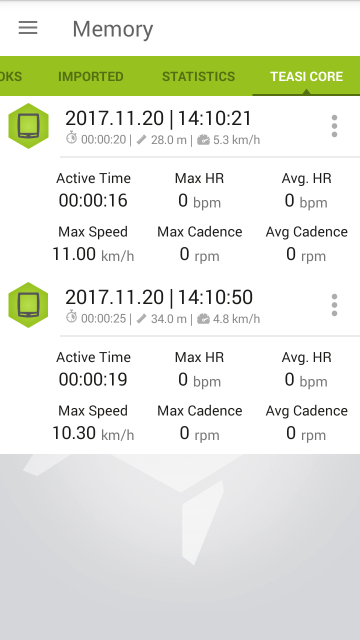
If you have a Teasi Core, you can use it as a standalone bicycle computer without connecting it to your smartphone. You can pair several sensors to it (e.g. heart rate, speed and cadence or speed&cadence sensors) and record your trip’s details. The next time you connect it to your phone using the TAHUNA app, the collected statistics will show up on this screen.
When the Teasi Core is not paired to your phone, it can connect to Bluetooth sensors to gather data. It can’t determine your location, but it will record the duration of your activity and the information provided by the sensors.
When you turn the device on, you can skip the ‘Searching’ (for a smartphone) screen by pressing the left button. This will take you to the default (speedometer) screen. To pair sensors, hold the center button until the device beeps twice. This will open the ‘Sensors’ screen. To start a search, press the right button.
Nearby sensors will show up at the bottom rectangle of the screen. The Teasi Core will automatically connect to paired sensors if they are in range. Hold the left button until it beeps once to get back to the ‘Speedometer’ screen.
The connected sensors will be shown at the top of the display (‘S’ meaning speed/speed&cadence, ‘H’ meaning heart rate). If there are no sensors paired, the device will only record the activity duration.


