Solve background location issue on Android 8+ (Battery Optimization)
Android 8.0 has introduced a new function which is causing issues when the Tahuna app is in the background. This may lead to the app closing and your E-Bike/sensor connection being dropped (Bluetooth turned off) or the loss of data, eg. an ongoing recording or navigation.
To prevent this from happening, you can enter the settings menu of your phone, find the battery management section and turn off battery optimization for the Tahuna app.
The method varies from phone to phone as different manufacturers have different menu arrangements – we will try to cover the most popular systems below:
Nexus/Pixel phones:
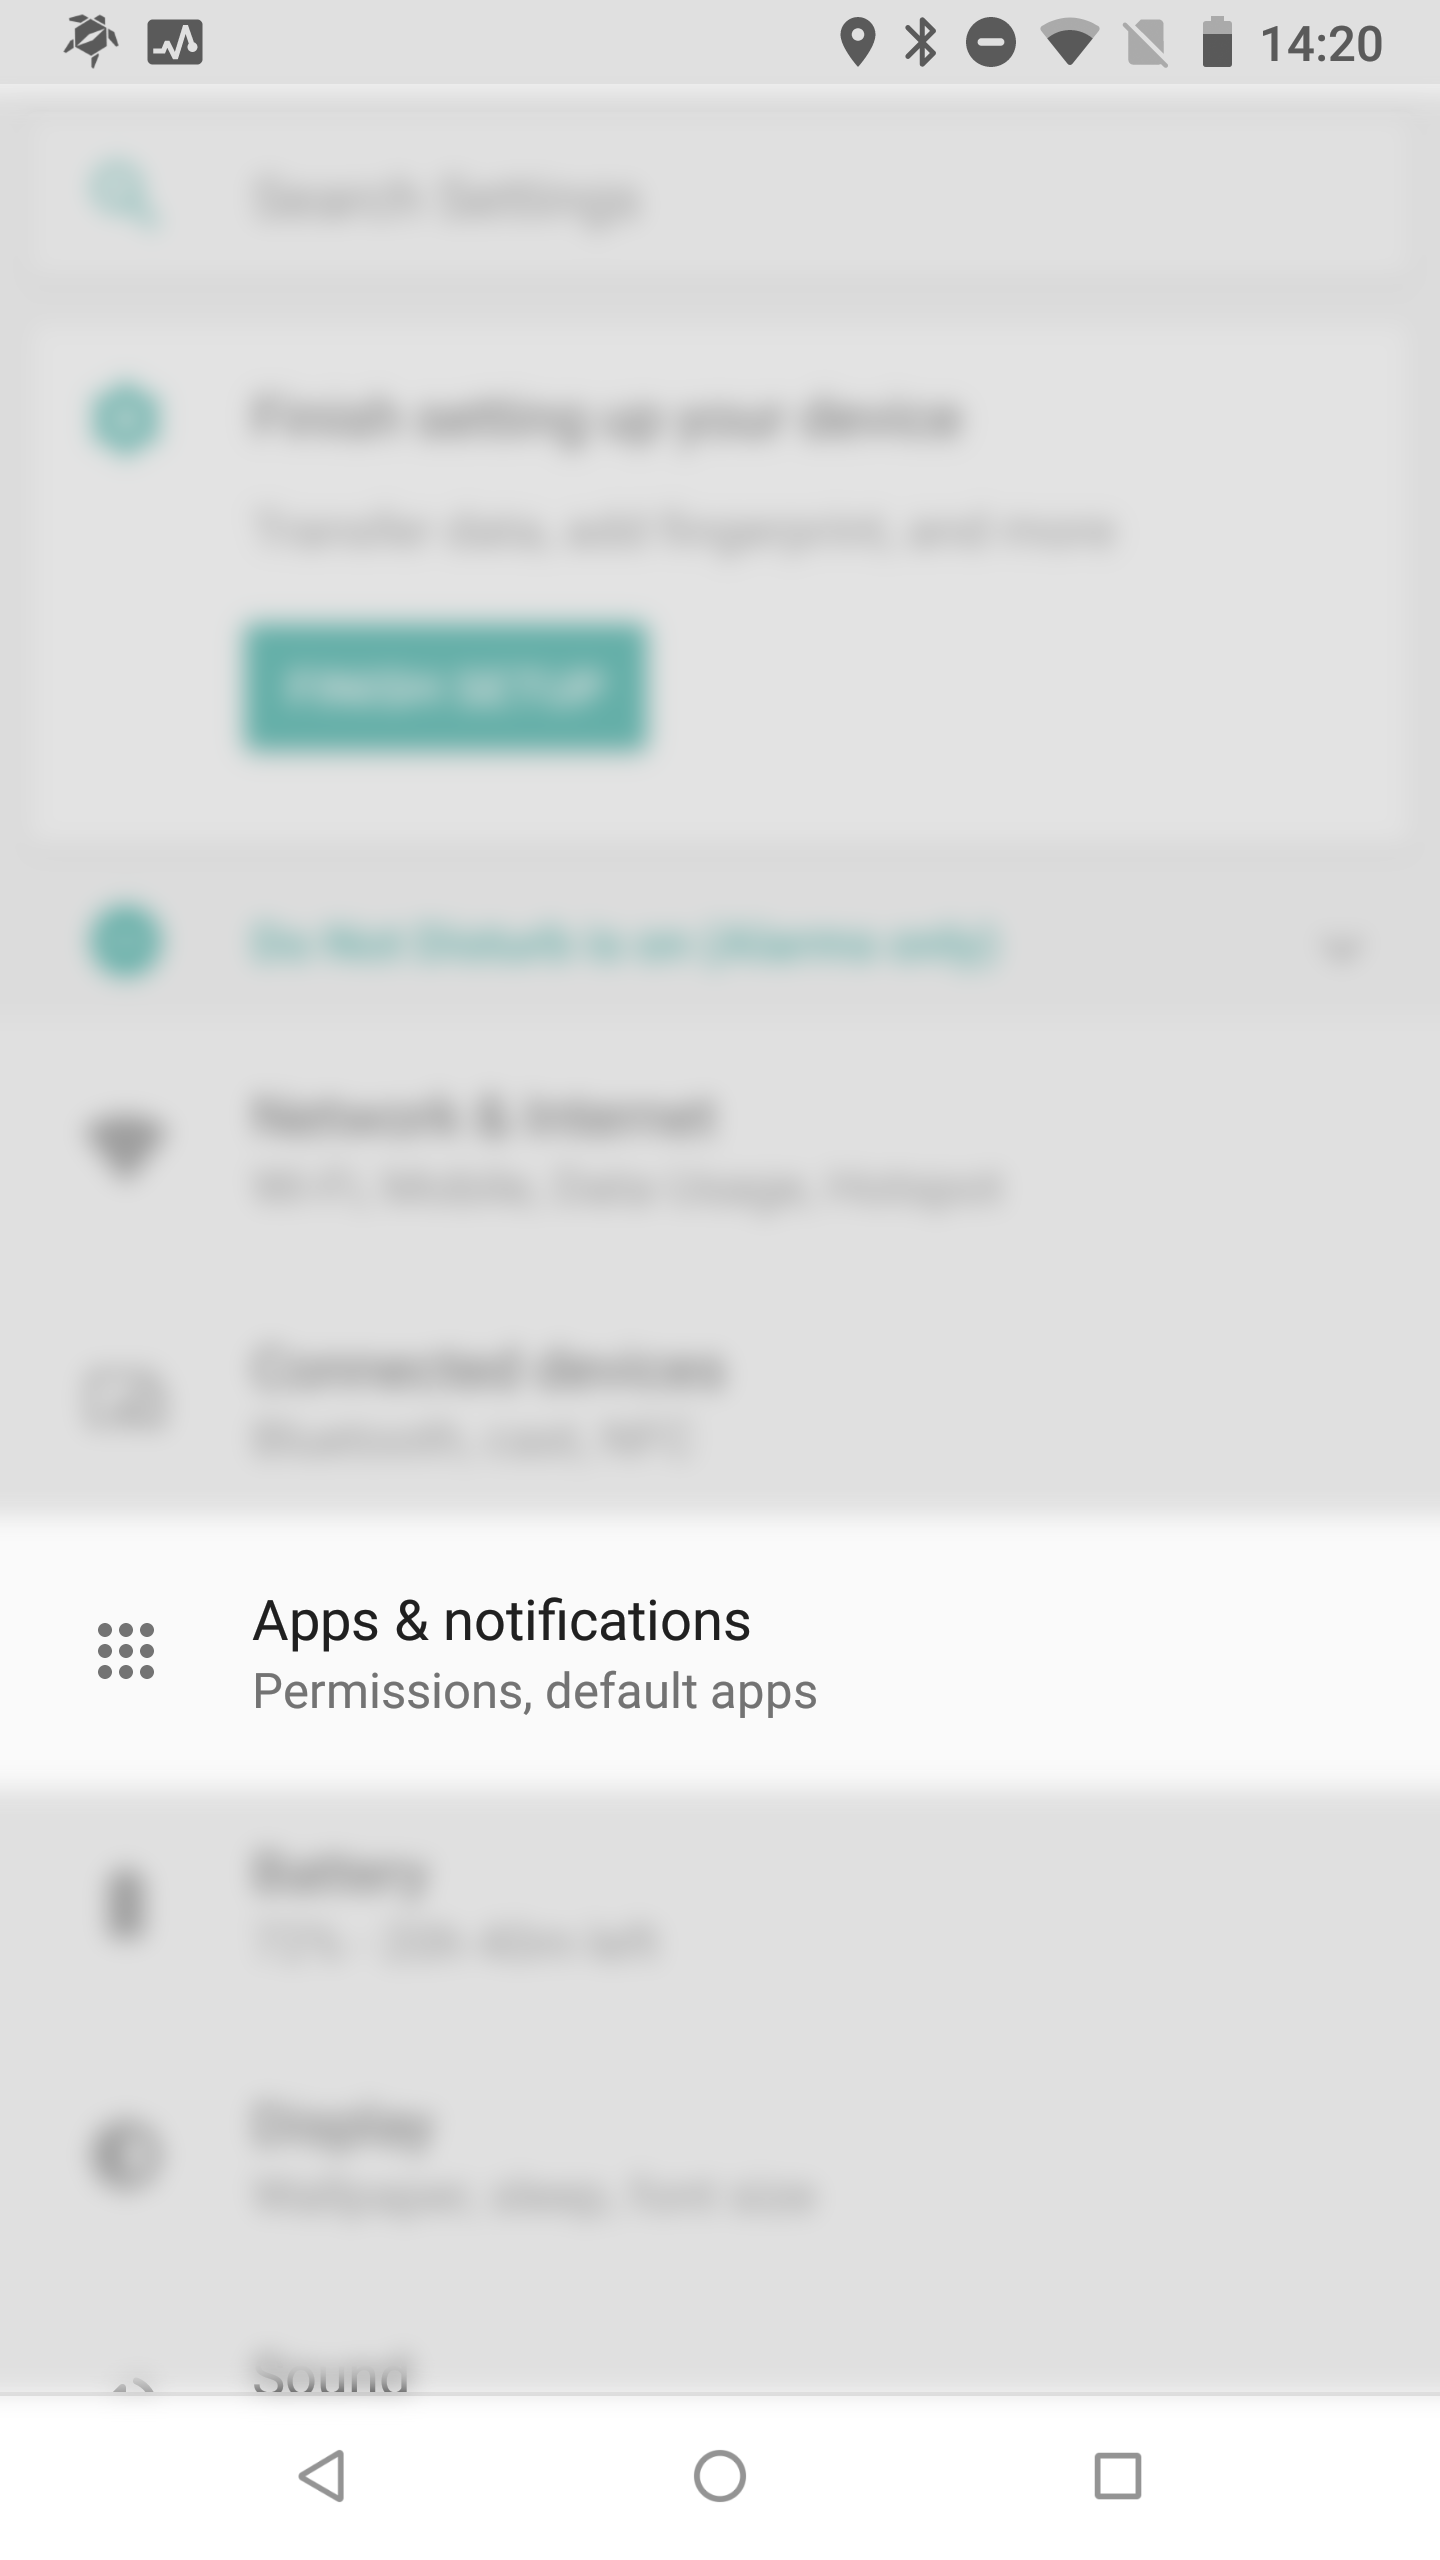
- Open “Settings”
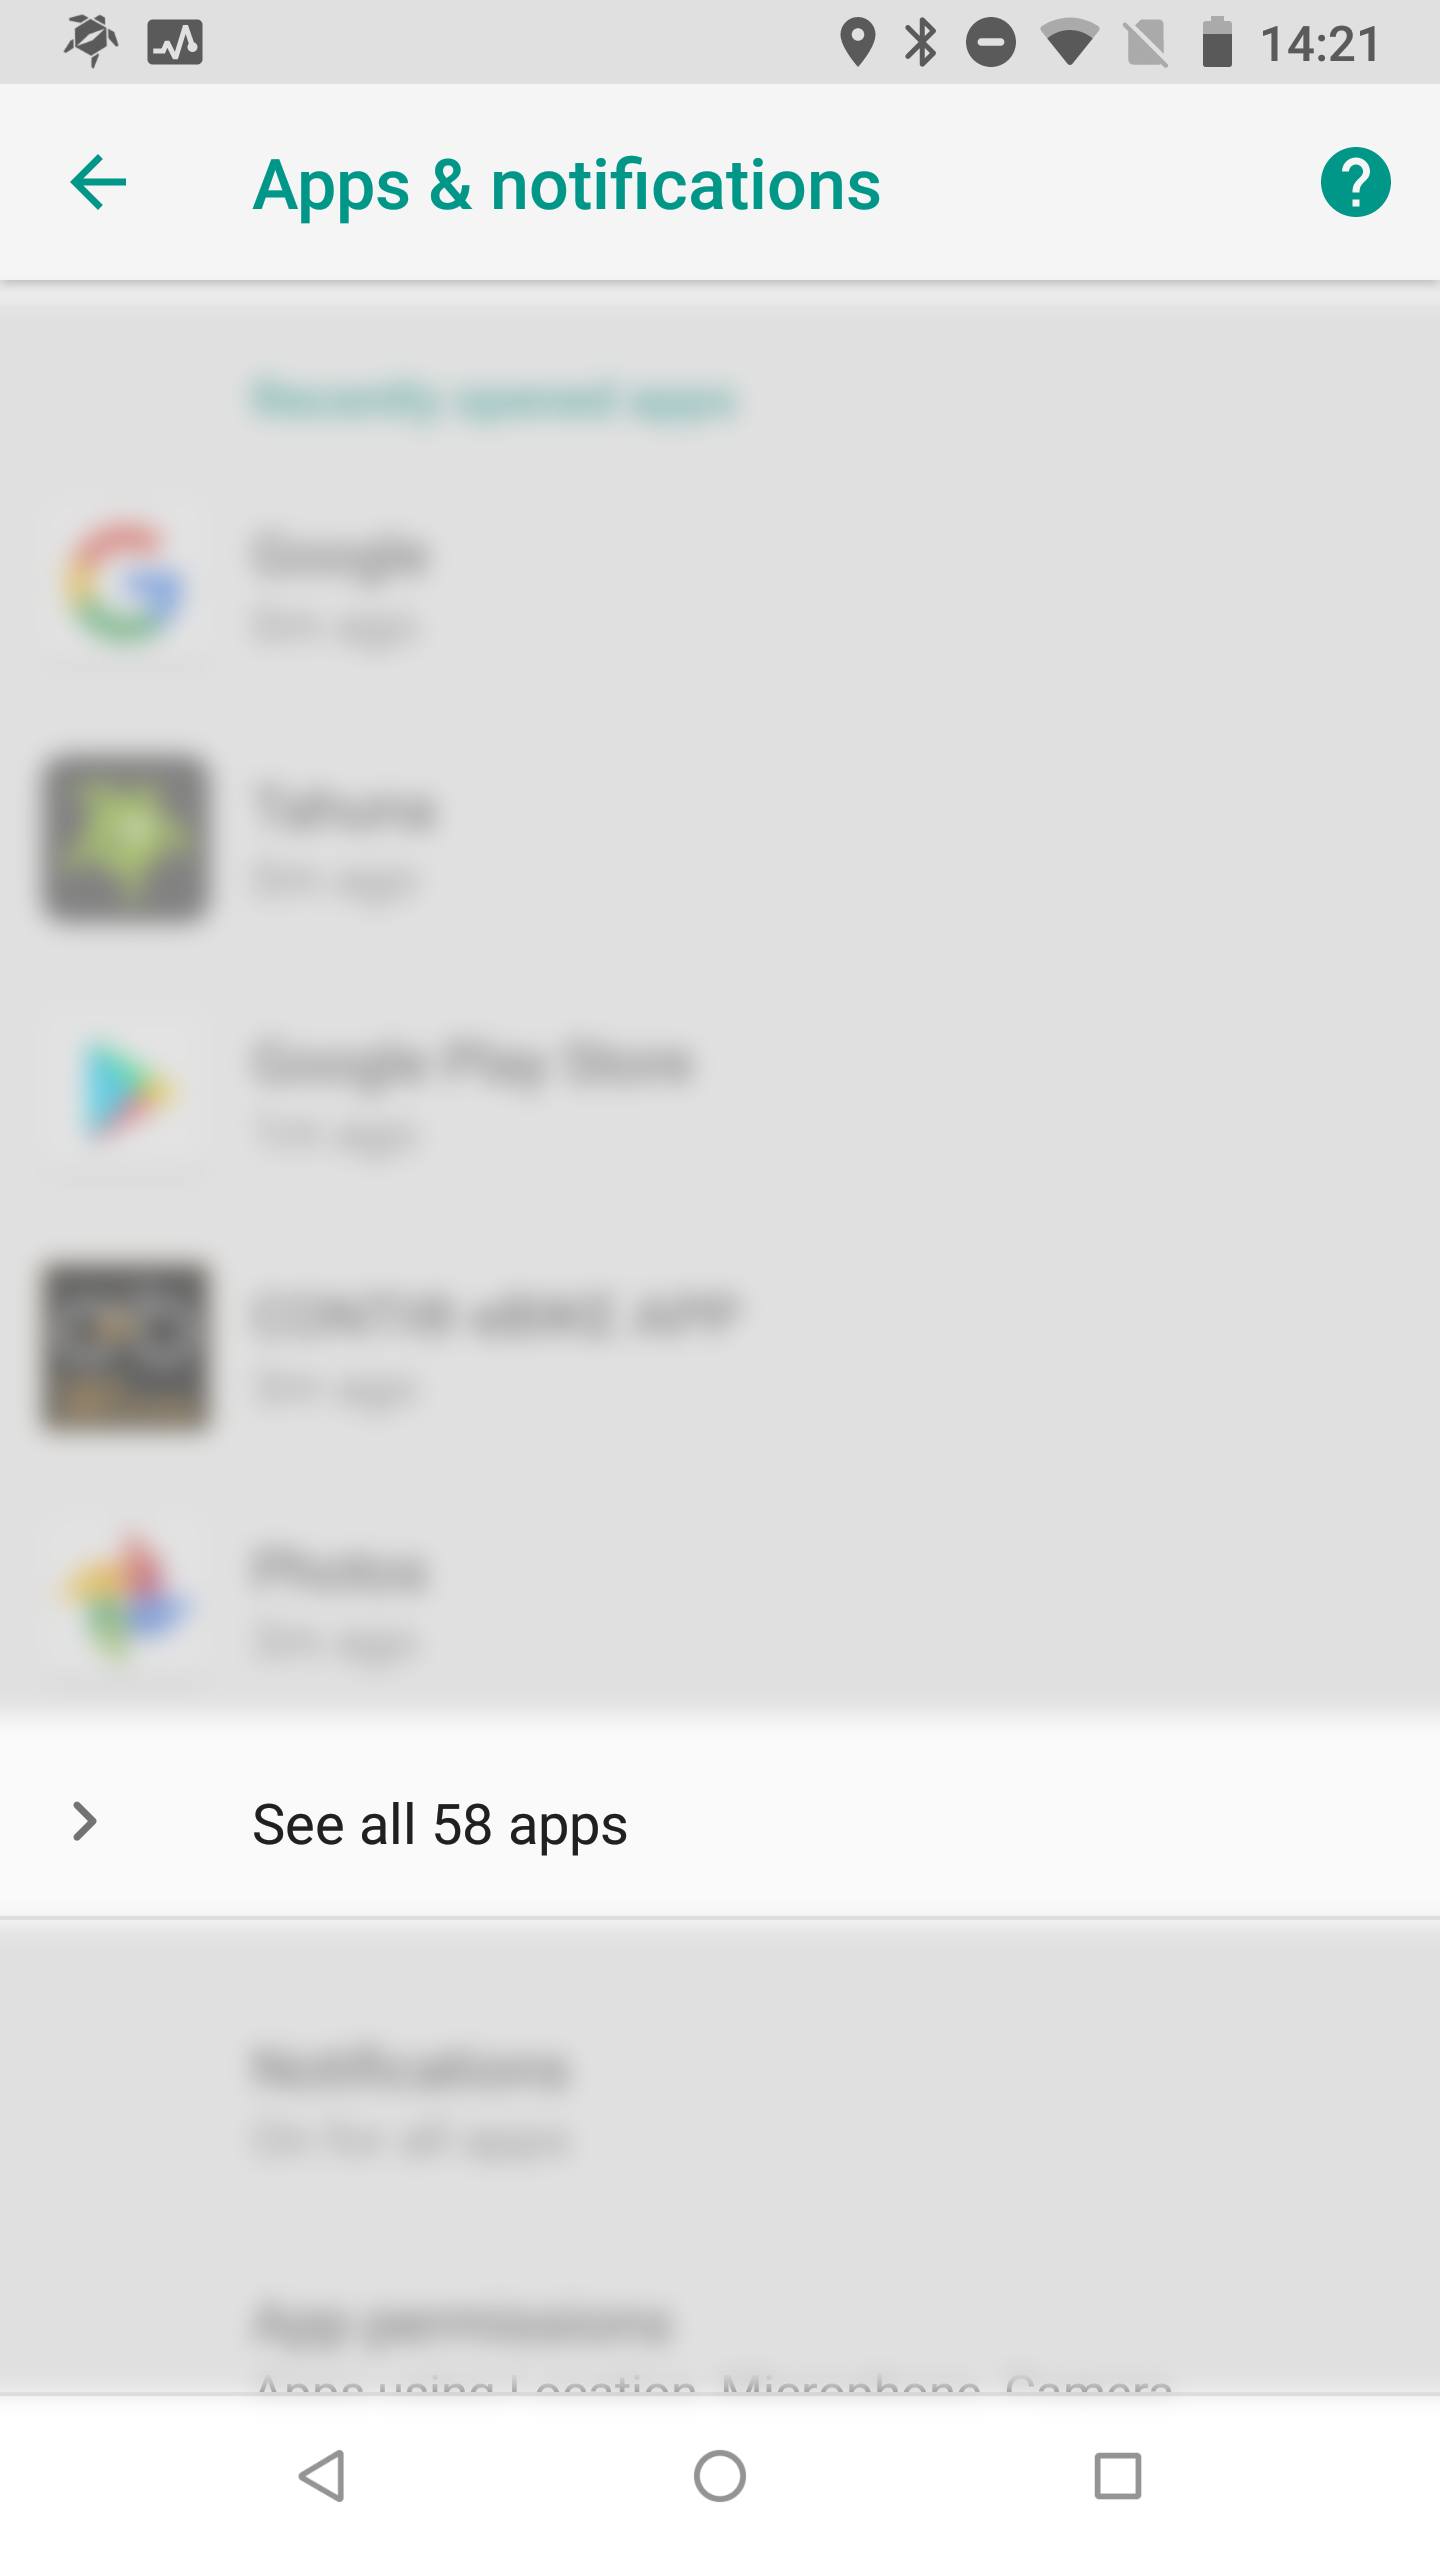
- Select “Apps & Notifications”
- Tap “See all apps”
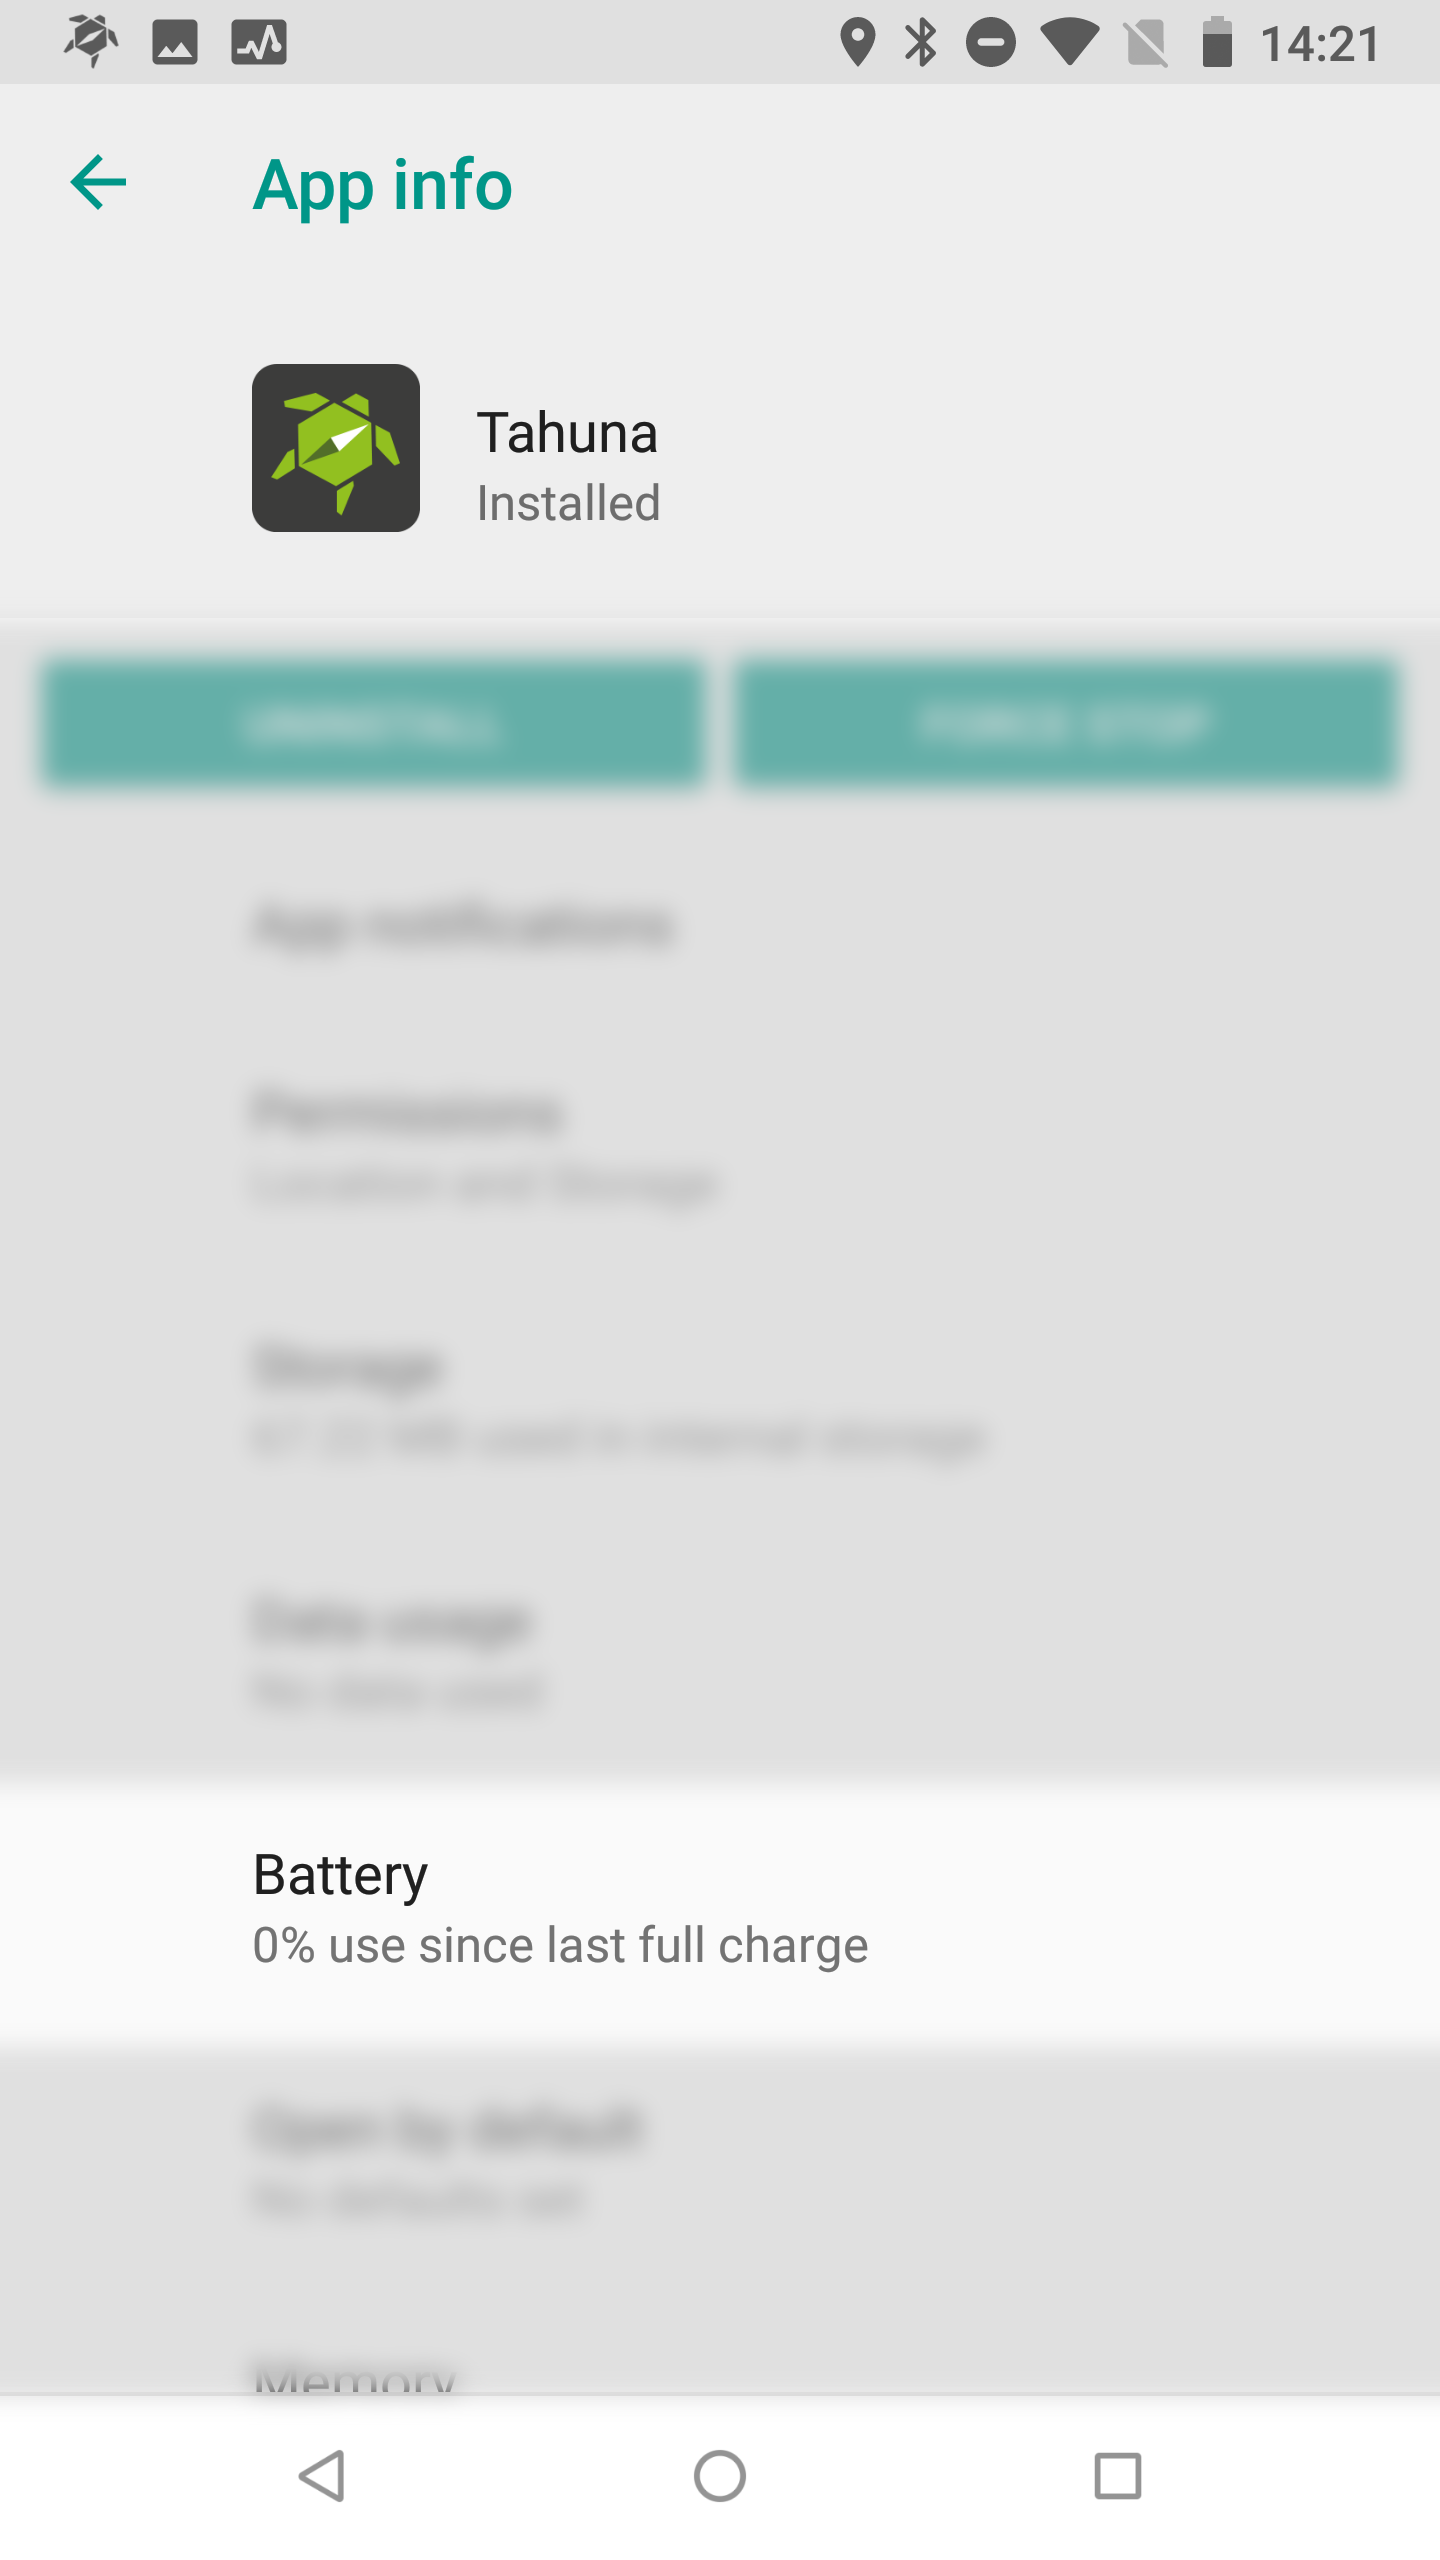
- Select “Tahuna”
- Tap “Battery”
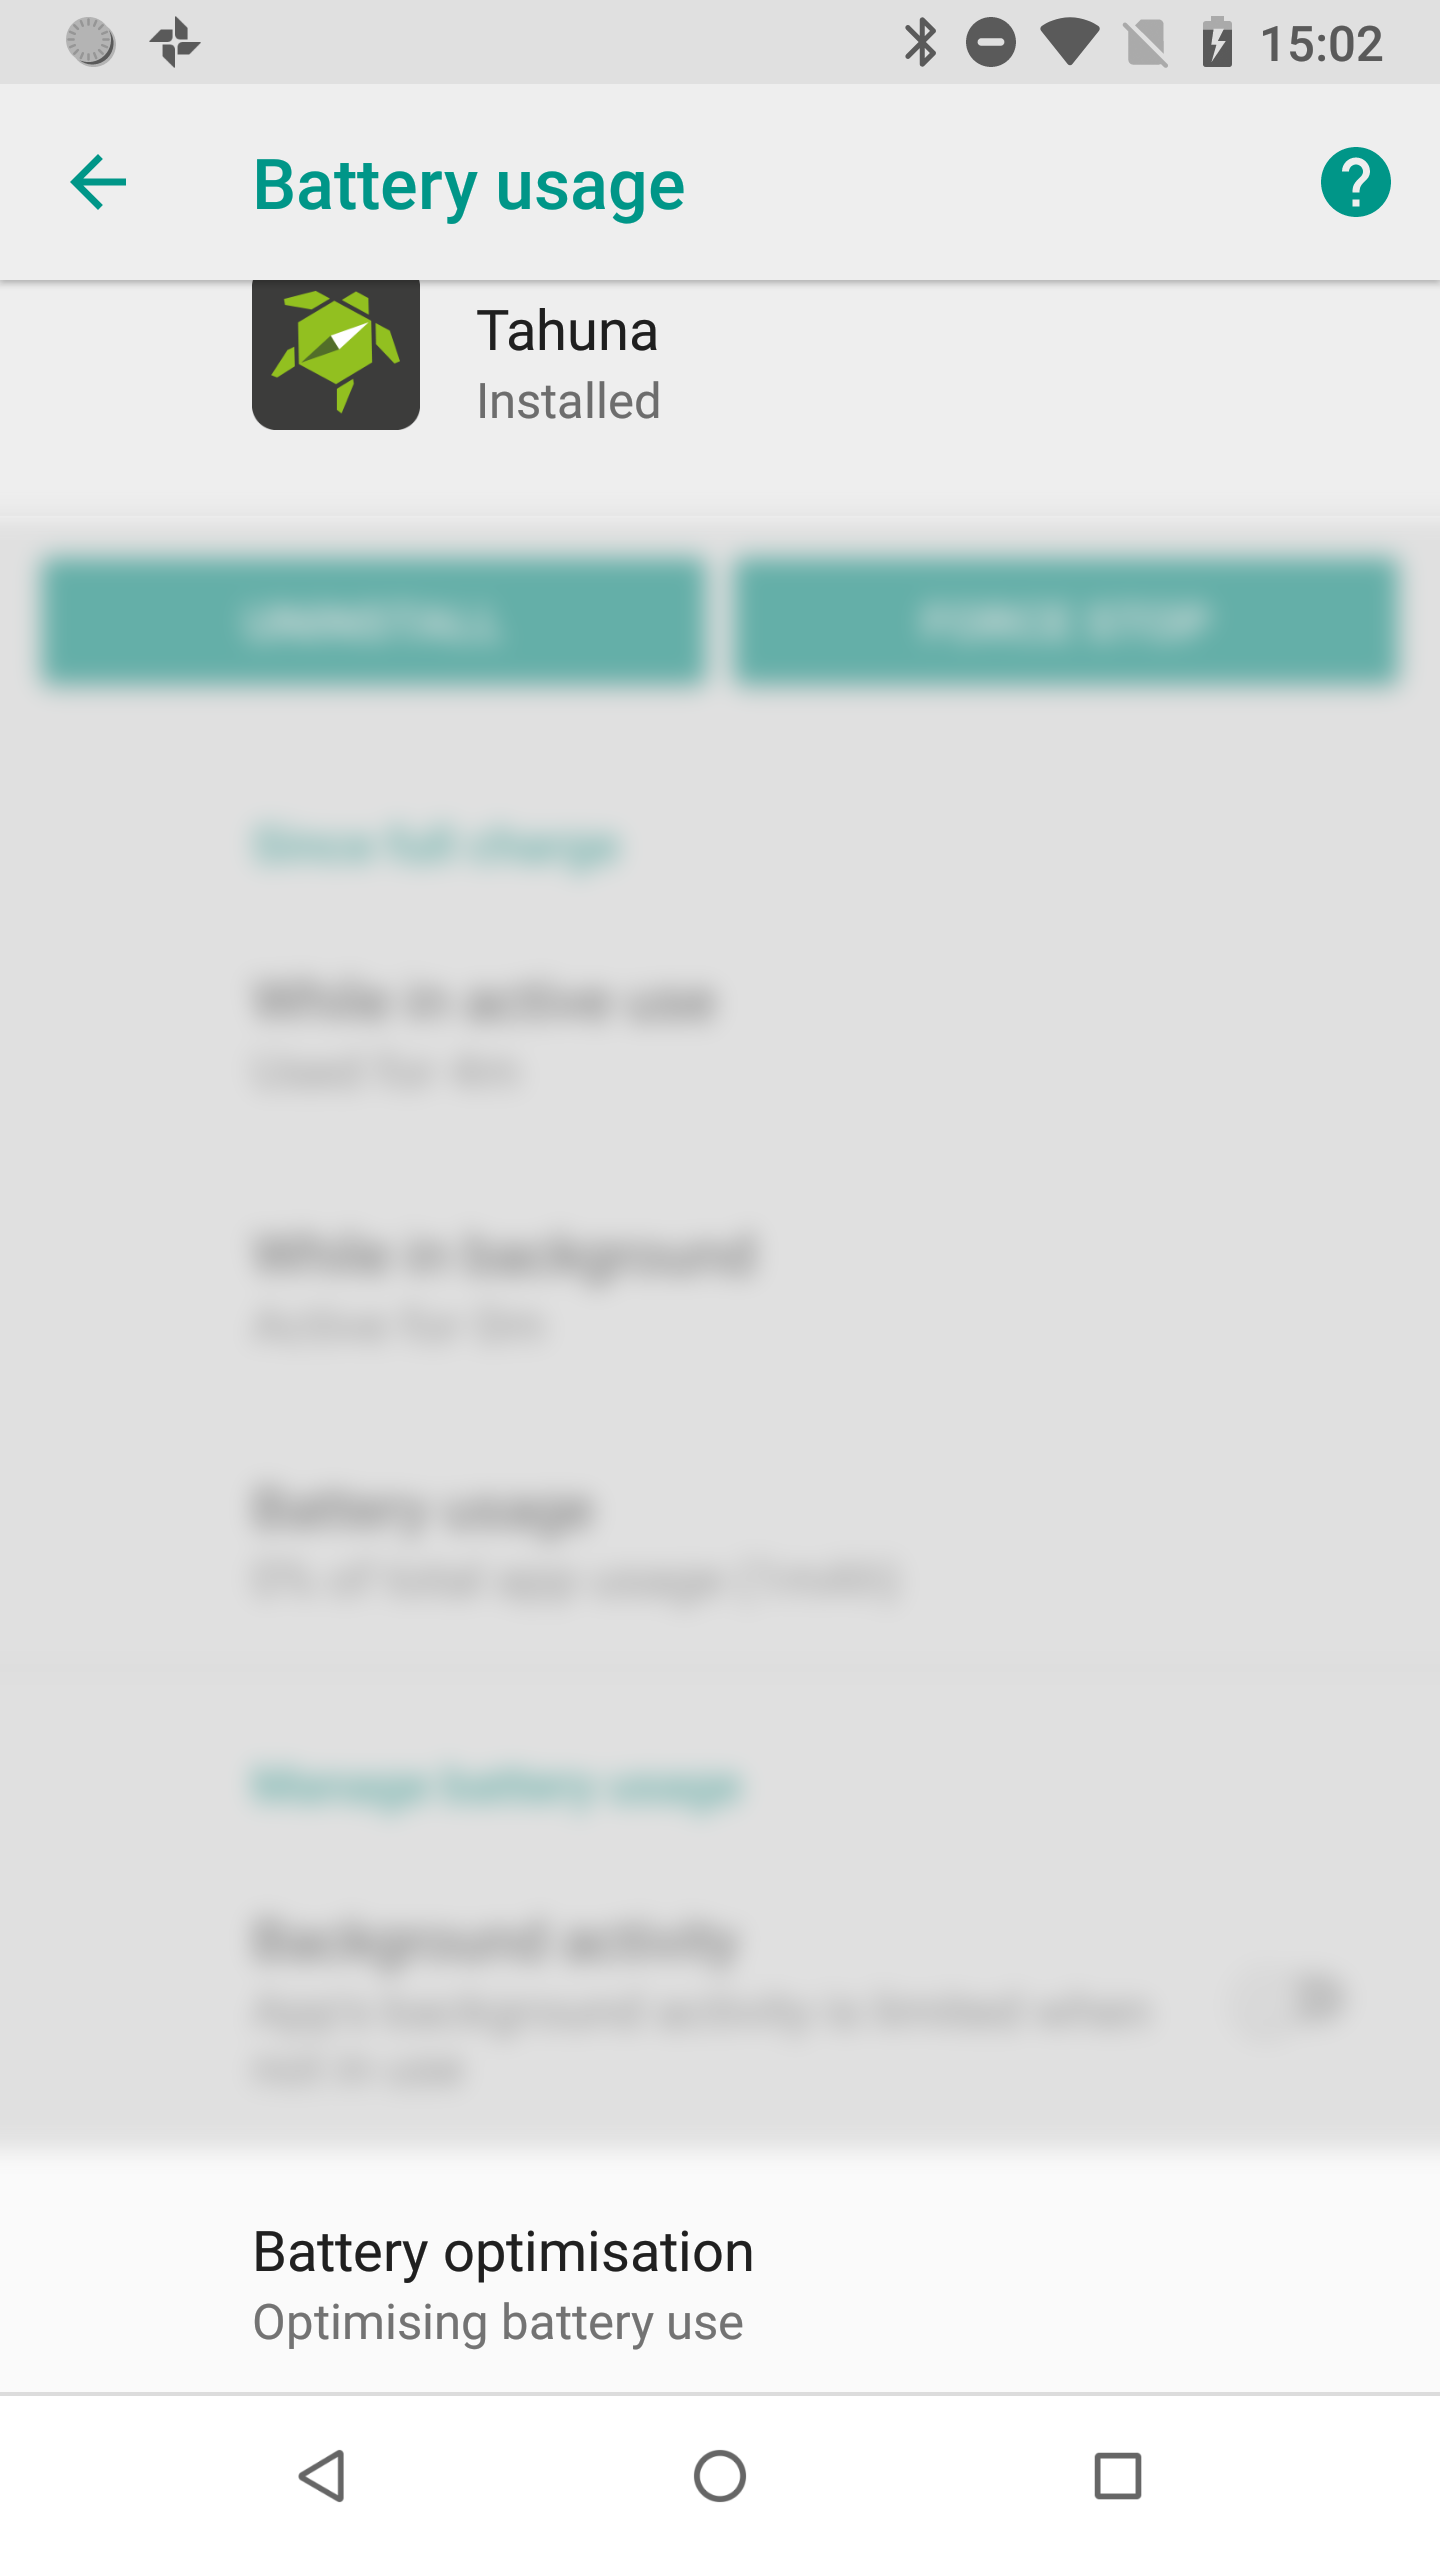
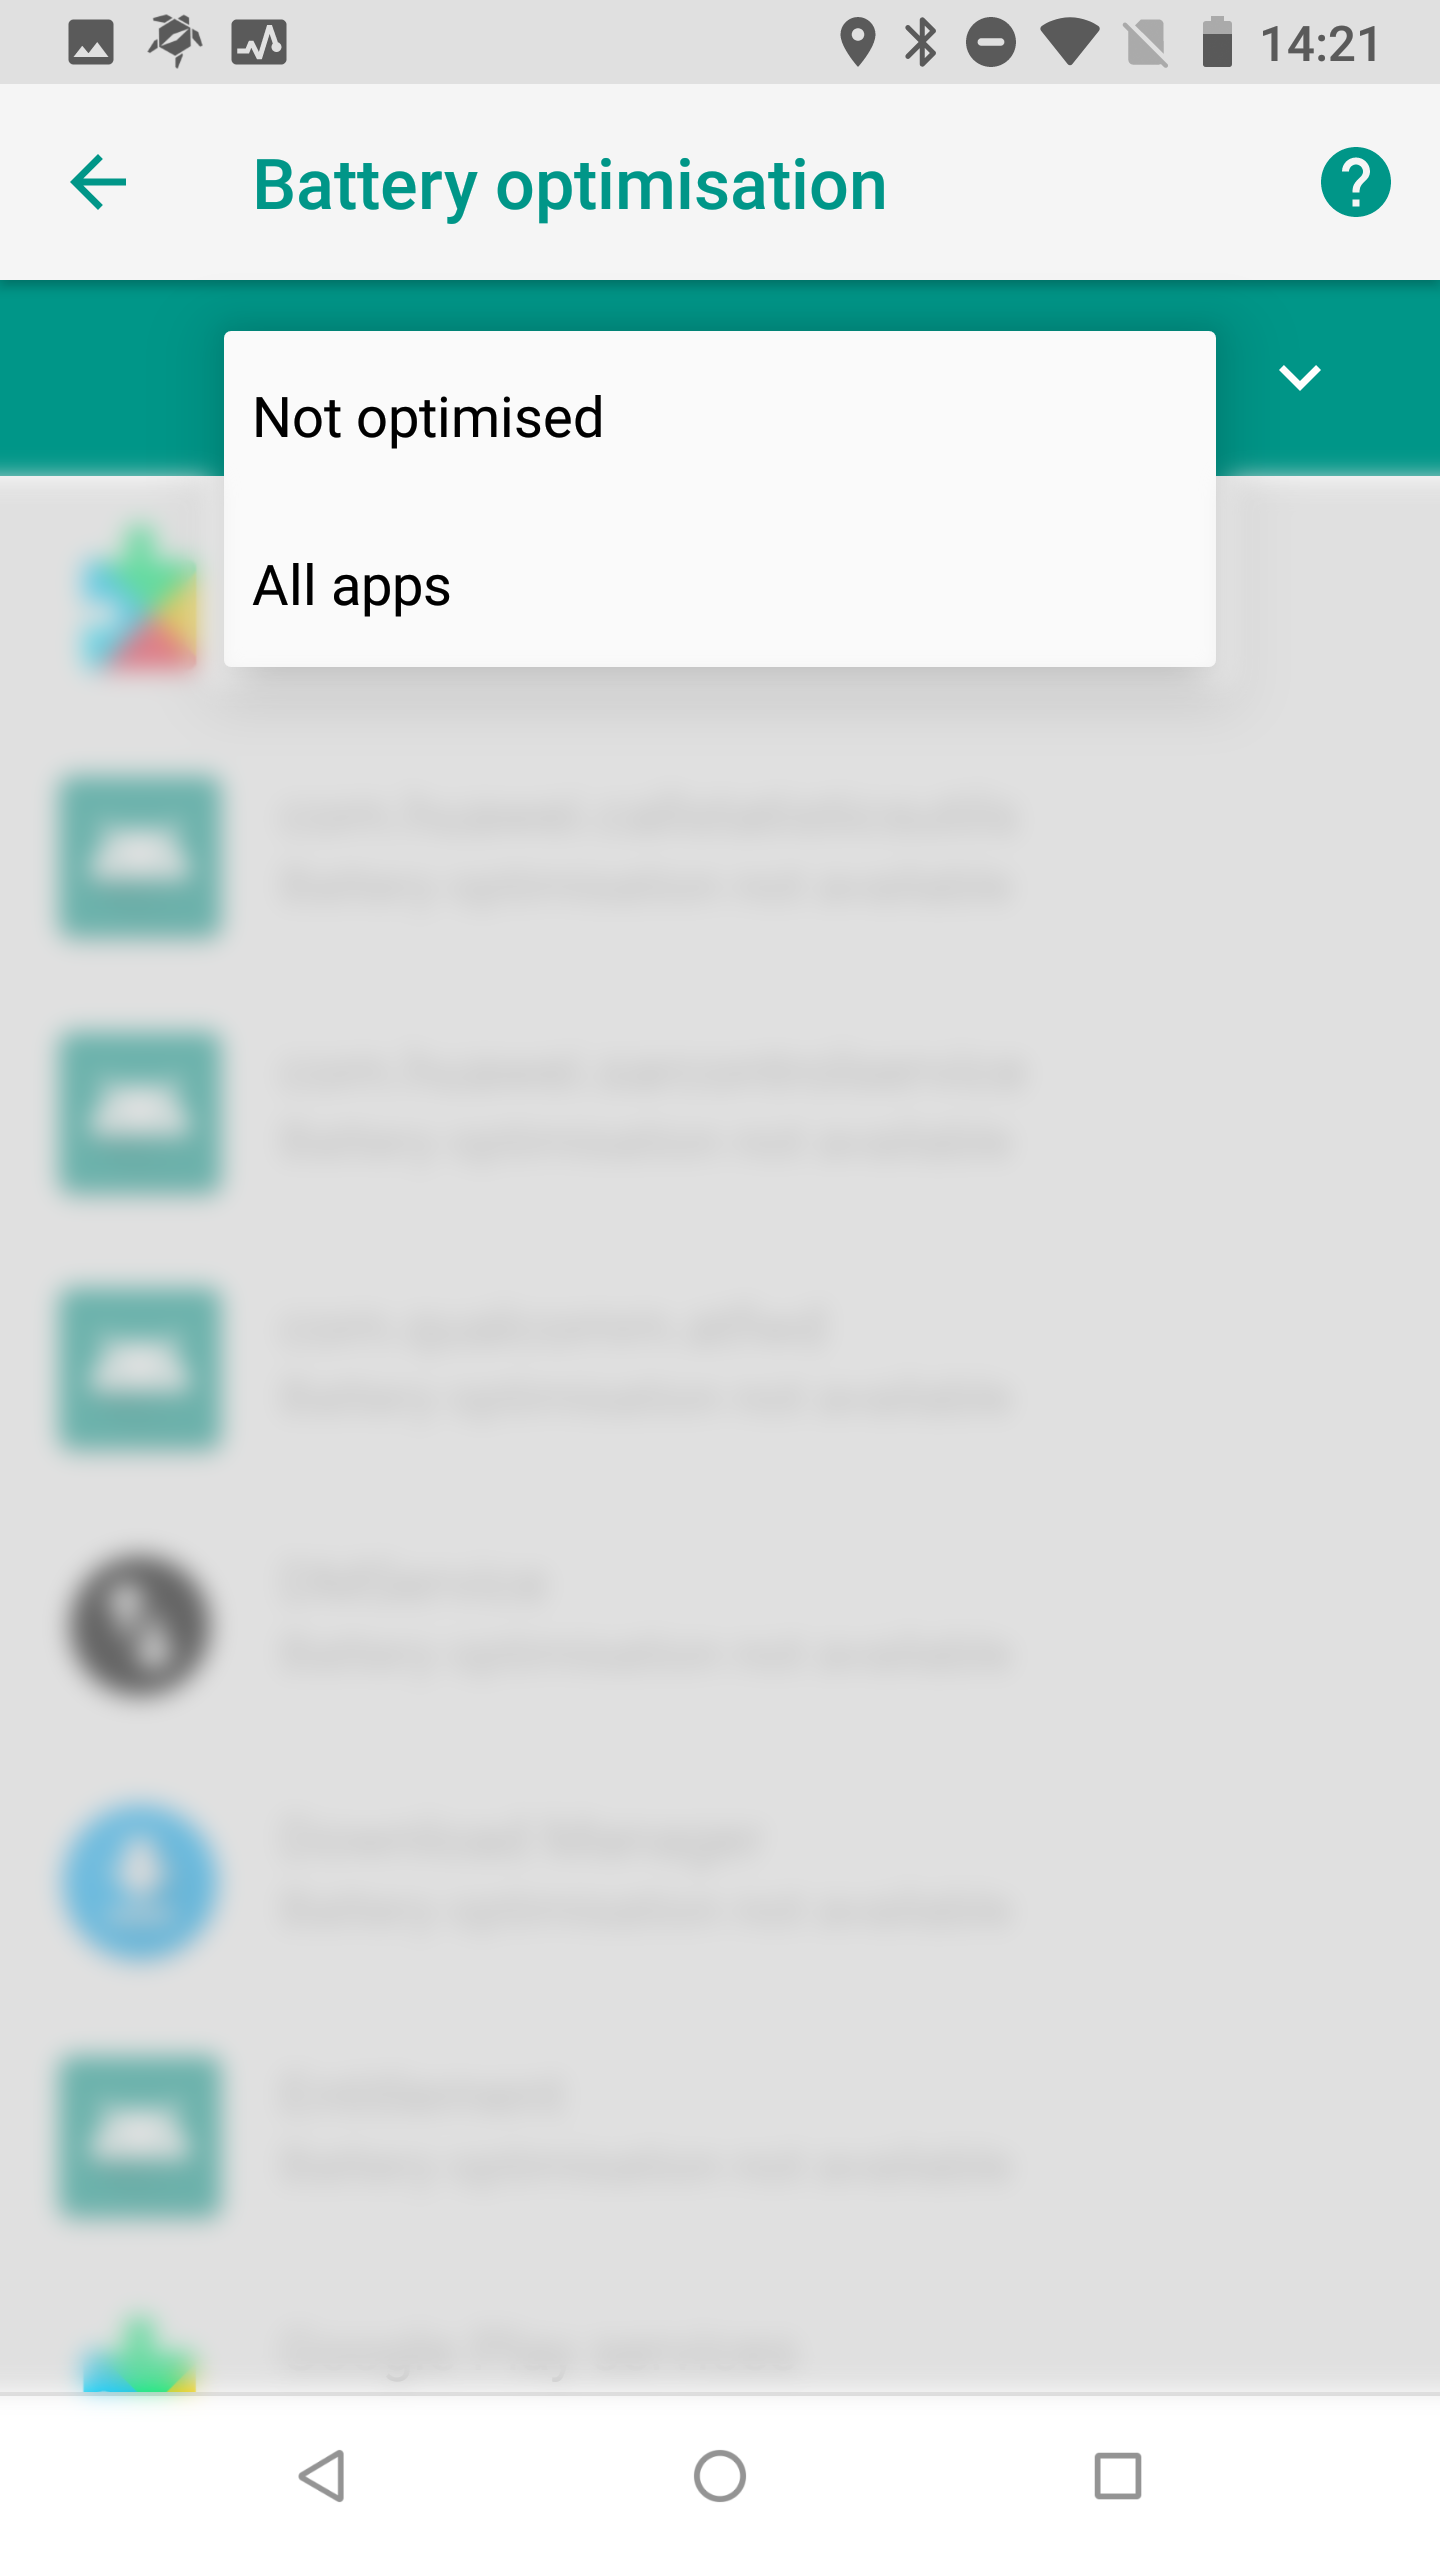
- Tap “Battery optimisation”
- Open the drop-down menu with the arrow and select “All apps”
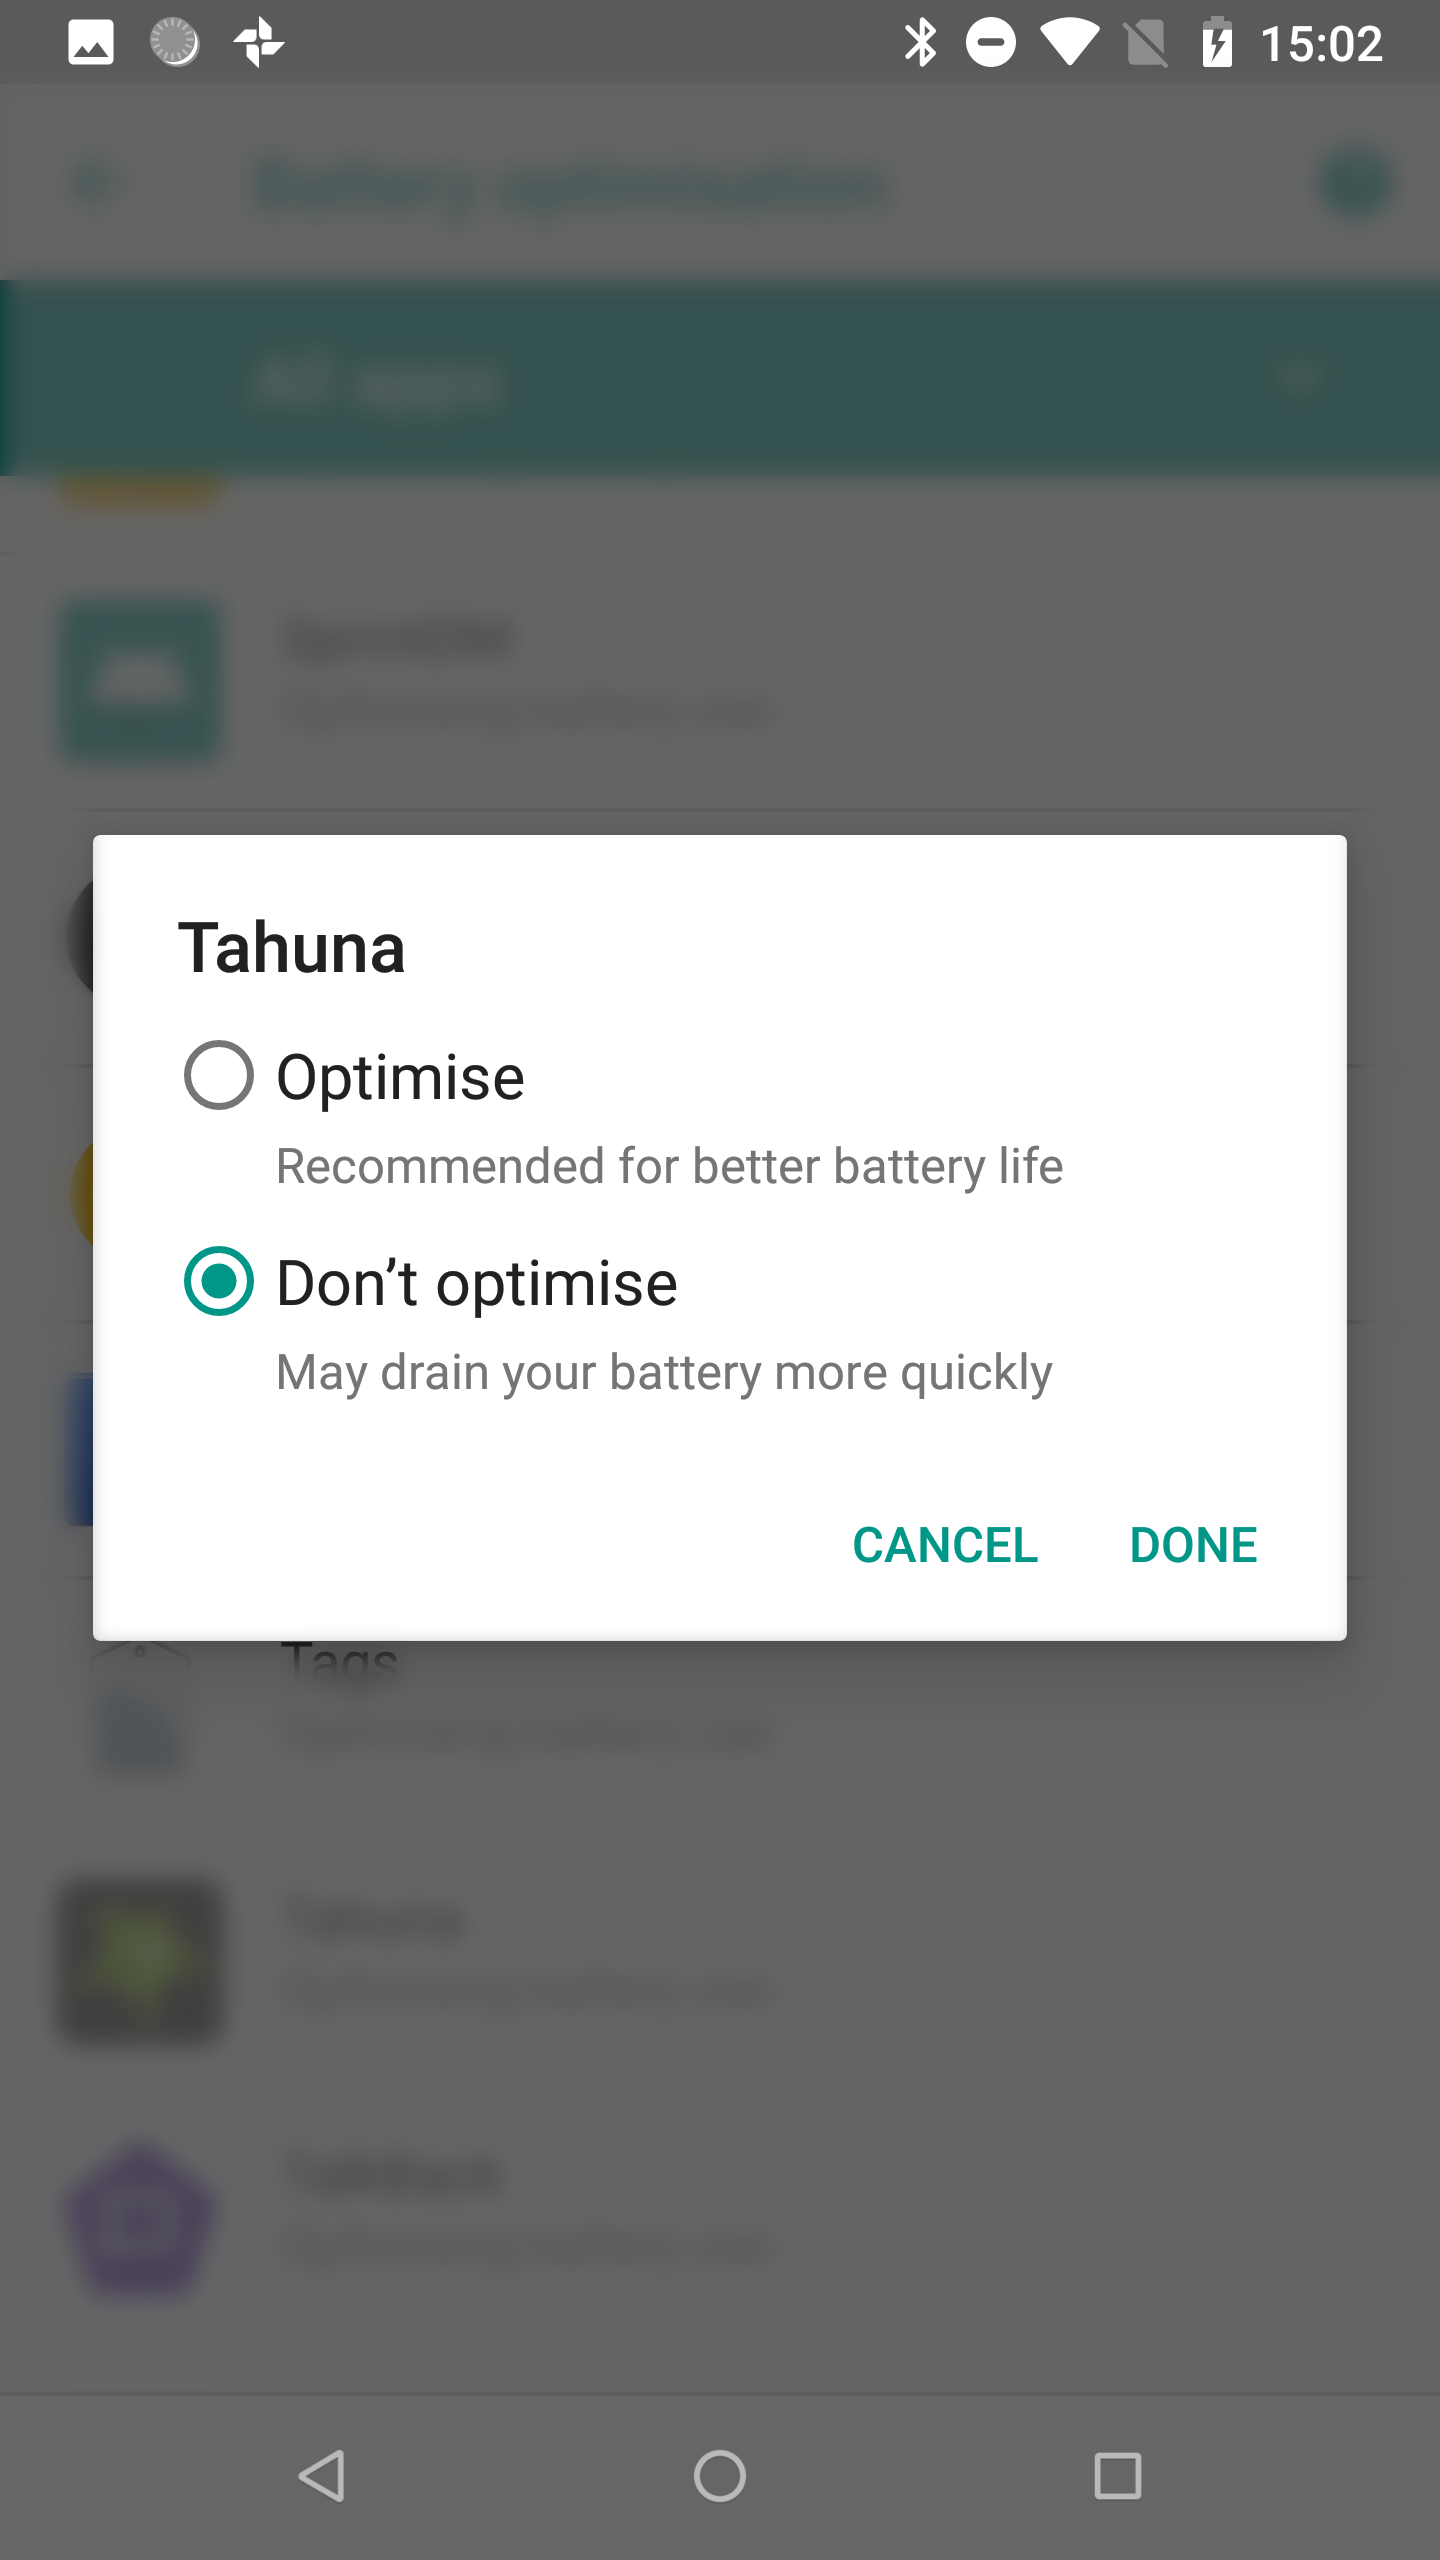
- Tap “Tahuna”, select “Don’t optimise” and tap “Done”
Samsung Phones:
Android 8
- Open “Settings”
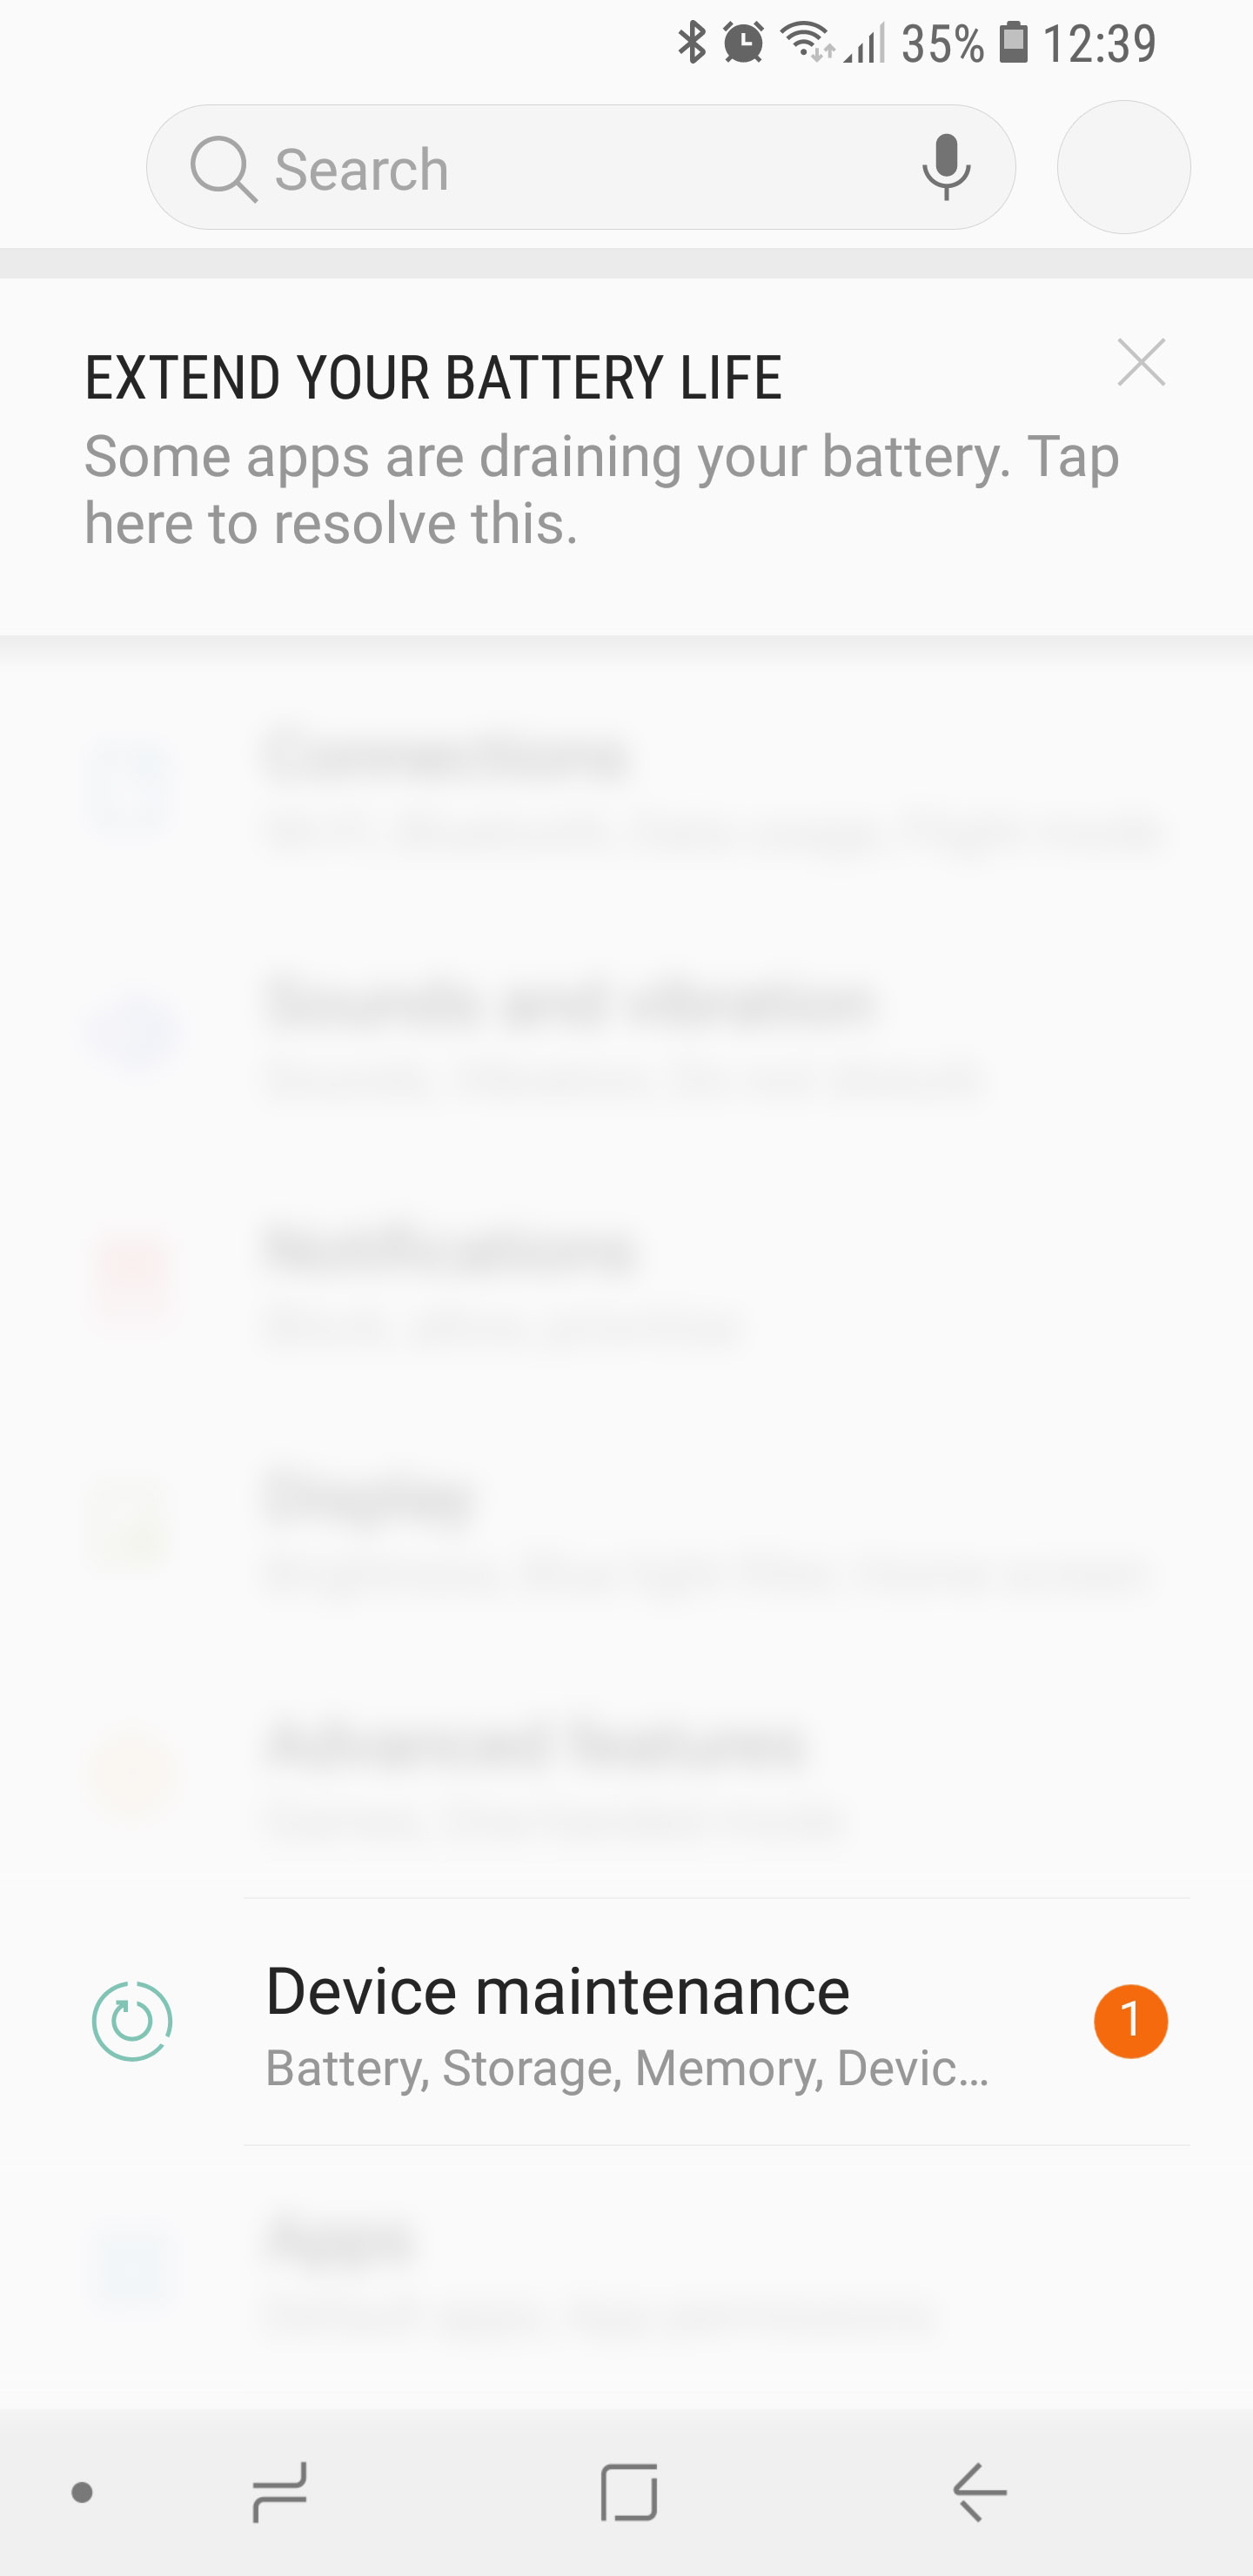
- Select “Device maintenance”
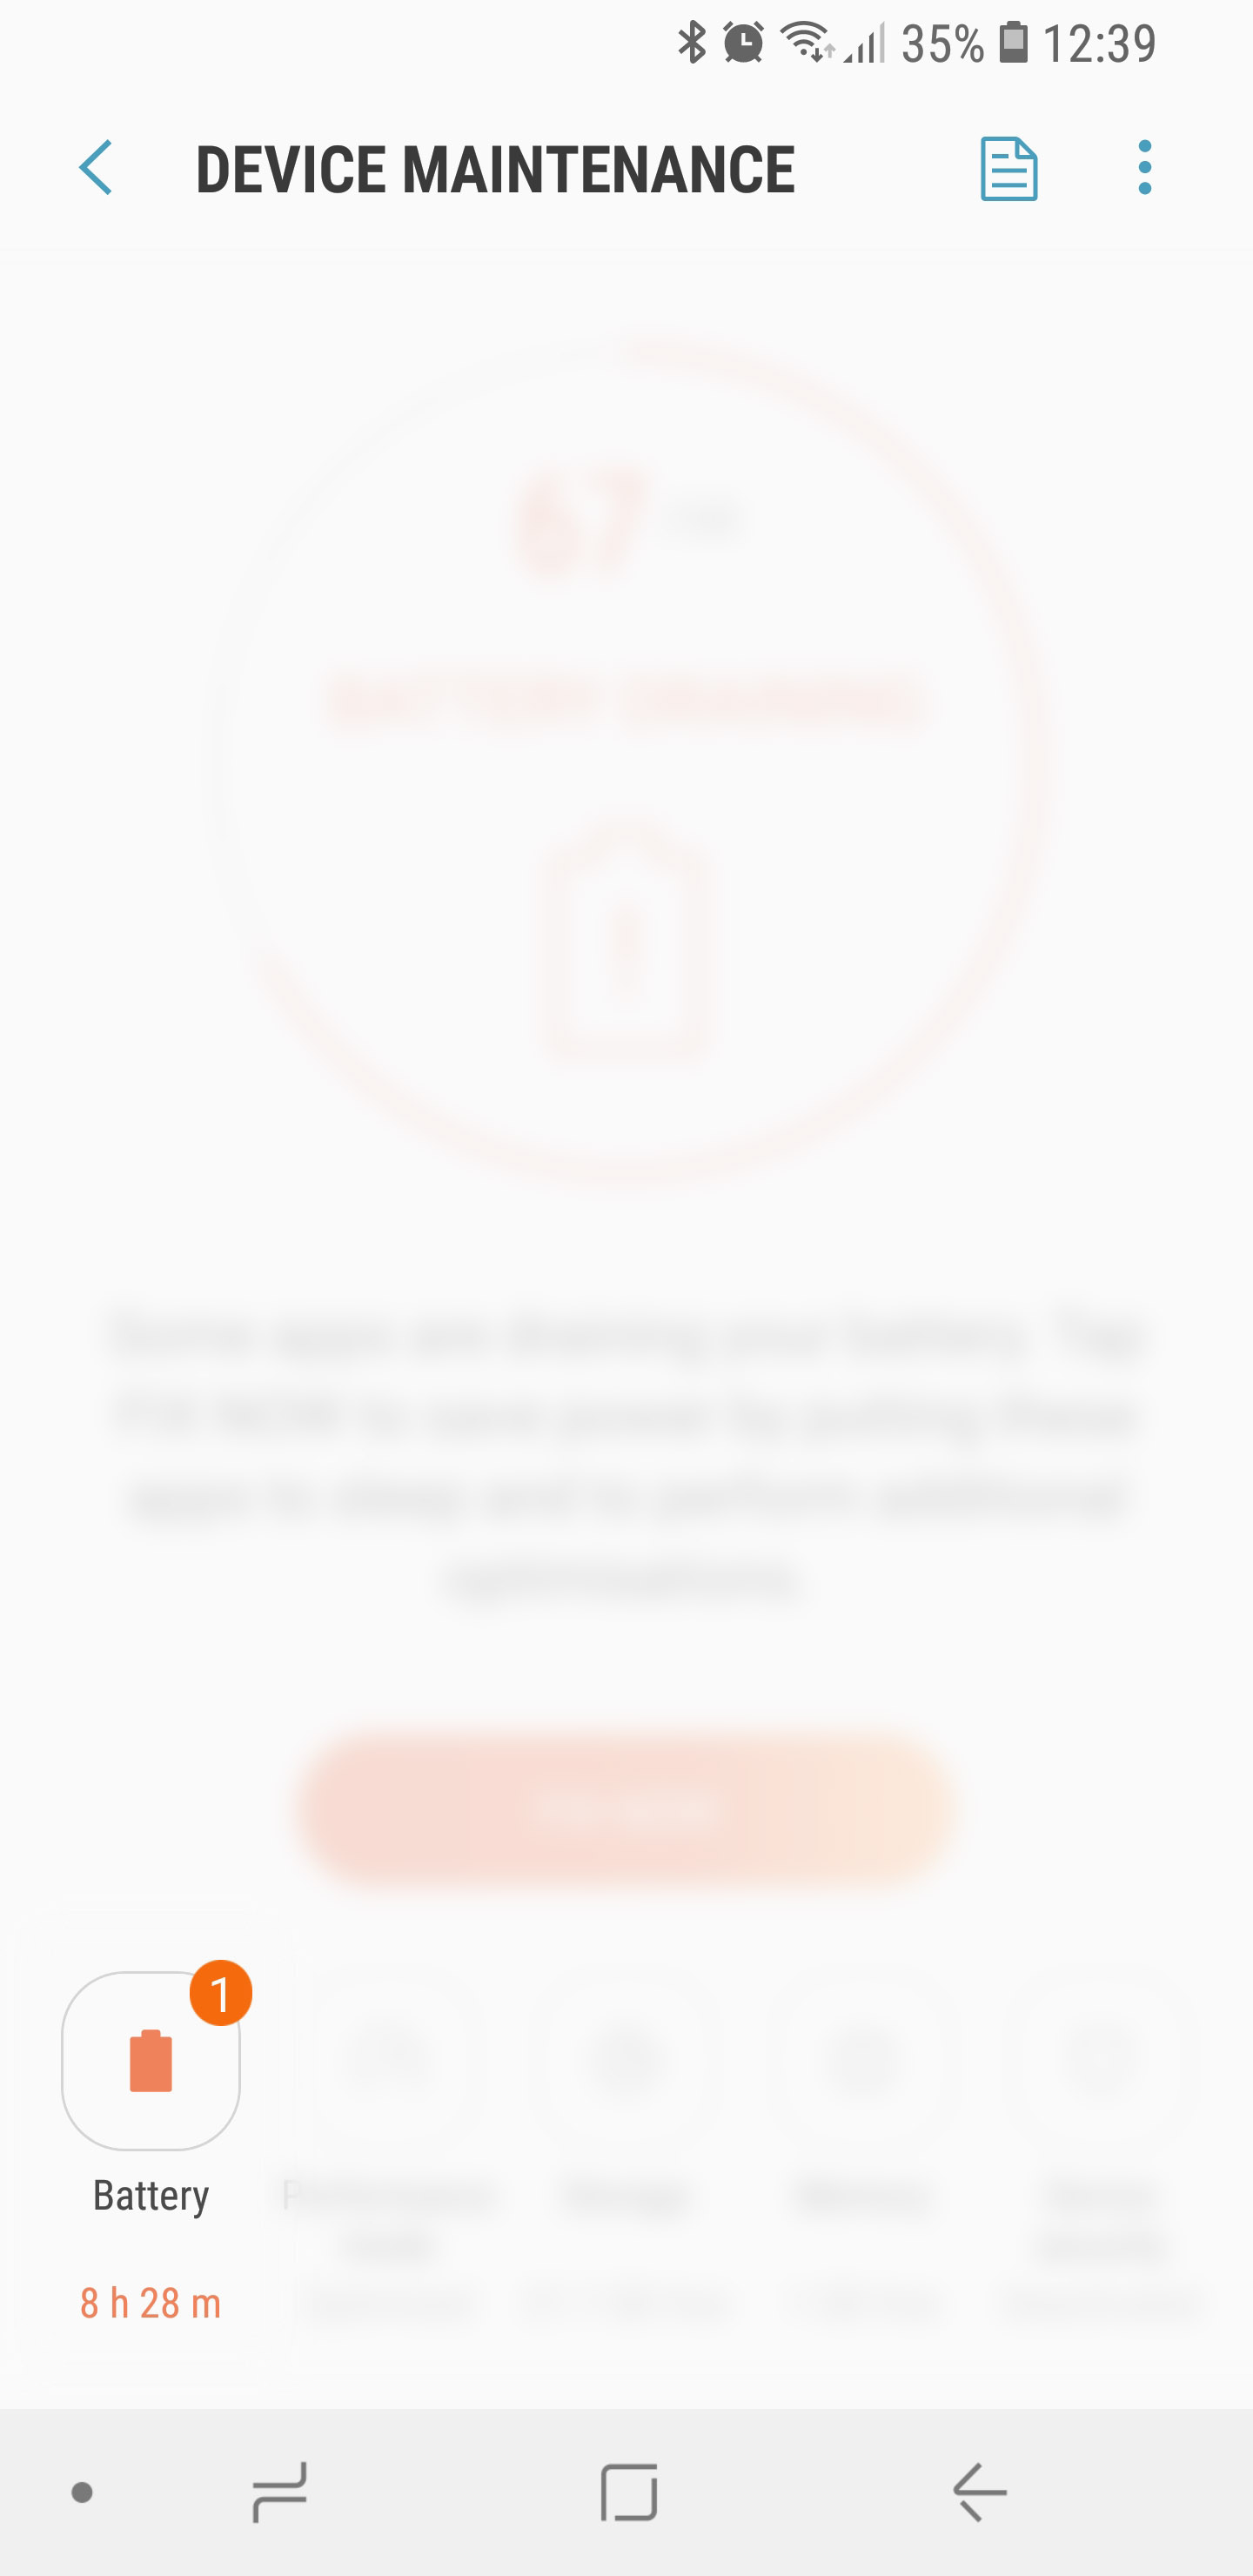
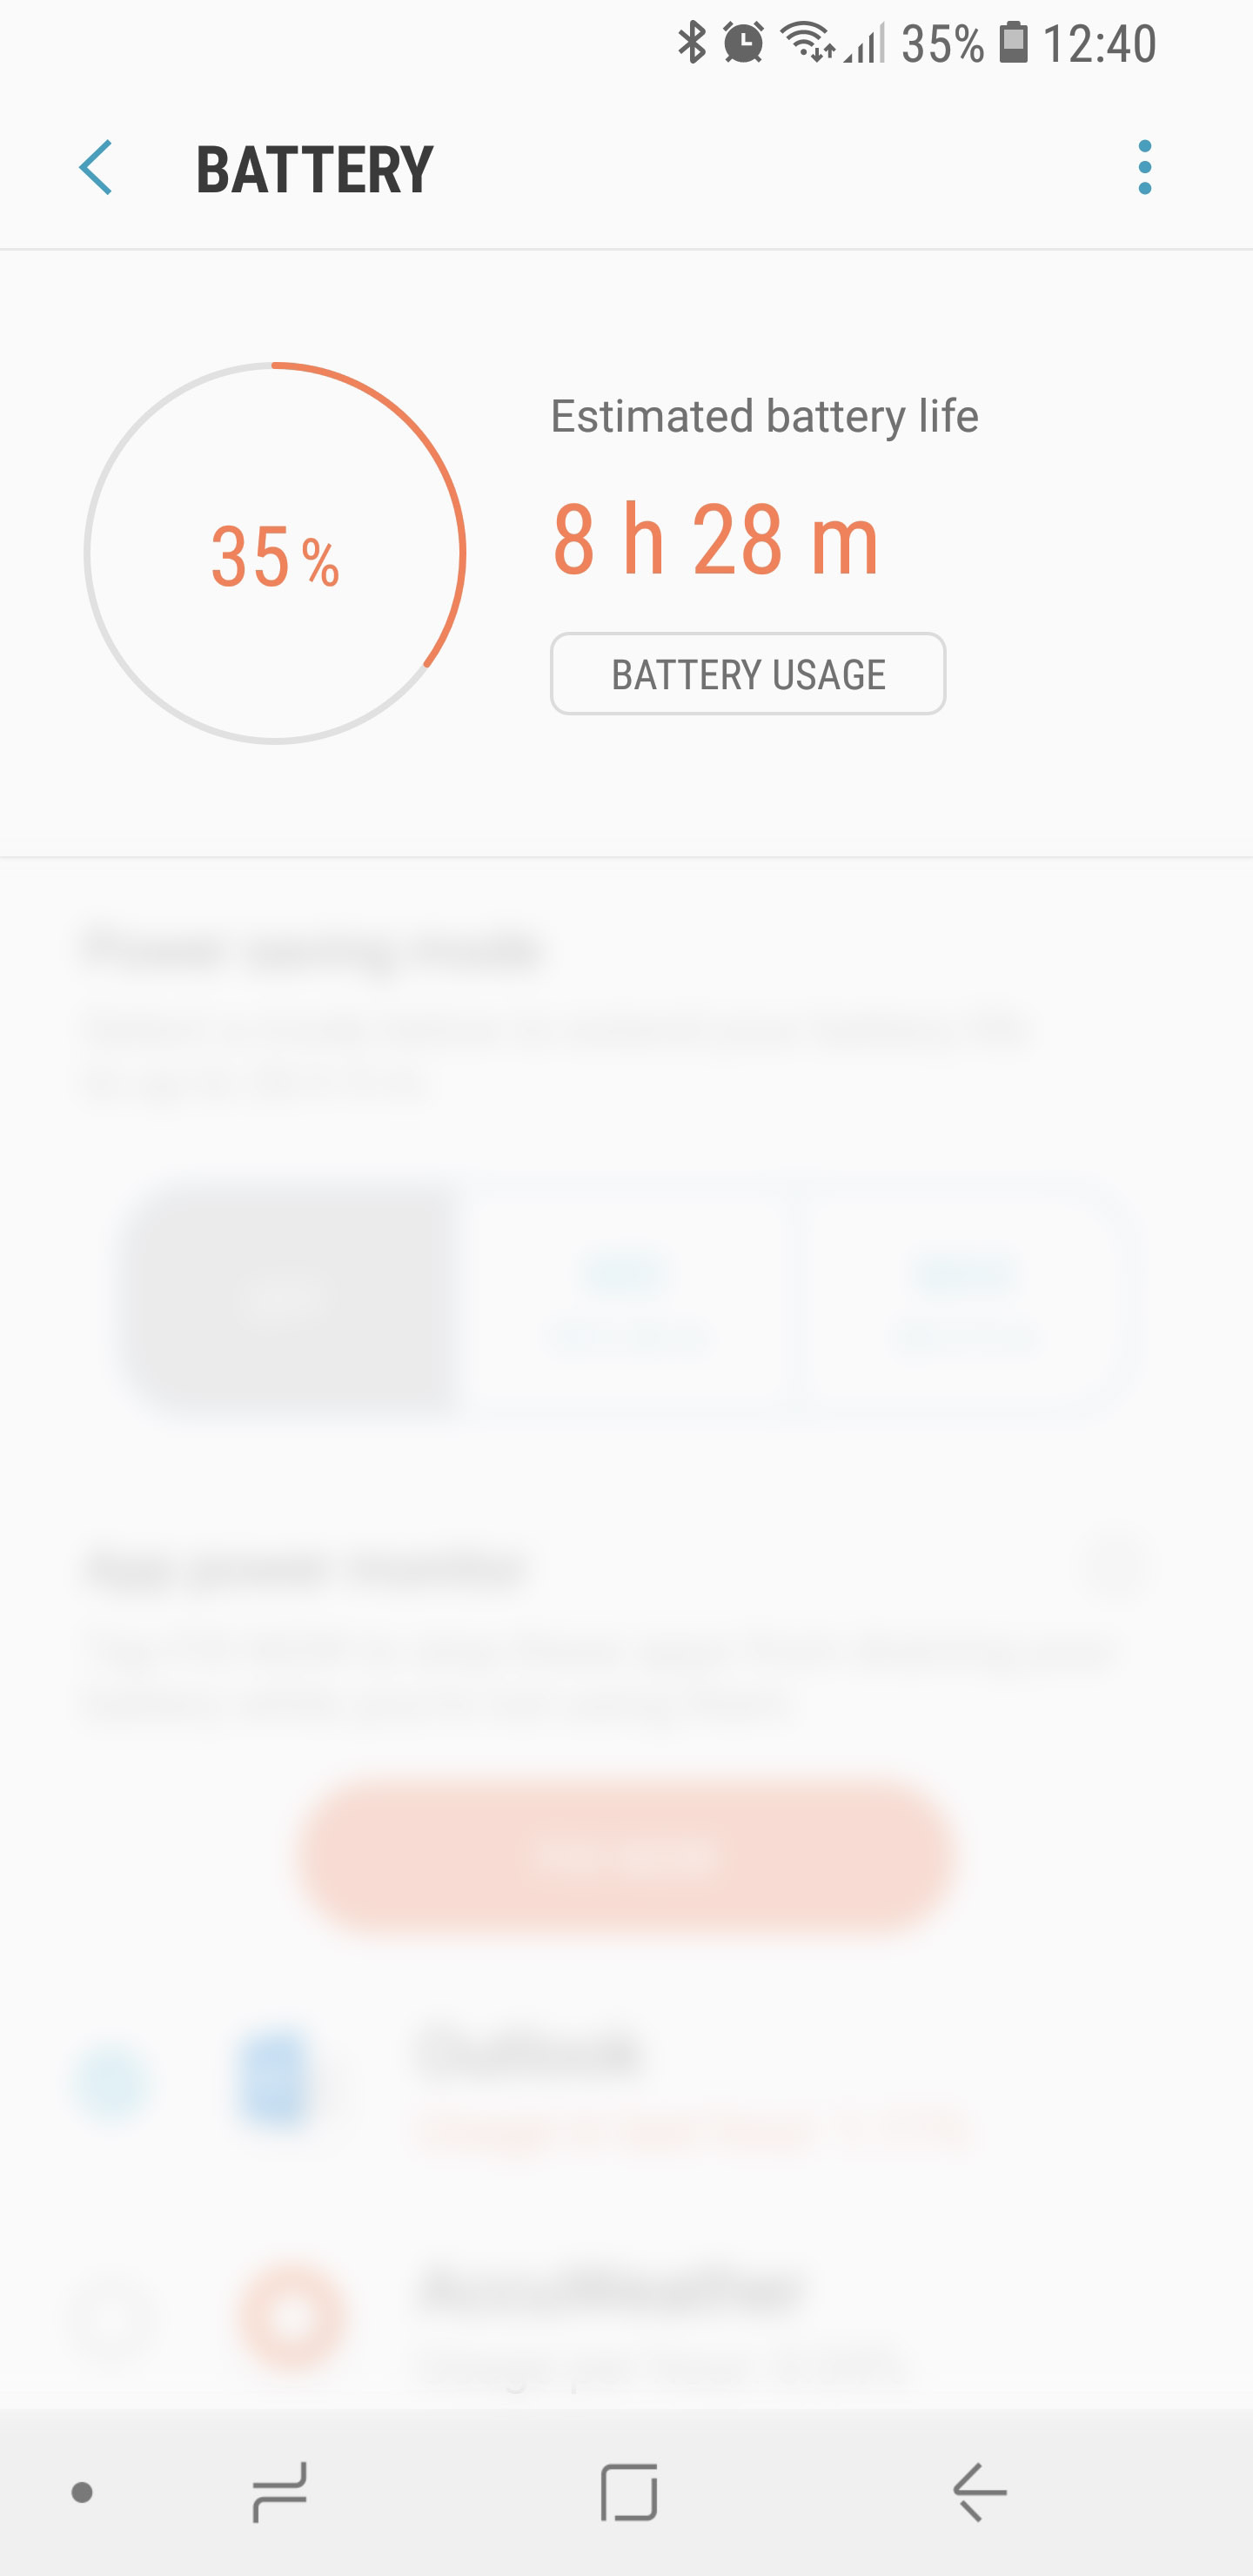
- Tap “Battery”
- Tap “Battery usage”
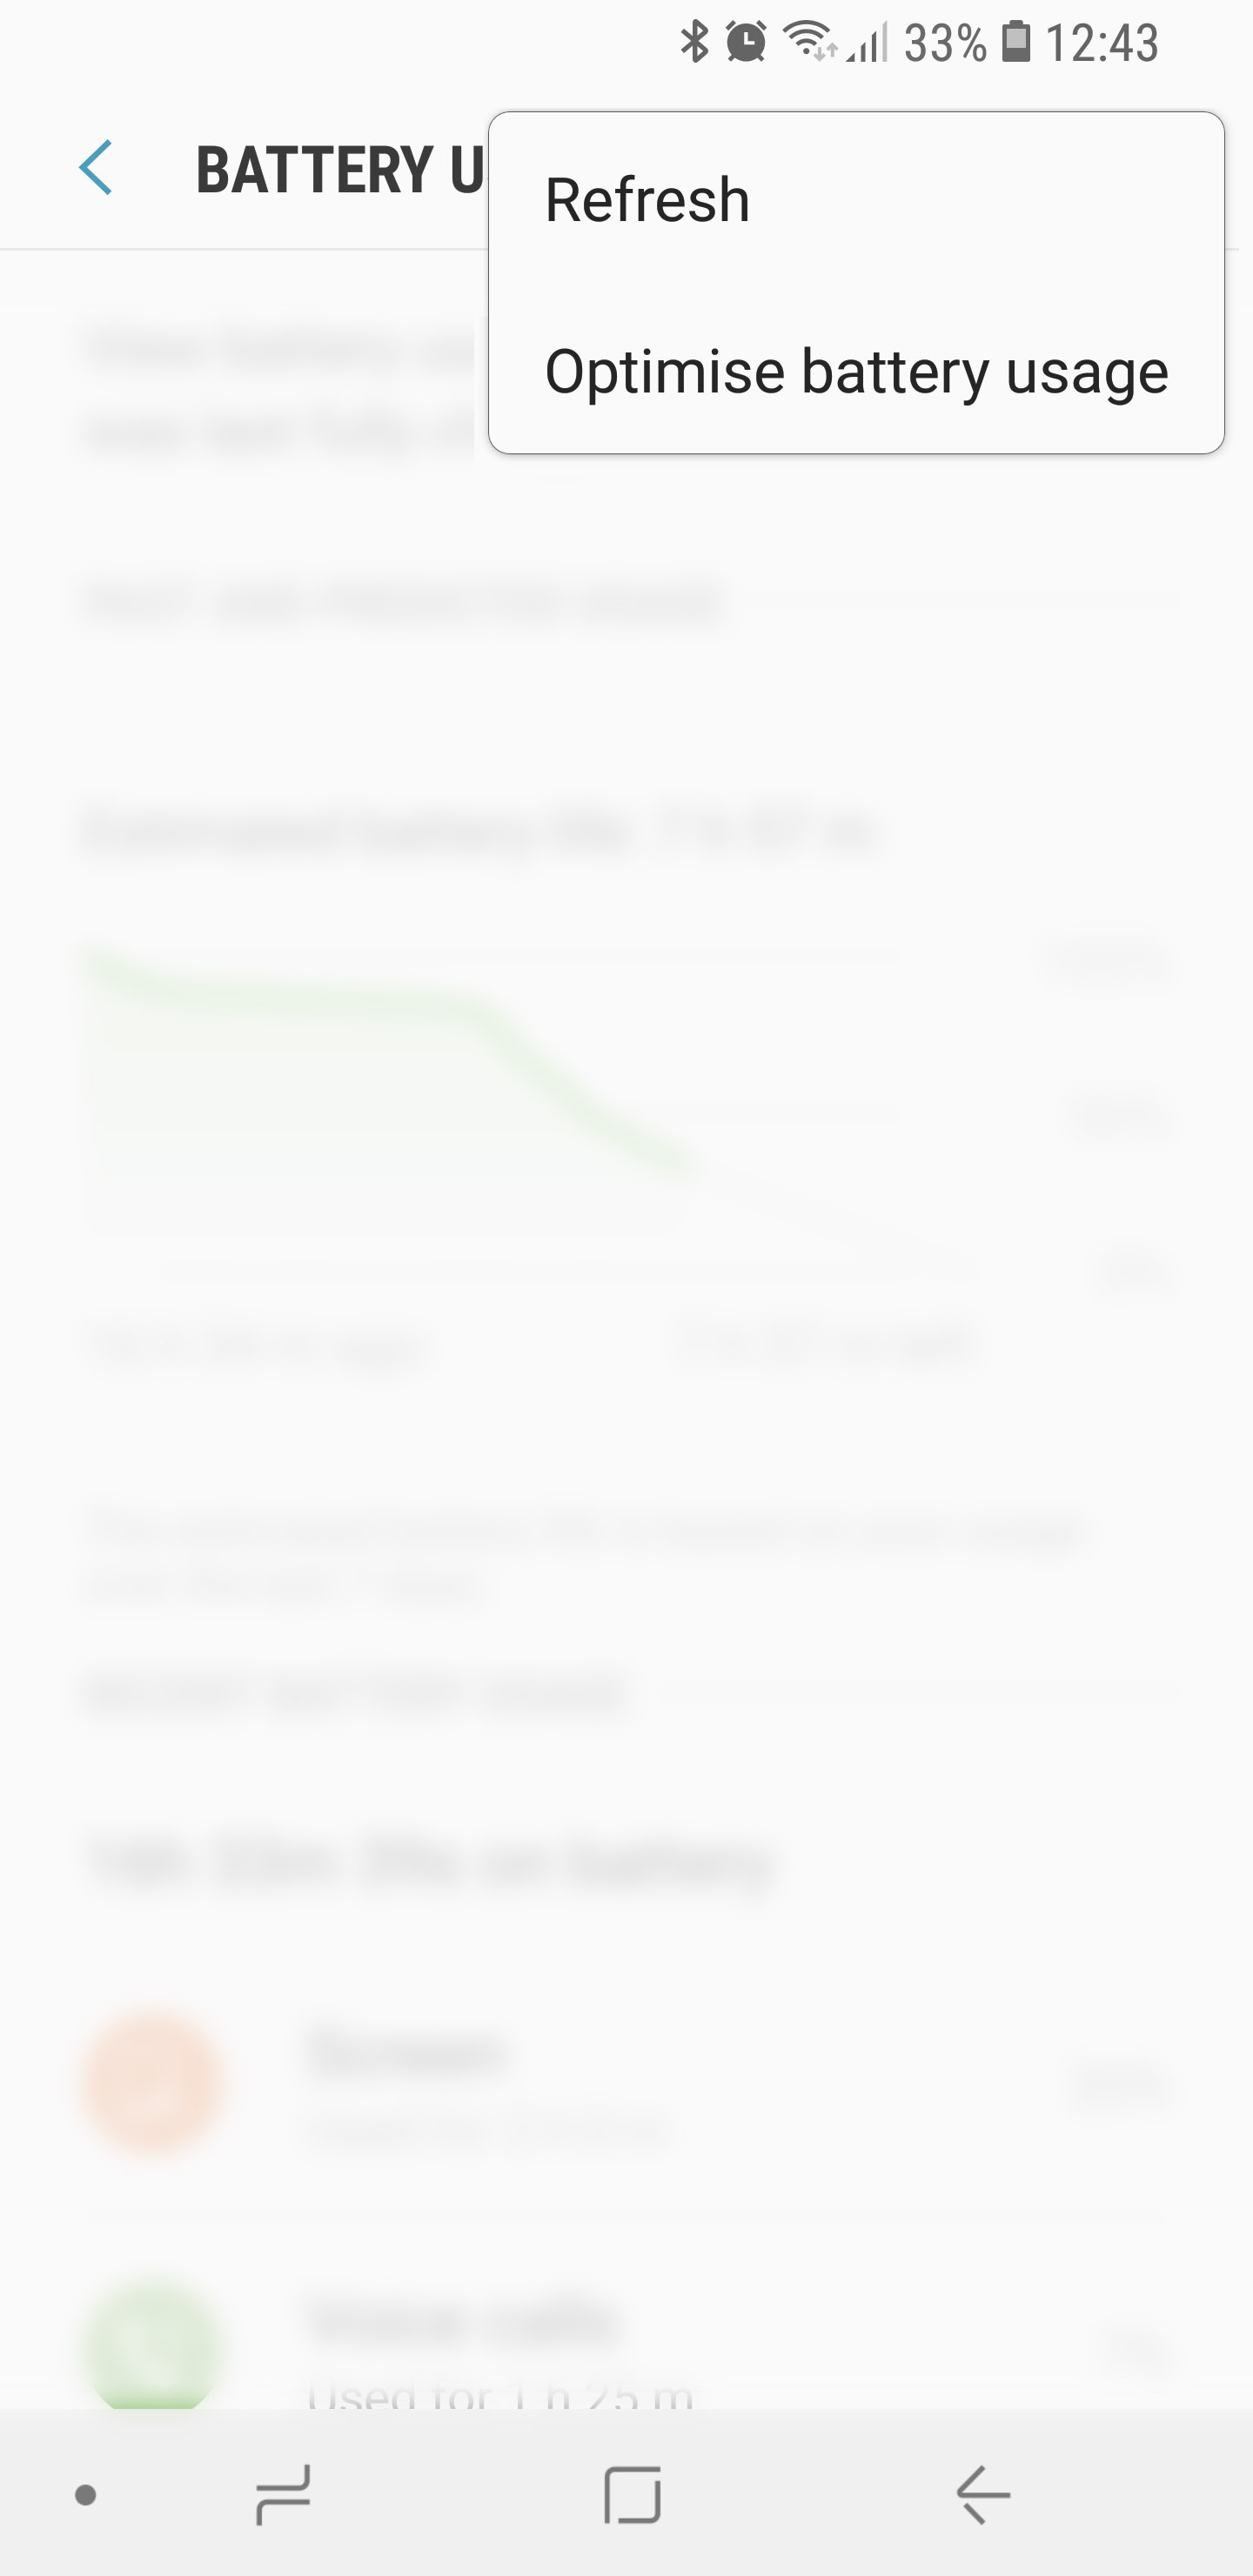
- Open the drop-down menu (triple dot button at the top right)
- Select “Optimise battery usage”
- Set the list to “All apps” at the top of the screen
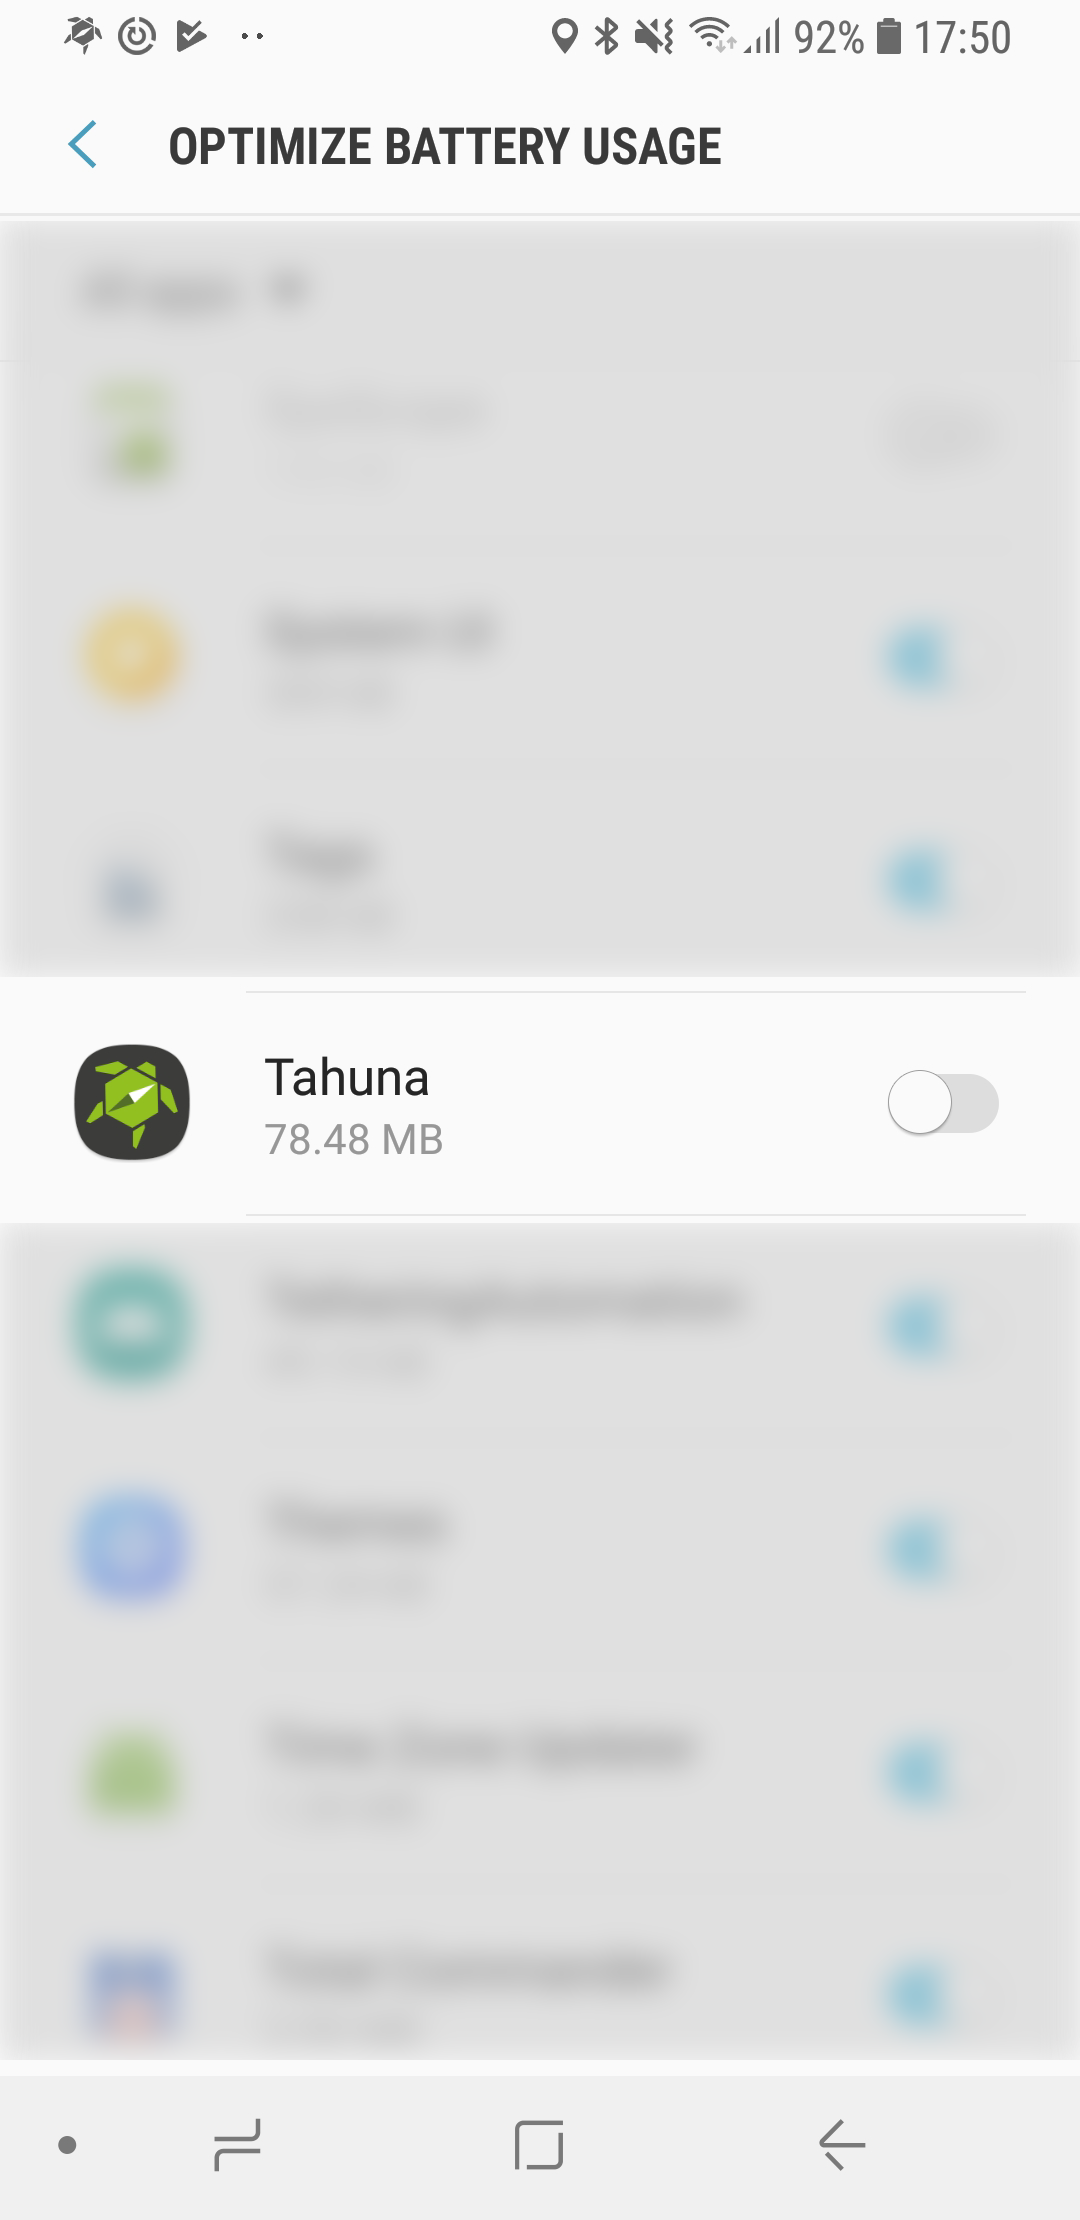
- Look for “Tahuna” and turn off the toggle switch
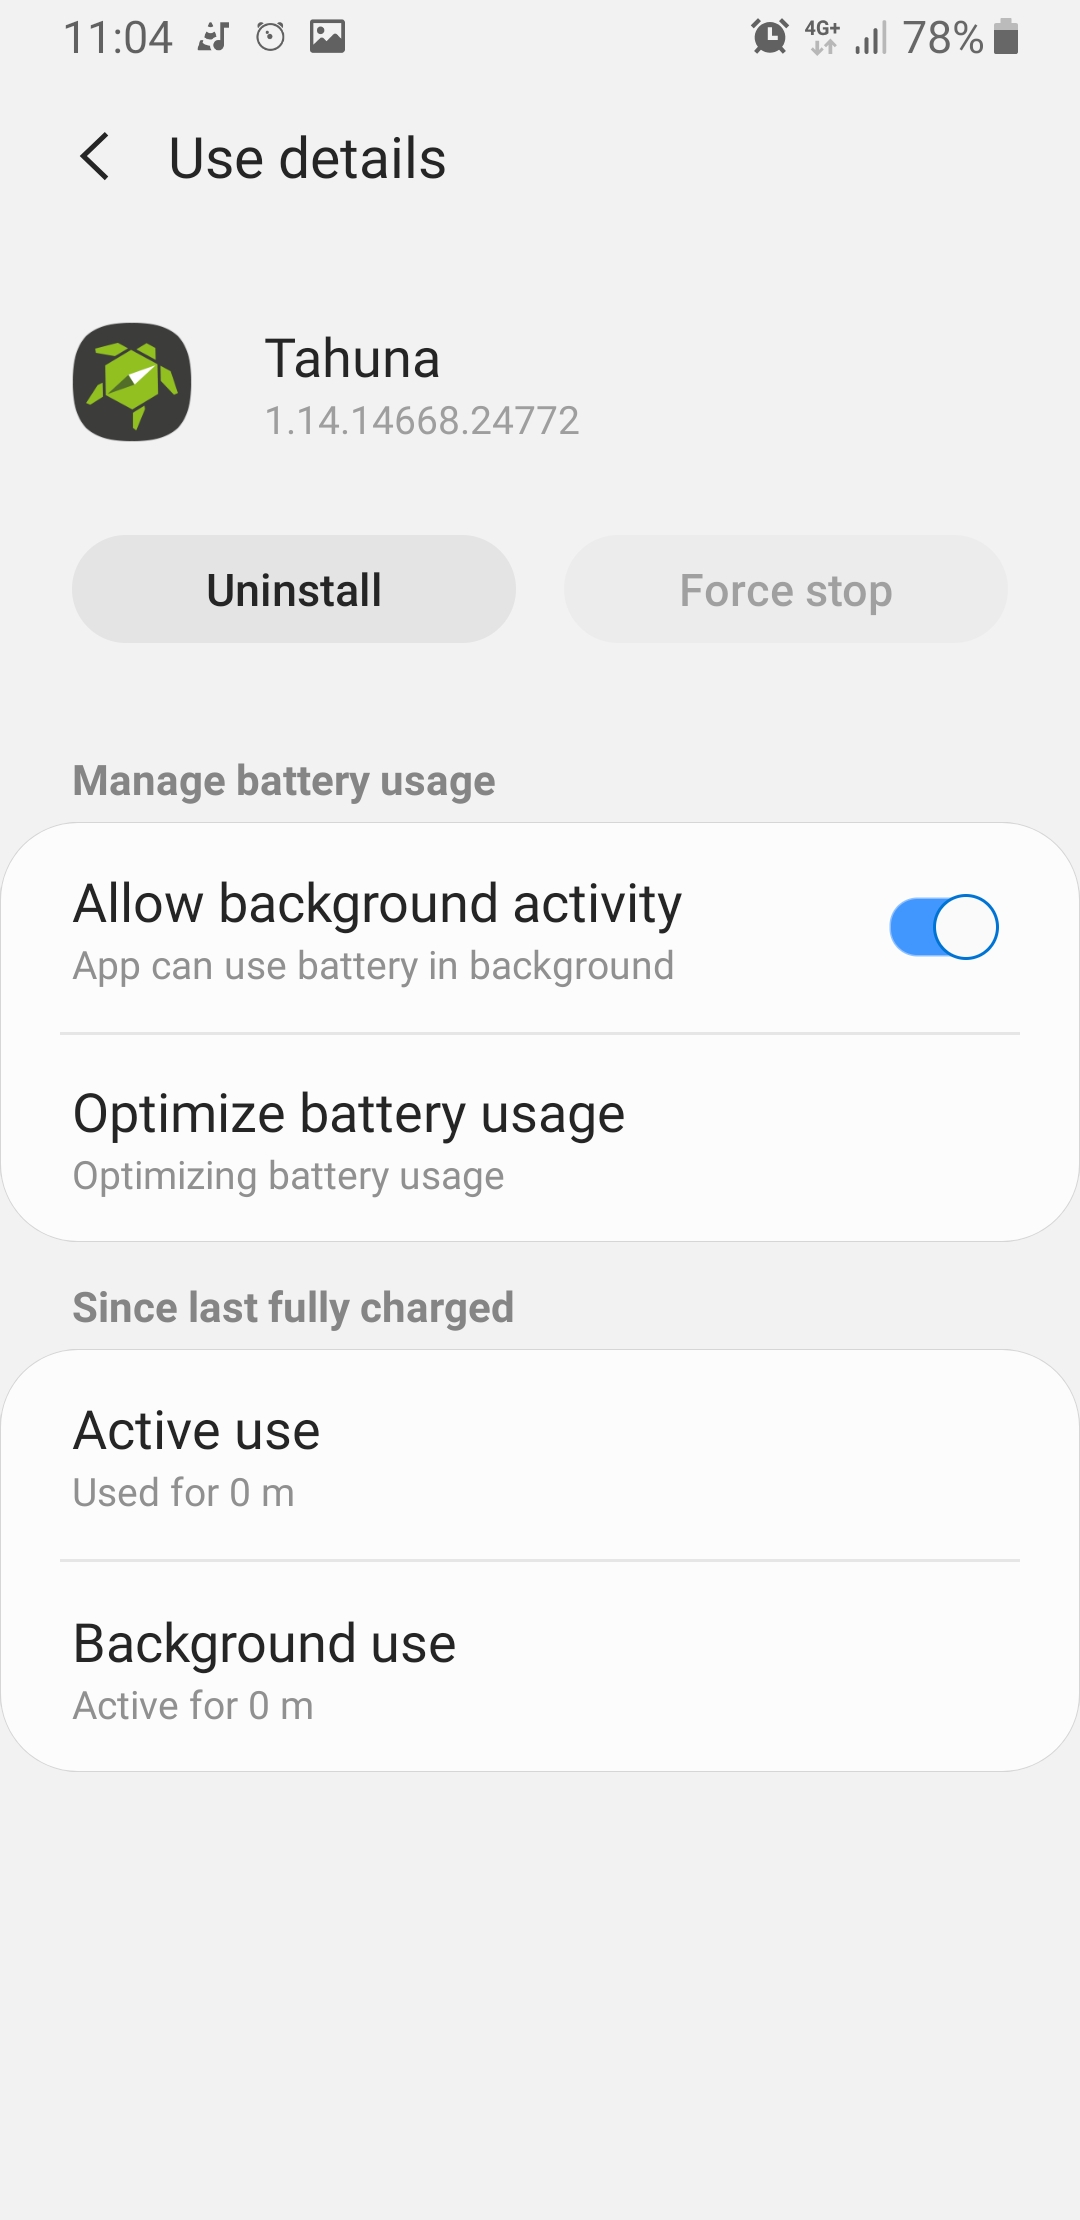
Android 9
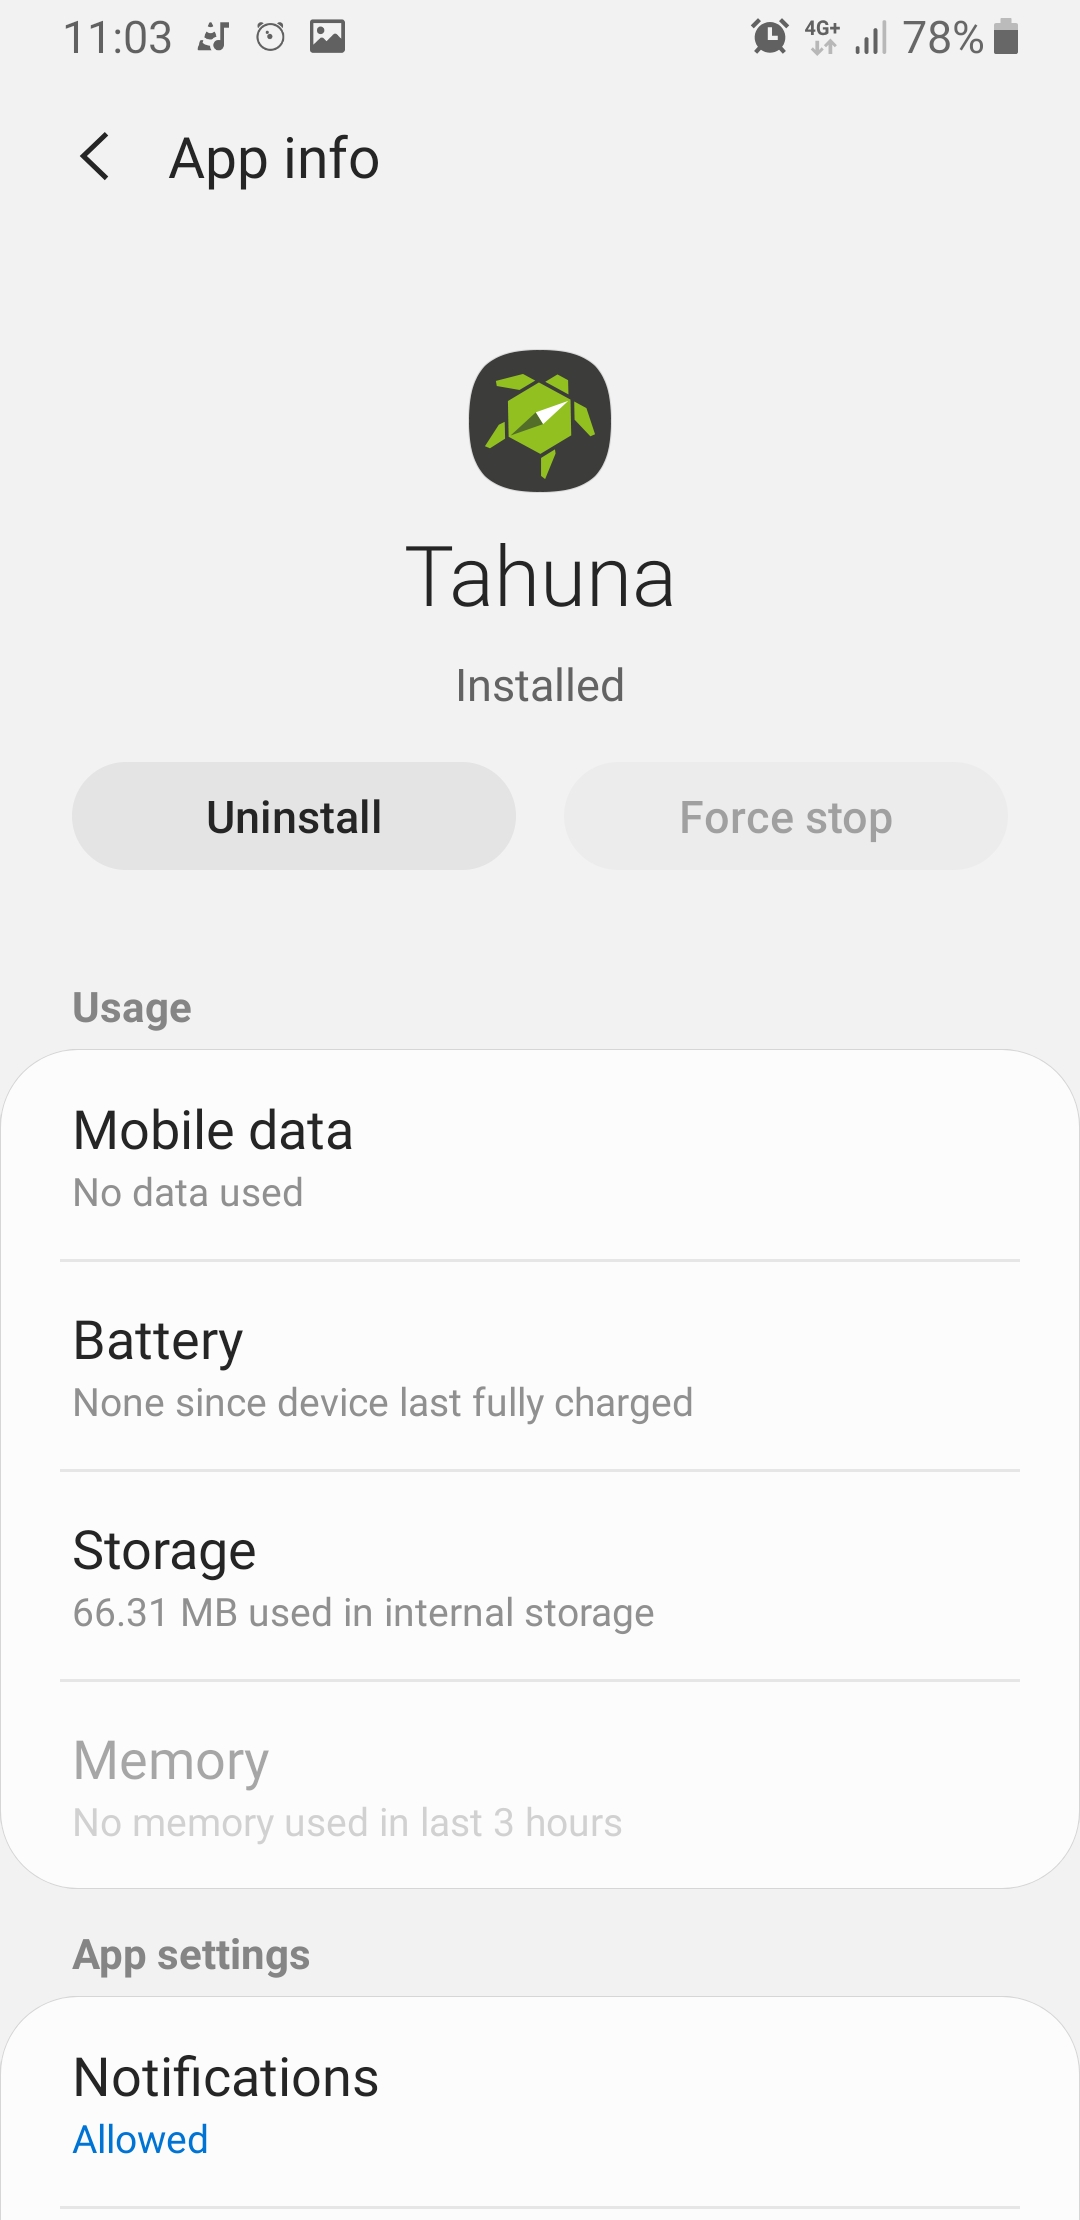
- Search for the Tahuna application in your phone’s Settings
- Tap “Battery”
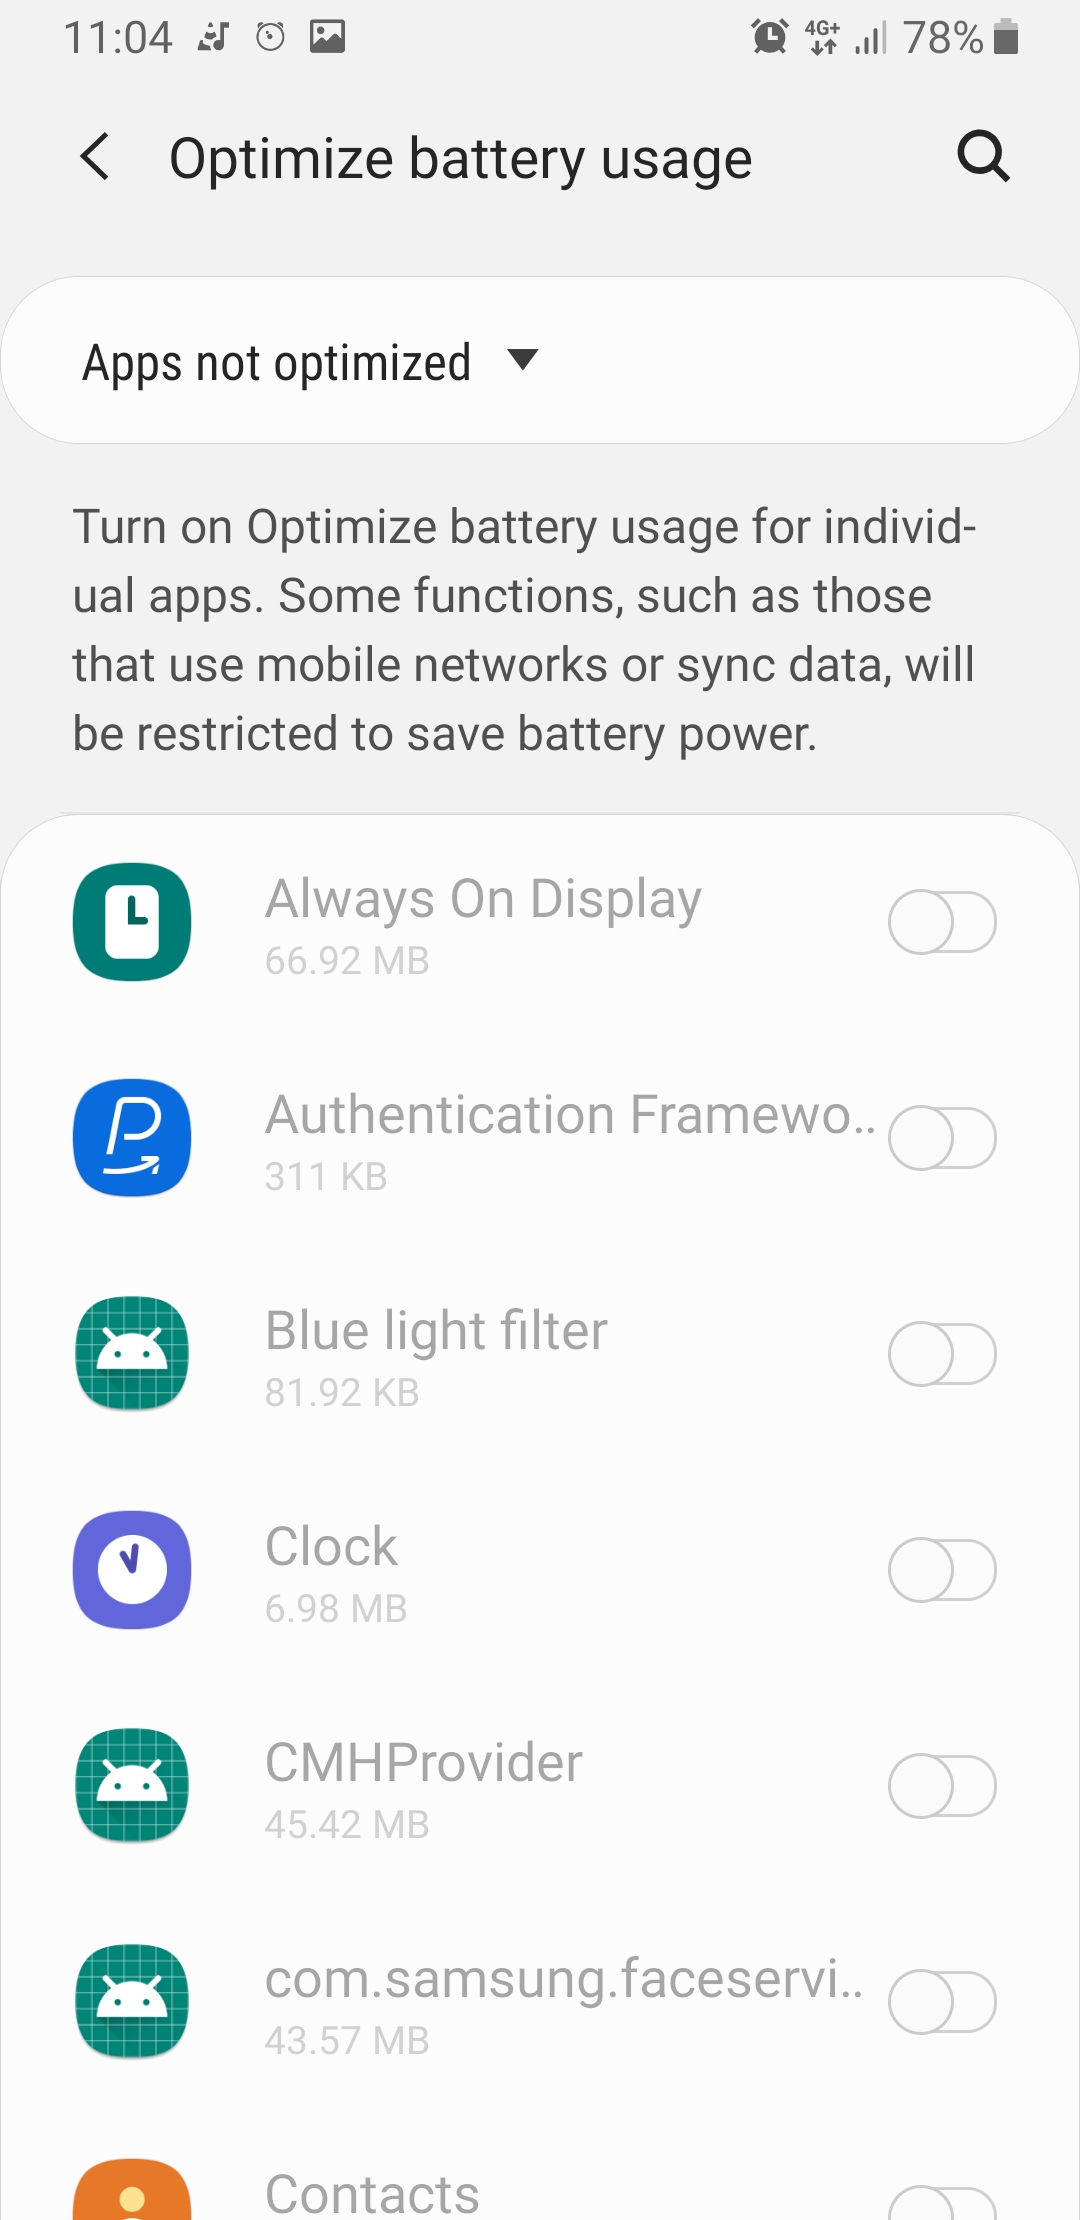
- Tap “Optimize battery usage”
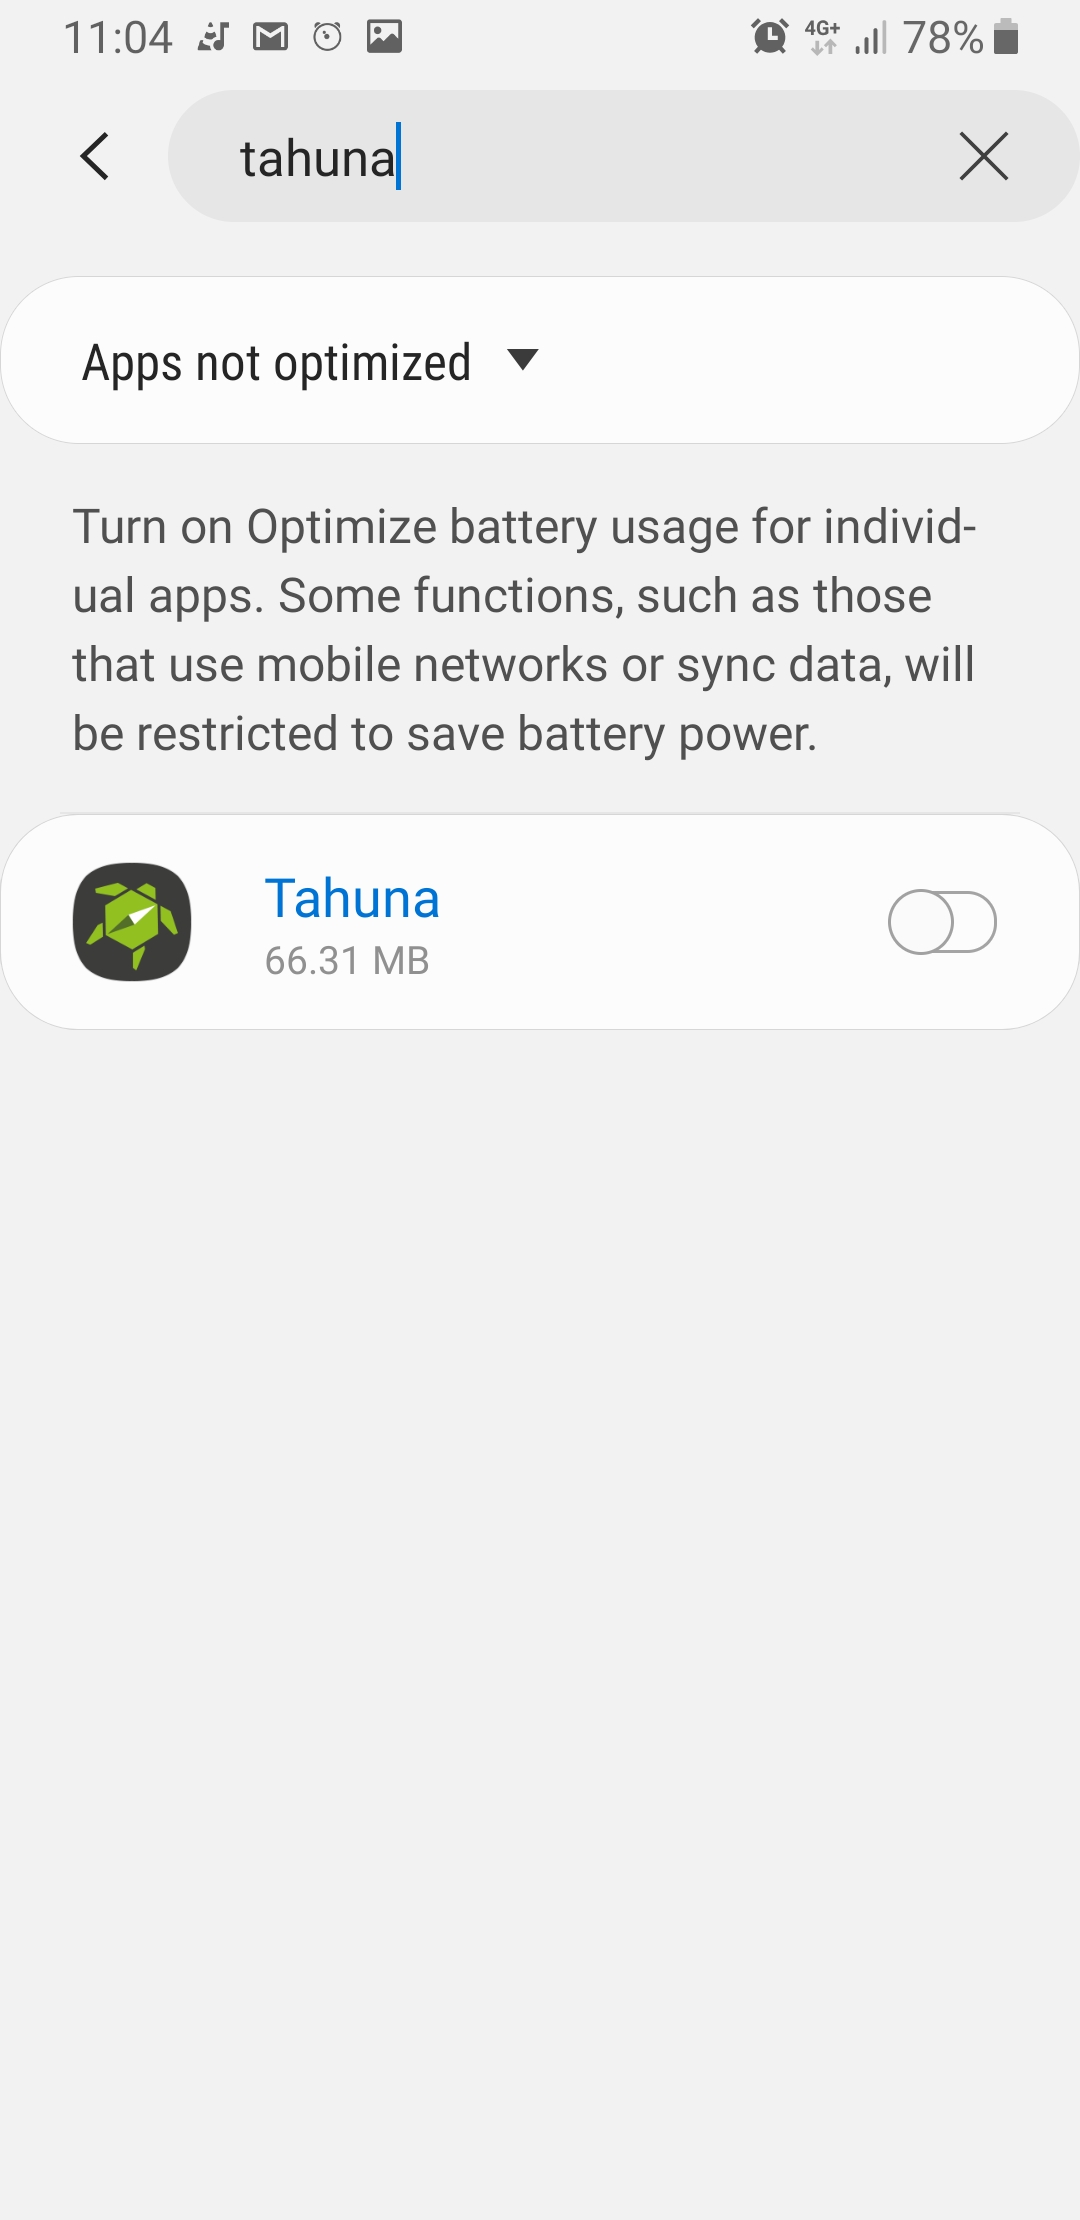
- Tap “Apps not optimized” and select “All”
- Search for the Tahuna applicaton and turn off the toggle switch
Huawei phones:
For a fully functional application, we highly recommend you to follow both methods mentioned below.
1.
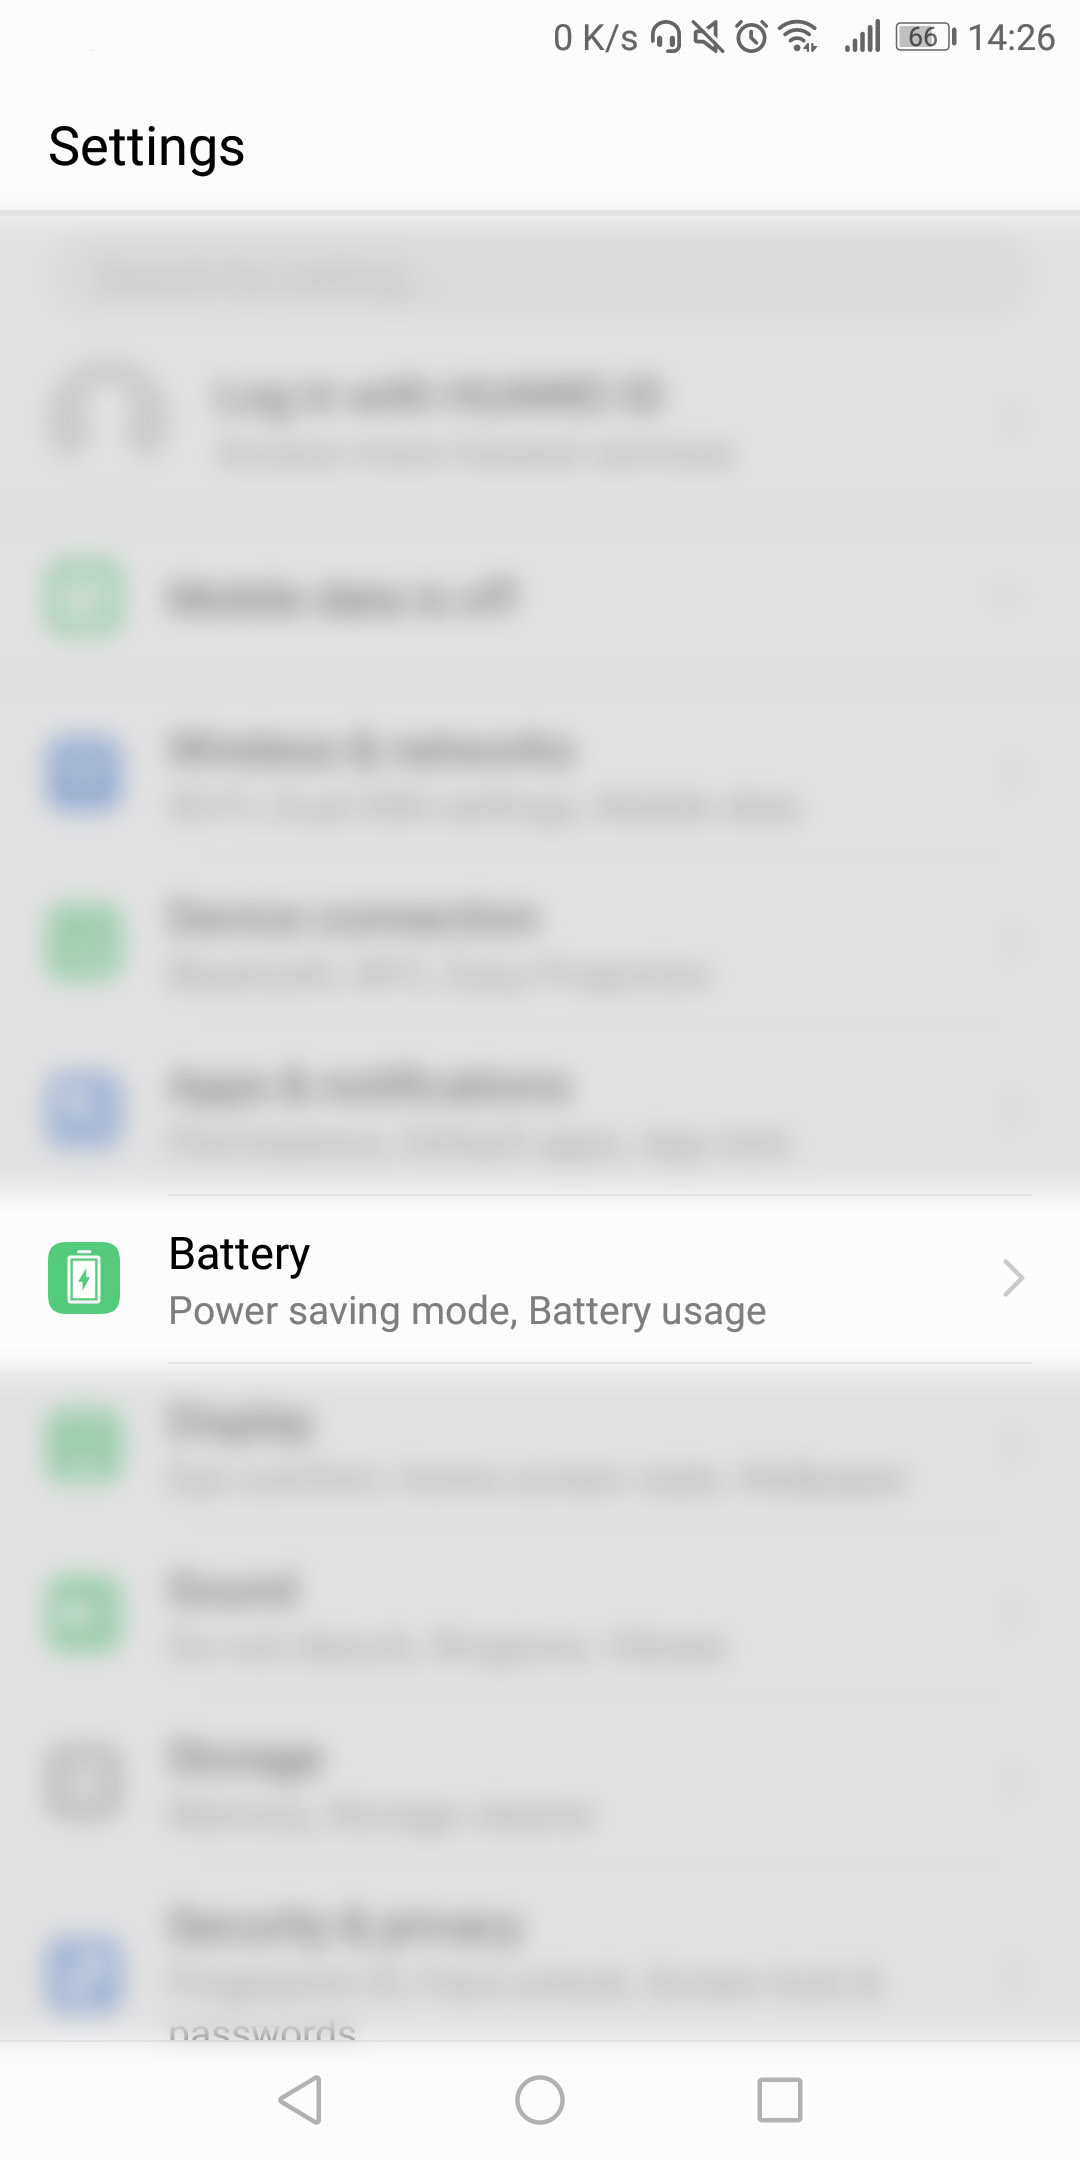
- Open “Settings”
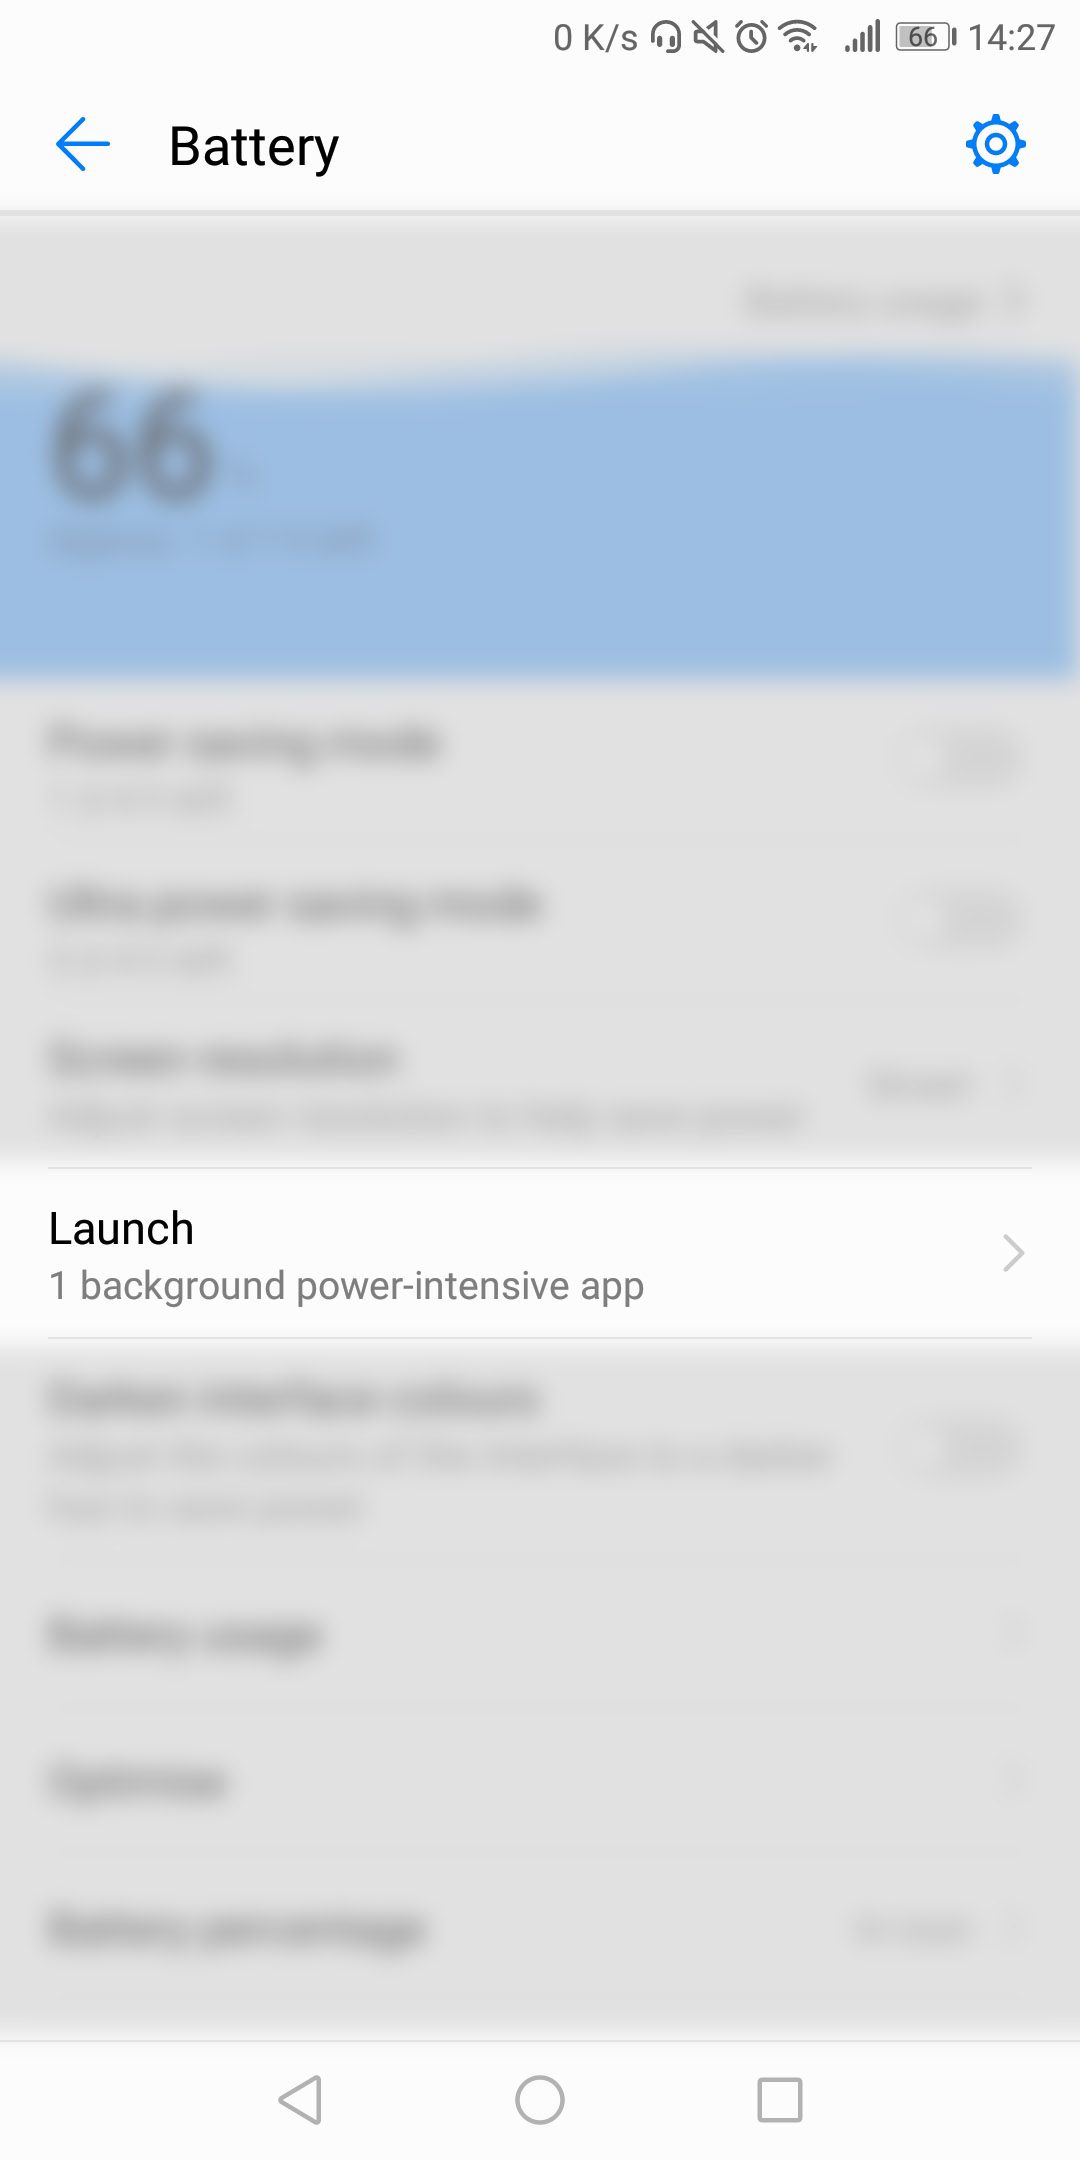
- Select “Battery”
- Tap “Launch”
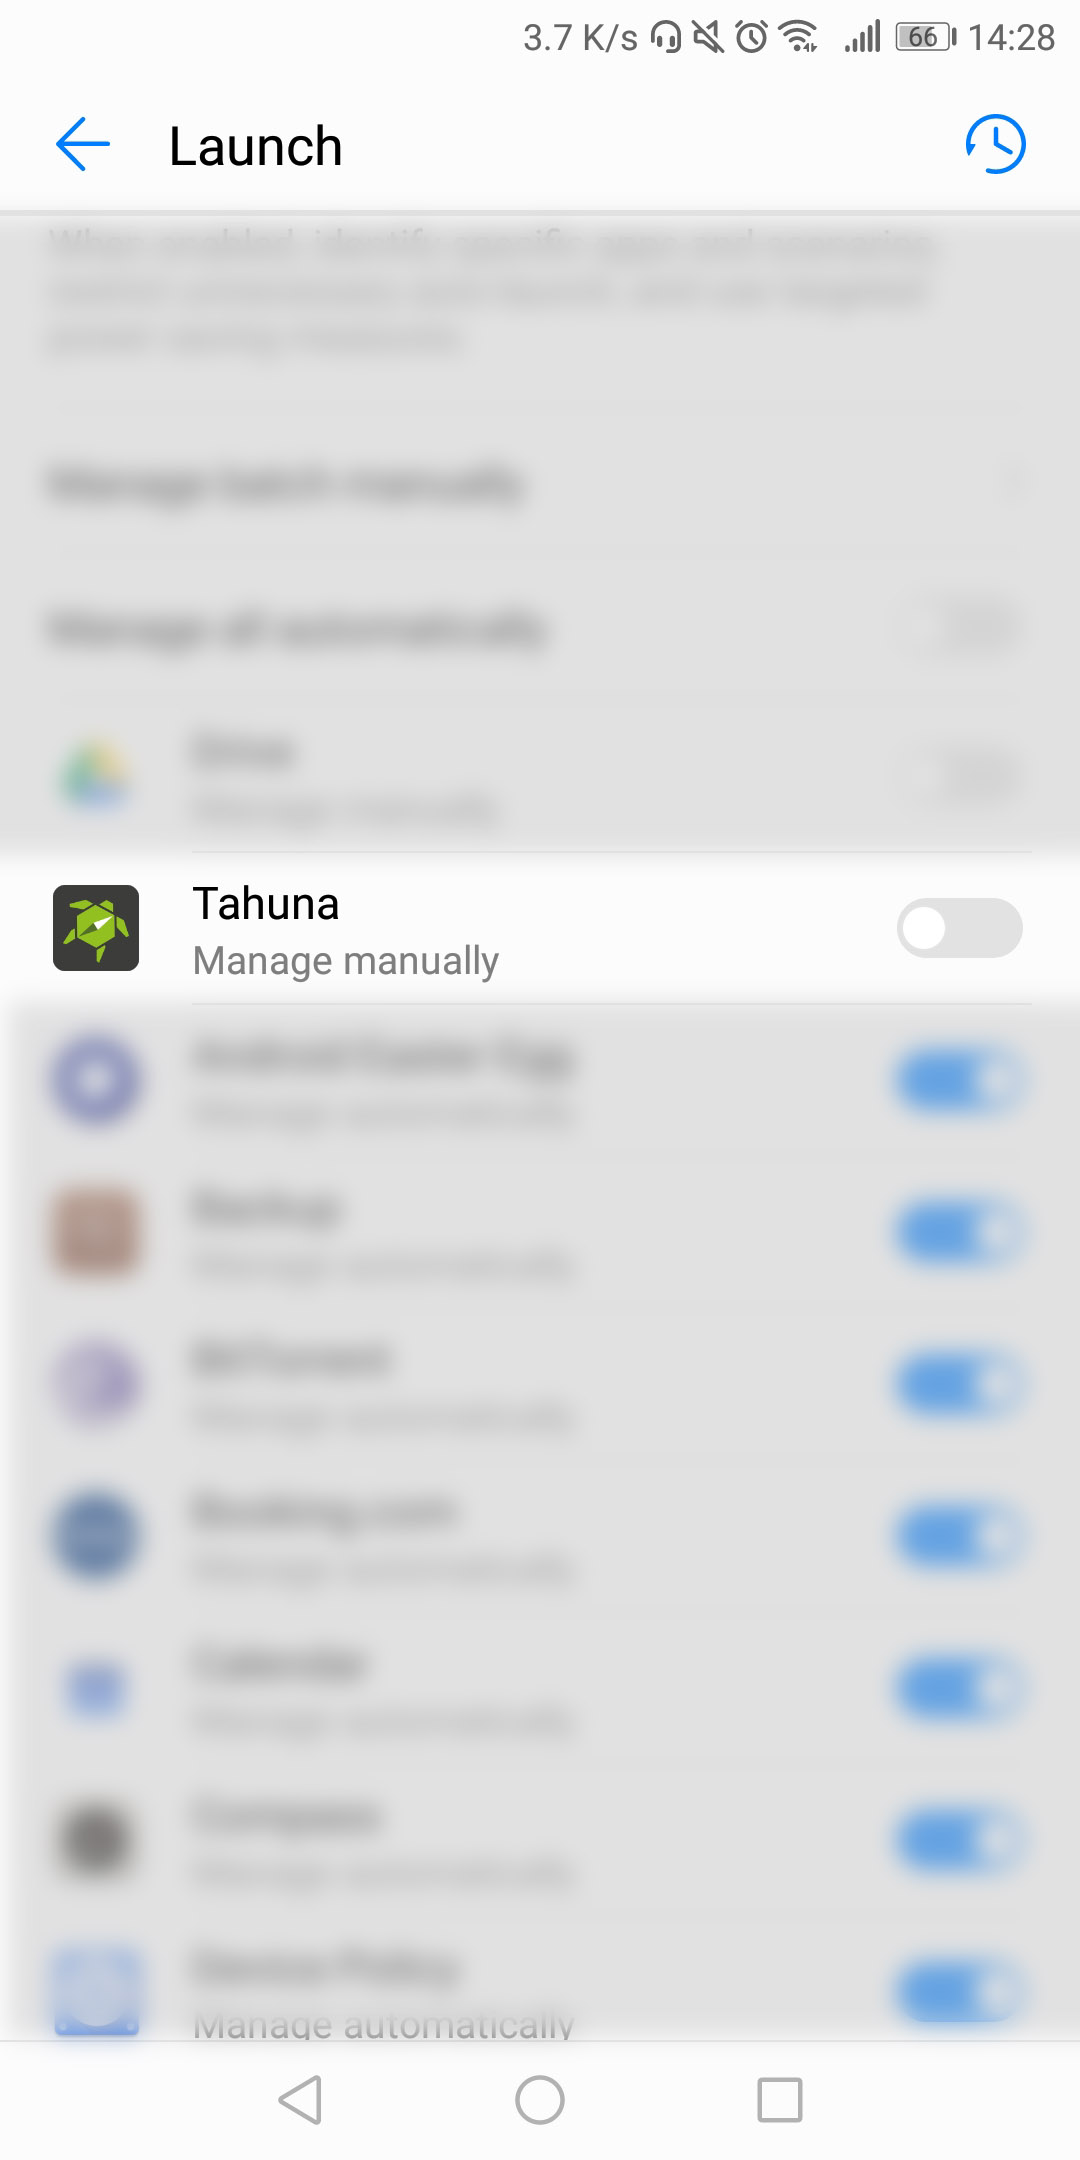
- Look for “Tahuna” and turn off the toggle switch
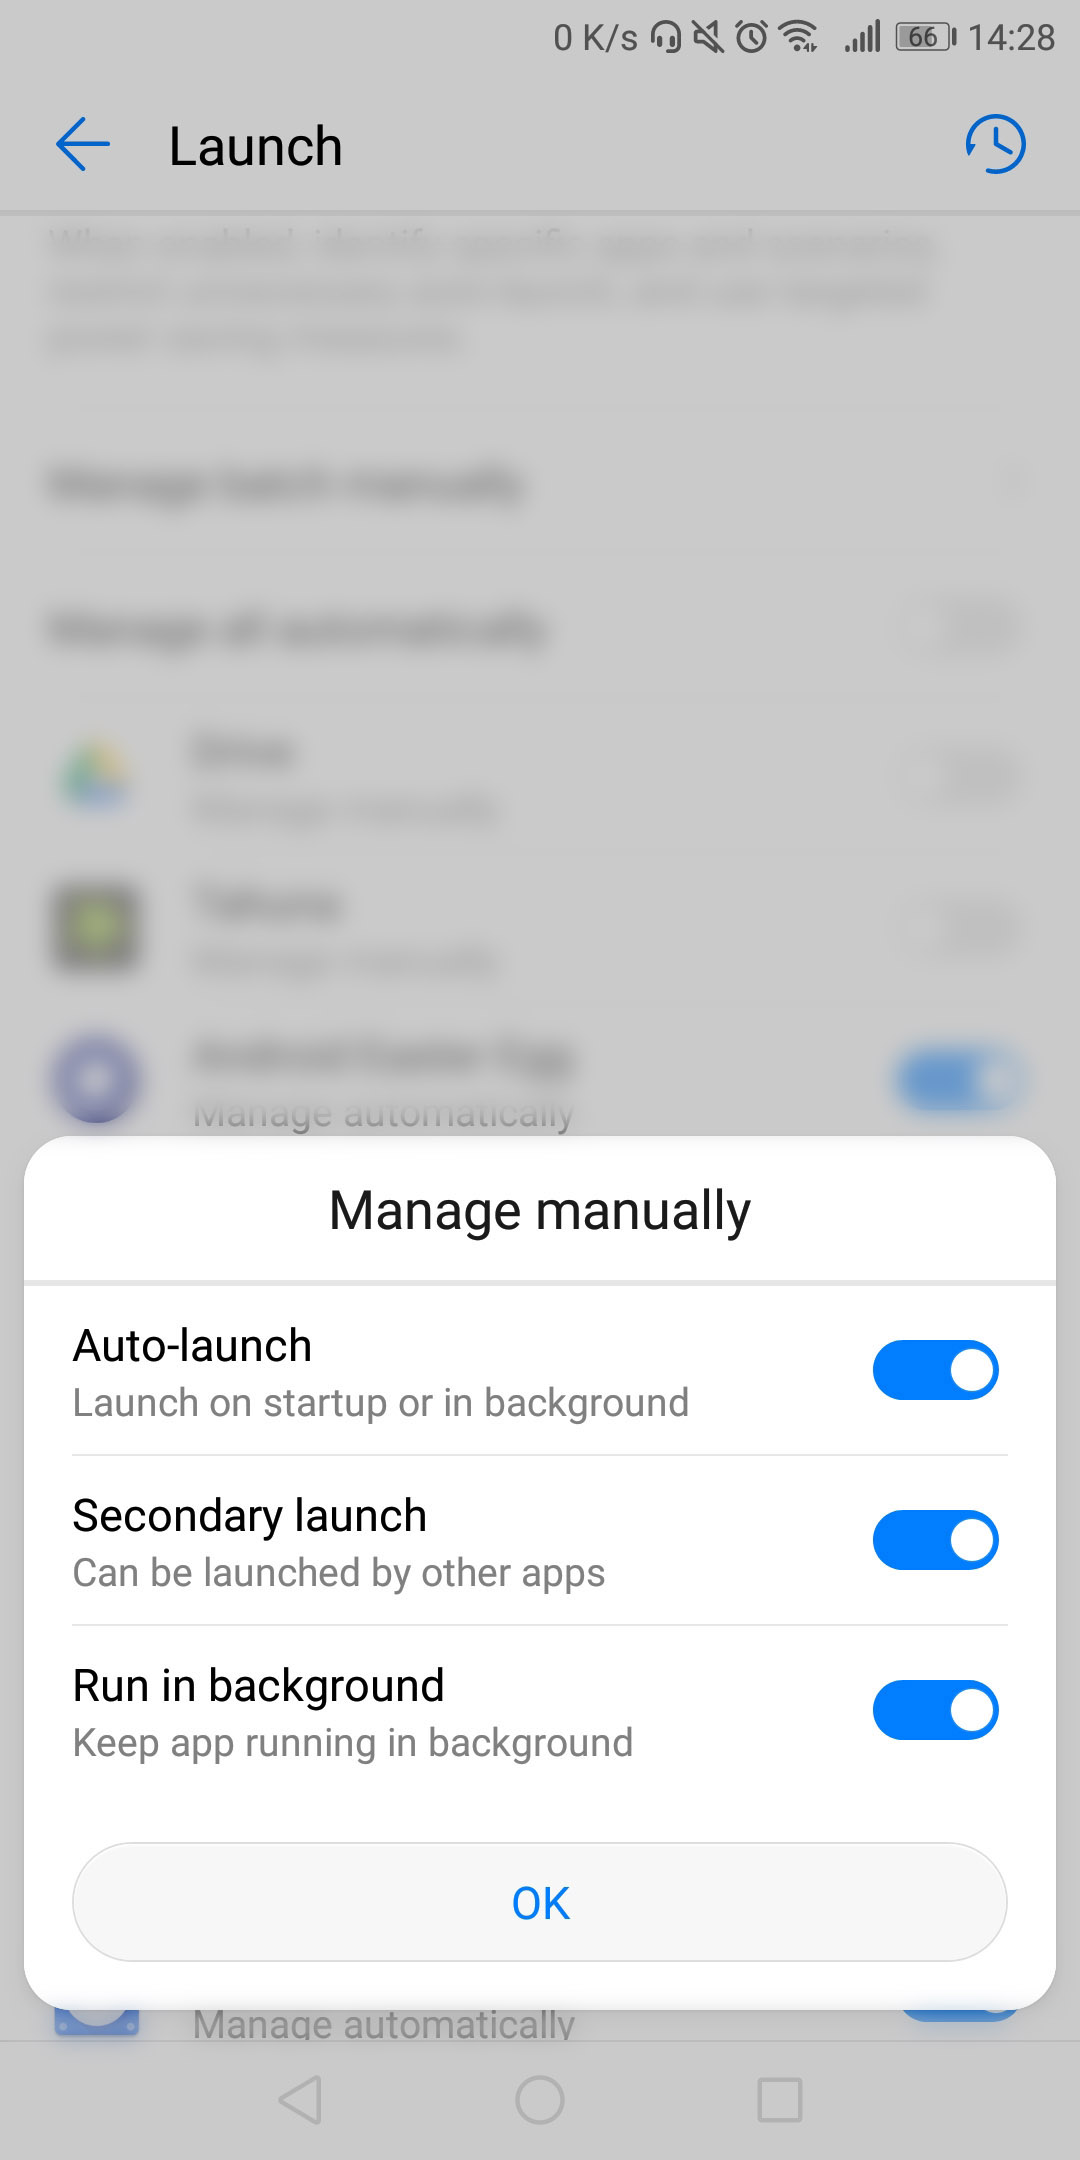
- This will open up a menu with further options: make sure that the “Run in background” option is turned on
2.
- Open “Settings”
- Tap “Apps & Notifications”
- Tap “Apps”
- Tap “Settings” (in the bottom)
- Tap “Special access”
- Tap “Ignore optimisations”
- Tap “Allowed” and select “All apps”
- Select the Tahuna App
- Tap “Allow”
Transfer GPX files to phone
Option 1: Copying tours to your Tahuna account using the Tahuna Tool
Download the Tahuna Desktop Tool from https://tahuna.com/en/tool/
- – Open it and log in with your Tahuna account (the one that you registered when you downloaded the App to your smartphone) (if you have a Teasi device, you don’t have to log in in this step).
- – Click the ‘Tours’ tab (the 2nd one).
- – Within the ‘Tours’ tab, set the left pane to ‘Online’ and select your preferred route planner from the drop-down menu.
- – Within the ‘Tours’ tab, set the right pane to ‘Computer’.
- – Select the desired tours from the 3rd party route planner (long click one of the tours and then proceed to tick the ones you would like to copy).
- – Drag and drop the tours to the other pane .
- – Change the left pane from the 3rd party route planner to Tahuna using the drop-down menu (if you have a Teasi device, you might have to log in to your Tahuna account in this step).
- – Drag the tours that you recently copied to your computer onto the ‘Online’ (Tahuna) pane.
- – When you open the app on your phone, the newly copied tours should be visible in the ‘Memory/Shared’ tab.
For further information, please see: TAHUNA TOOL Manual – Tours tab
Option 2: Sharing individual files using the Tahuna Tool
Download the Tahuna Desktop Tool from https://tahuna.com/en/tool/
- – Open it and log in with your Tahuna account (the one that you registered when you downloaded the App to your smartphone) (if you have a Teasi device, you don’t have to log in in this step).
- – Click the ‘Tours’ tab (the 2nd one).
- – Within the ‘Tours’ tab, set the left pane to ‘Online’ and select your preferred route planner from the drop-down menu.
- – Within the ‘Tours’ tab, set the right pane to ‘Computer’.
- – Select the desired tours from the 3rd party route planner (long click one of the tours and then proceed to tick the ones you would like to copy).
- – Drag and drop the tours to the other pane (Computer) .
- – Click the desired tour in the ‘Computer’ pane and look for the ‘Share button’ (a small envelope with an arrow at the bottom right of the map area).
- – Click it – this will open a dialog box with a link to share your tour.
- – The moment this link is generated, the route is uploaded to the Tahuna sharing site, meaning it will be visible within the ‘Memory/Shared’ tab of the smartphone application.
For further information, please see: TAHUNA TOOL Manual – Tours tab
Option 3: Browsing for .GPX files on your smartphone
Simply log in to your preferred service and download the desired routes in GPX format. Save these to your phone’s storage and proceed to open the Tahuna App.
- – Tap the ‘Memory’ button in the Main Menu, select the ‘Imported’ tab (swipe to the right) and tap the “Down arrow” button at the top right of the screen.
- – You can either look for the GPX file manually (‘Browse’), or you could just select ‘Auto search’ and let the App locate it for you. The imported route will be visible under the ‘Imported trips’ category of the ‘Imported’ tab.
Option 4: Associating .GPX file type to the Tahuna app
Associate GPX files with the Tahuna App: using your preferred file manager, locate the desired GPX file and open it. The system will prompt you with the option of choosing the default application associated to the file type: set Tahuna as the default application.
Transfer files from phone to Teasi device
Download the Tahuna Desktop Tool from https://tahuna.com/en/tool/
– Record/create a new tour on your phone and save it.
– Locate the tour you would like to transfer (‘Memory/My Stuff’).
– Open it and access the ‘Further options’ menu at the top right of the screen.
– Tap the ‘Share’ option and select ‘Link’.
This will upload the tour to the TAHUNA Sharing Site, making it visible within the TAHUNA Tool. You can then transfer it from the Tool’s ‘Online’ pane to the desired device (if it is connected).
For further information, please see: TAHUNA TOOL Manual – Tours tab
GPS signal issues
If you are having trouble with the GPS signal, it might be worth trying to explore the solutions below:
– Google’s Play Services app permissions
This app should have permission to use Location services. To enable this, enter ‘Settings’ within the operating system, select ‘Location’ and add the Play Services app to the list.
– Location accuracy (Android 6.0 and higher)
You can set the Location accuracy of applications within the app’s settings (OS settings/Applications/TAHUNA). For optimum performance, TAHUNA’s location accuracy should be set to ‘High’.
App permissions
TAHUNA needs permissions in order to perform certain tasks. These include the location (to locate you on the map), Bluetooth (in order to connect to sensors), the camera/gallery (to attach pictures to your tours) and storage (to look up/manage GPX and TGPZ files).
If you have a Teasi Core, you will notice that it asks for permissions upon pairing. These are access permissions to your contacts and messages and they are only needed so we can display notifications about incoming calls/messages on the Teasi Core’s screen.
Teasi Core activation - Package redeem
If you have a Teasi Core bicycle computer, you can pair it with your smartphone and activate the Navigation, Fitness and Gadget packages for free.
To do so, please click this link and follow the instructions of the step-by-step guide.
Fischer E-Bike activation - Package redeem
If you have a Fischer E-Bike, you can pair it with your smartphone and activate the E-Bike package for free.
To do so, please click this link and follow the instructions of the step-by-step guide.
StatCap activation - Package redeem
If you have a StatCap sensor, you can pair it with your smartphone and activate the Navigation, Fitness and Gadget packages for free.
To do so, please click this link and follow the instructions of the step-by-step guide.

