Home > Plan screen
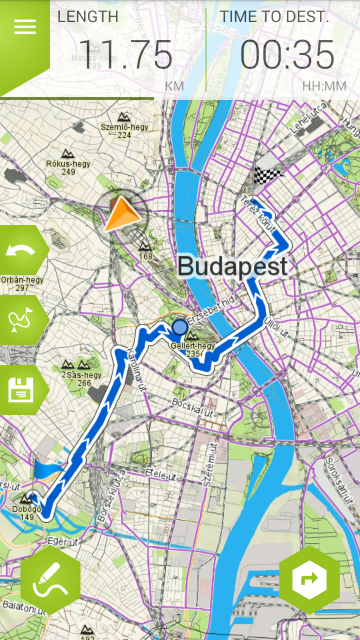
This screen takes you to the map and presents you with features to plan your route. You can select your starting point by tapping the map once. Keep tapping the screen to add waypoints. Your last tap will be interpreted as the destination point. The points will then be connected and the route will be shown in blue.
Tapping ‘Go’ will display the Route preview screen. This shows the planned route and the available options to fine-tune it – please see the linked page for further information.
You can modify the starting point by tapping the Undo button and selecting a different location.
The top pane of the screen shows you the distance of the trip planned and the time to your destination. Swipe it to the left to see the altitude graph
Take a step back. If you don’t like how an action turned out, you can return to the previous result by tapping this button
Alternate route. You can ask the application to plan a different route between the starting and finishing point.
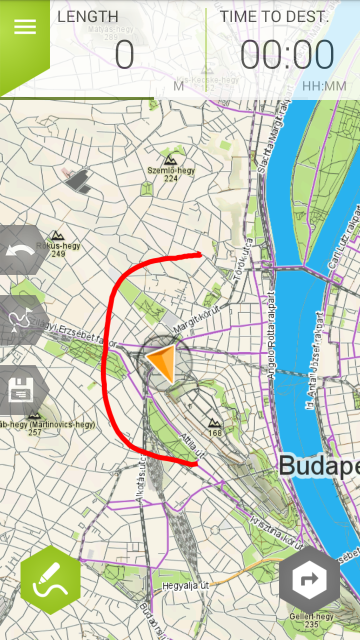
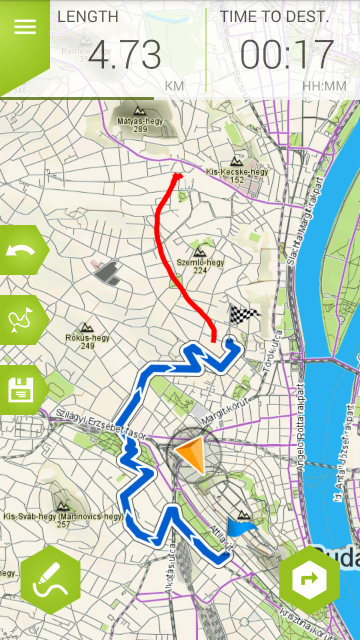
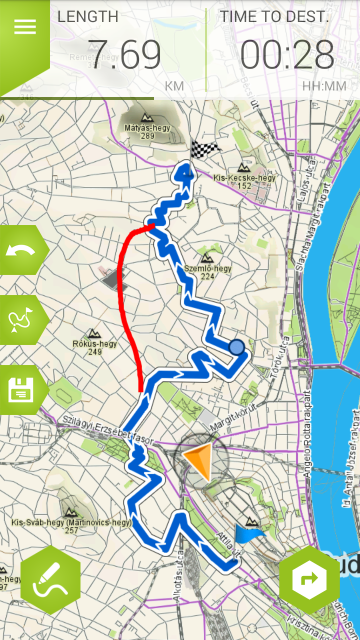
Draw. You want to select your route but don’t want to specify points along the way? Tap this button and draw away. The application will calculate the route based on the line you drew. You can Cancel the process while the app is planning. If you are not satisfied with the outcome, redraw any section and the app will recalculate it.
You can either draw a new route, or modify an existing one by redrawing a certain section. Adding a new section is also possible.


